_IL WARNING: Your sander should never be con-
nected to power supply when you are assembling
parts, making adjustments, assembling or replacing
sandpaper, cleaning, or when not in use. Disconnect-
ing your sander will prevent accidental starting that
could cause serious personal injury.
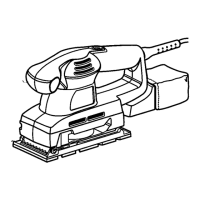
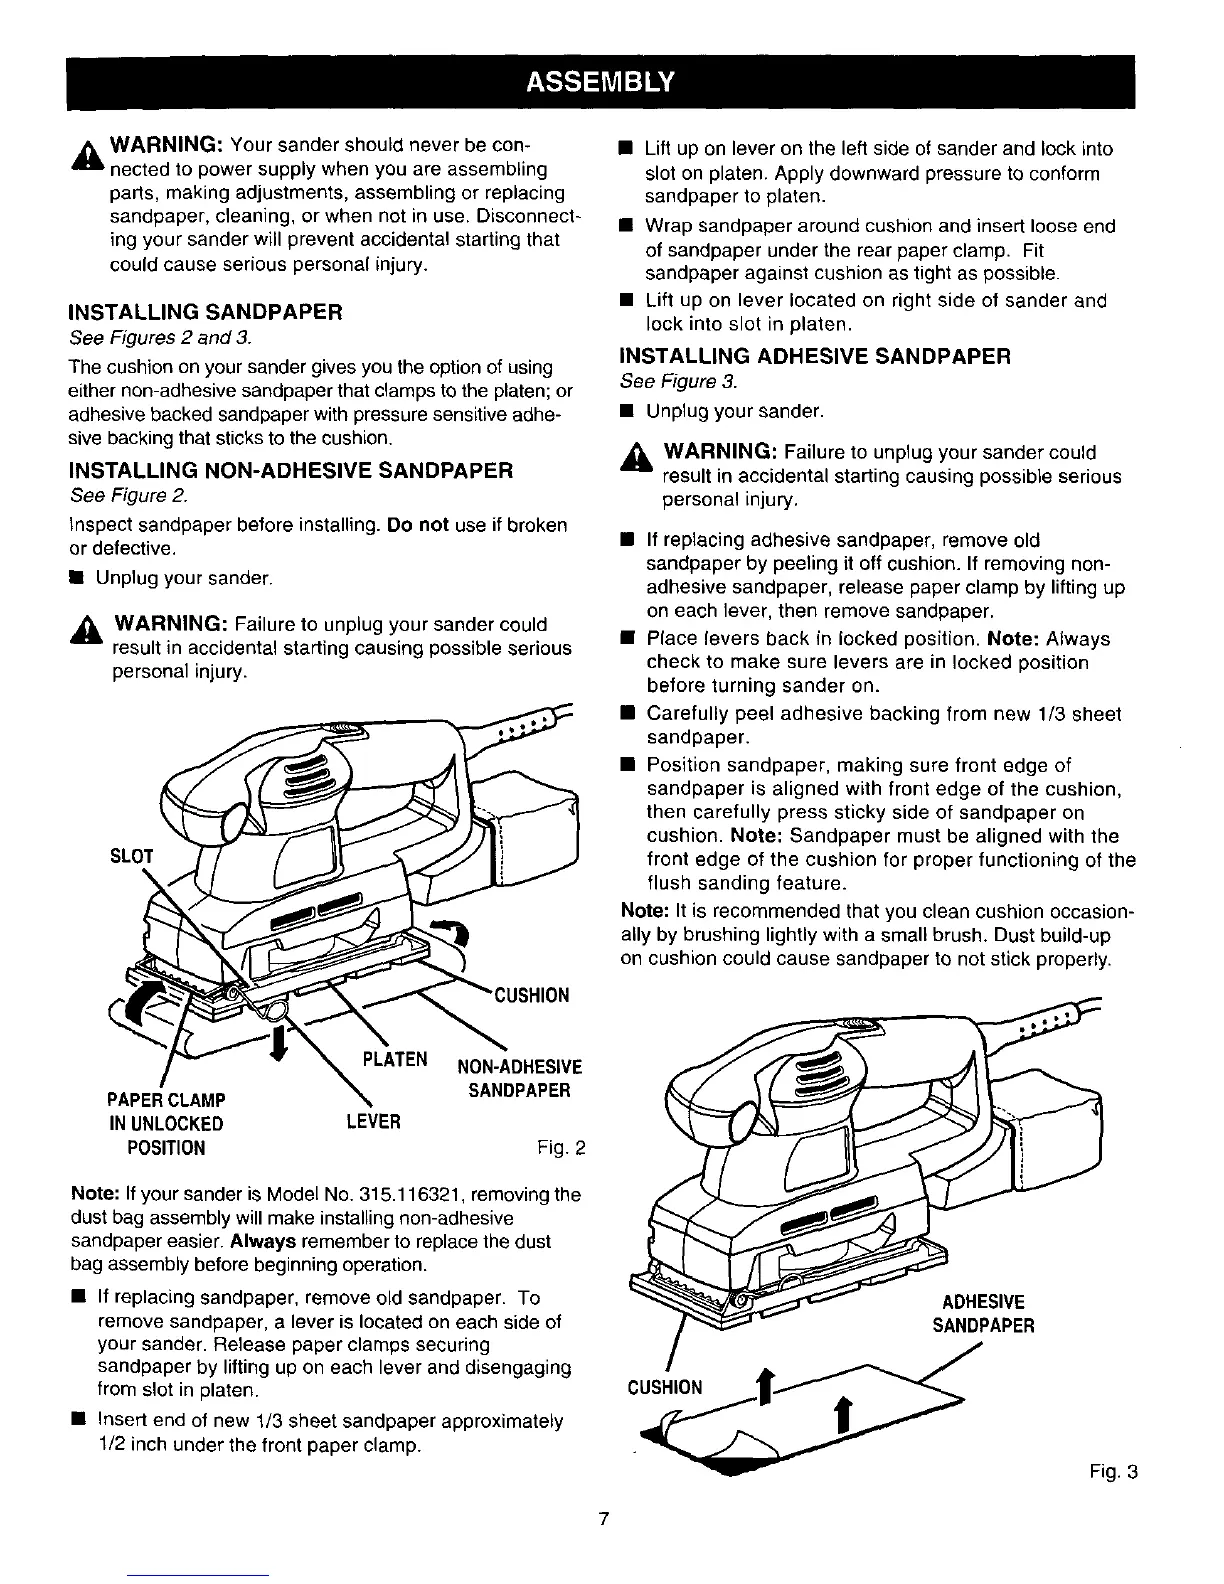
INSTALLING SANDPAPER
See Figures 2 and 3.
The cushion on your sander gives you the option of using
either non-adhesive sandpaper that clamps to the platen; or
adhesive backed sandpaper with pressure sensitive adhe-
sive backing that sticks to the cushion.
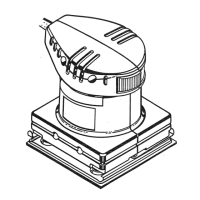
INSTALLING NON-ADHESIVE SANDPAPER
See Figure 2.
Inspect sandpaper before installing. Do not use if broken
or defective.
• Unplug your sander.
,_L WARNING: Failure to unplug your sander could
result in accidental starting causing possible serious
personal injury.
SLOT
PAPERCLAMP
IN UNLOCKED
POSITION
LEVER
NON-ADHESIVE
SANDPAPER
Fig. 2
Note: If your sander is Model No. 315.116321, removing the
dust bag assembly will make installing non-adhesive
sandpaper easier. Always remember to replace the dust
bag assembly before beginning operation.
• If replacing sandpaper, remove old sandpaper. To
remove sandpaper, a lever is located on each side of
your sander. Release paper clamps securing
sandpaper by lifting up on each lever and disengaging
from slot in platen.
• Insert end of new 1/3 sheet sandpaper approximately
1/2 inch under the front paper clamp.
• Lift up on lever on the left side of sander and lock into
slot on platen. Apply downward pressure to conform
sandpaper to platen.
• Wrap sandpaper around cushion and insert loose end
of sandpaper under the rear paper clamp. Fit
sandpaper against cushion as tight as possible.
• Lift up on lever located on right side of sander and
lock into slot in platen.
INSTALLING ADHESIVE SANDPAPER
See Figure 3.
• Unplug your sander.
_l, WARNING: Failure to unplug your sander could
result in accidental starting causing possible serious
personal injury.
• If replacing adhesive sandpaper, remove old
sandpaper by peeling it off cushion. If removing non-
adhesive sandpaper, release paper clamp by lifting up
on each lever, then remove sandpaper.
• Place levers back in locked position. Note: Always
check to make sure levers are in locked position
before turning sander on.
• Carefully peel adhesive backing from new 1/3 sheet
sandpaper.
• Position sandpaper, making sure front edge of
sandpaper is aligned with front edge of the cushion,
then carefully press sticky side of sandpaper on
cushion. Note: Sandpaper must be aligned with the
front edge of the cushion for proper functioning of the
flush sanding feature.
Note: It is recommended that you clean cushion occasion-
ally by brushing lightly with a small brush. Dust build-up
on cushion could cause sandpaper to not stick properly.
ADHESIVE
SANDPAPER
Fig. 3