4
OPERATION
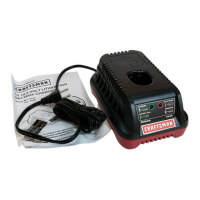
CHARGING THE BATTERY PACK
Charge battery pack only with the charging assembly
provided.
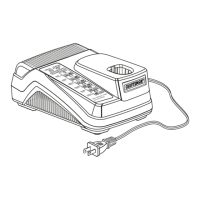
Make sure power supply is normal household voltage,
120 volts, 60 Hz, AC only.
Connect charger to power supply.
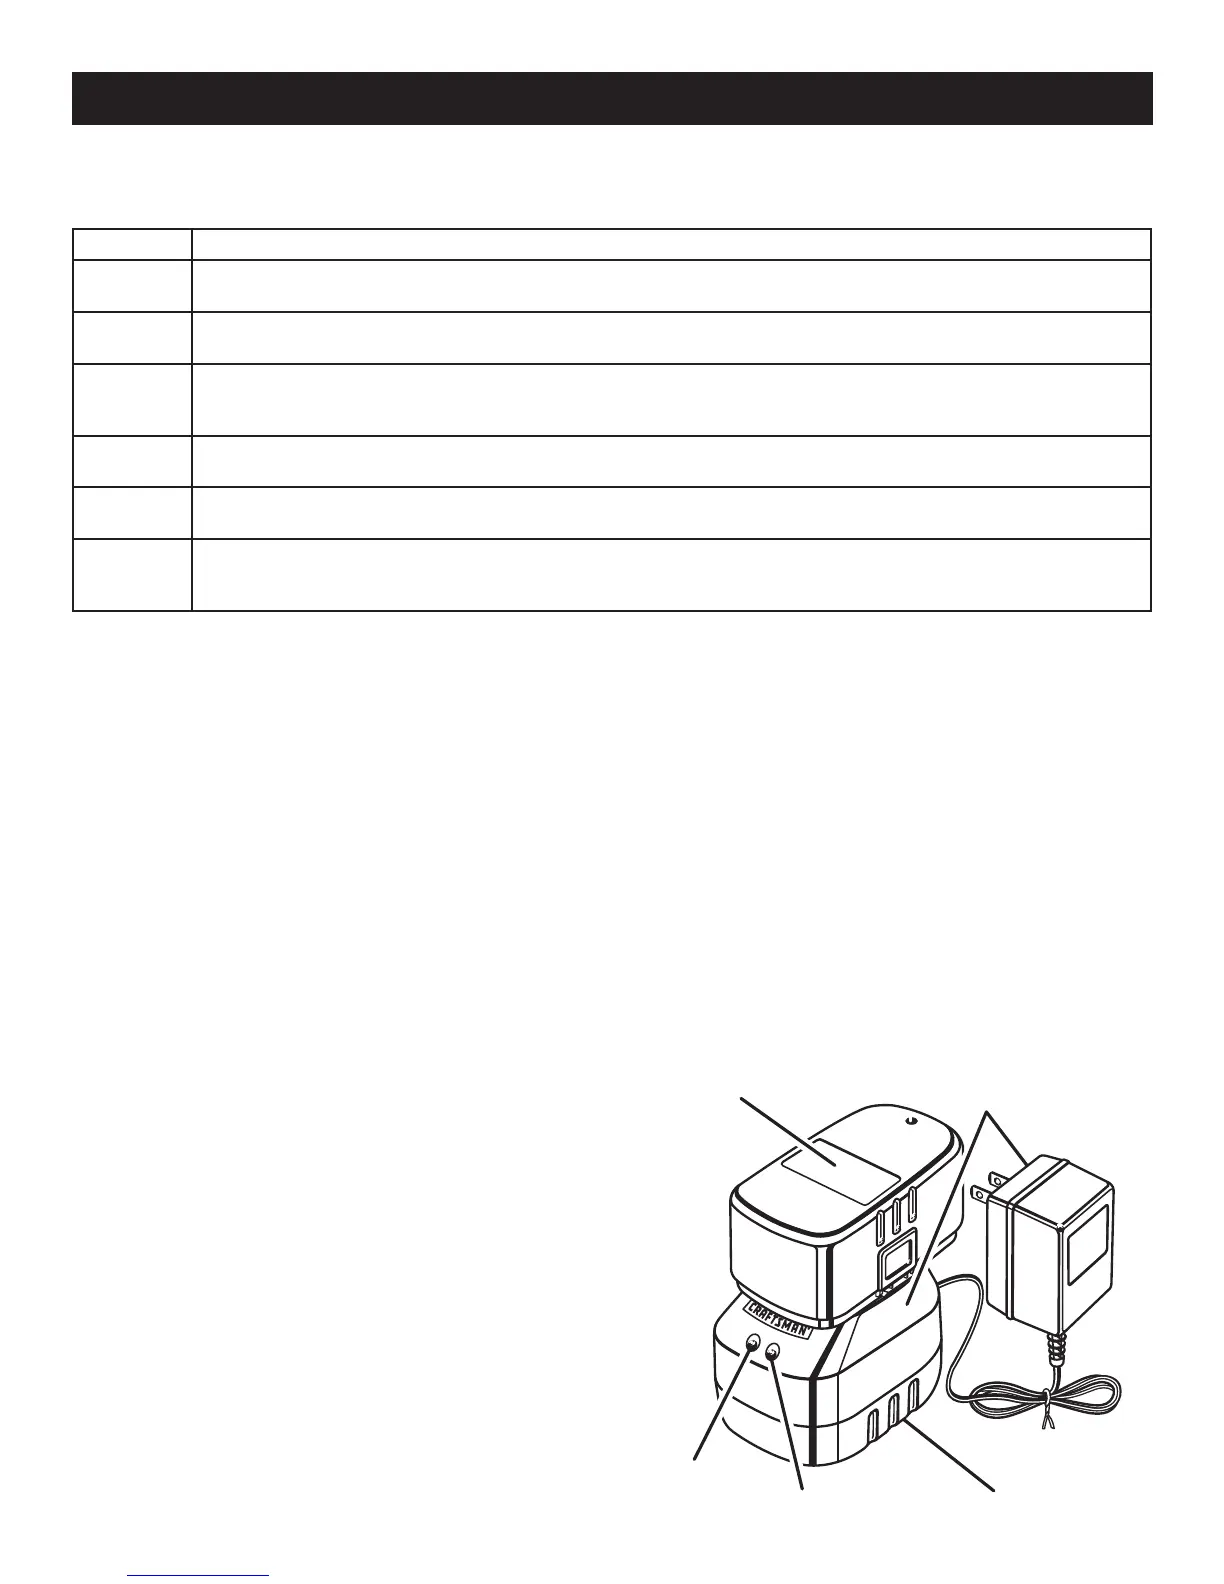
Place battery pack in charging stand. Align raised rib
on battery pack with groove in charging stand. See
Figure 2.
Press down on battery pack to be sure contacts on
battery pack engage properly with contacts in charging
stand.
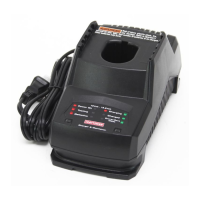
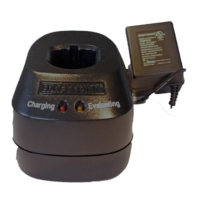
The charge indicator light (LED), located on the
charging stand, will light up red and glow when the
charger is properly connected to power supply. This
light indicates the charger is operating properly. It will
remain on until battery pack is removed from charging
stand or charger is disconnected from power supply.
After normal usage, 3 hours or less of charging time is
required to fully recharge battery pack.
NOTE: If both red and orange LED indicators glow, the
battery pack is deeply or completely discharged, and
6 hours or longer of charging time is required to fully
recharge the battery pack.
If the charger does not charge the battery pack, or
the orange LED continues to glow after more than
30 minutes of charging, the battery pack may be
defective. Return the battery pack and charging
assembly to your nearest Sears Repair Center for
electrical check.
The battery pack will become slightly warm to the
touch while charging. This is normal and does not
indicate a problem.
Do not place charger in an area of extreme heat or
cold. It will work best at normal room temperature.
When batteries become fully charged, unplug charger
from power supply and remove the battery pack.
CHARGING A HOT BATTERY PACK
When using your tool continuously, the batteries in your
battery pack will become hot. You should let a hot battery
pack cool down for approximately 30 minutes before
attempting to recharge.
NOTE: This situation only occurs when continuous use of
your tool causes the batteries to become hot. It does not
occur under normal circumstances. Refer to Charging
the Battery Pack for normal recharging of batteries. If
the charging assembly does not charge your battery pack
under normal circumstances, return both the battery pack
and charging assembly to your nearest Sears Repair
Center for electrical check.
Fig. 2
CHARGING
ASSEMBLY
BATTERY PACK
SHOWN IN CHARGER
REd LEd
CHARGING STANd
ORANGE LEd
USE CHARGERS ONLY WITH BATTERY PACKS AND ITEM NUMBERS LISTED BELOW:
NOTE: The item number of the product containing each battery pack is shown in parenthesis.
CHARGER COMPATIBLE BATTERY PACKS
11053
130139016 (11533), 1323405 (11331), 1323424 (11451)
Note: Battery sold as Item No. 11054
11055
130139017 (11534), 1322519 (11332), 1322549 (11452), 1323412 (11347), 1322550 (17753)
Note: Battery sold as Item No. 11057
11006
130139014 (11535 / 11536), 130139014 (11565), 1310714 (11413), 1322518 (11414), 1323407 (11333),
1323407 (11409), 1310714 (11422), 130234026 (11460), 1323407 (177550), 1323407 (11400)
Note: Battery sold as Item No. 11007
11466
130139015 (11521), 130234027(11463)
Note: Battery sold as Item No. 11465
11369
1323414 (11415 / 11410)
Note: Battery sold as Item No. 11368
11379
130260001 (11537), 130260001 (11524), 130139021 (11385), 130139020 (11386), 130260001 (113861),
130260001 (114232), 1323509 (11416), 1323520 (11461)
Note: Battery sold as Item No. 11378
 Loading...