5
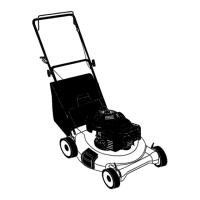
TO ASSEMBLE GRASS CATCH ER
1. Put grass catcher frame into grass bag
with rigid part of bag on the bottom.
Make sure the frame handle is outside
of the bag top.
2. Slip vinyl bindings over frame.
NOTE: If vinyl bindings are too stiff, hold
them in warm water for a few minutes. If
bag gets wet, let it dry before using.
TO INSTALL ATTACHMENTS
Your lawn mower was shipped ready to be
used as a mulcher. To convert to bagging or
discharging, see “TO CON VERT MOW ER”
in the Operation section of this man u al.
Frame
handle
Frame
opening
Vinyl
bindings
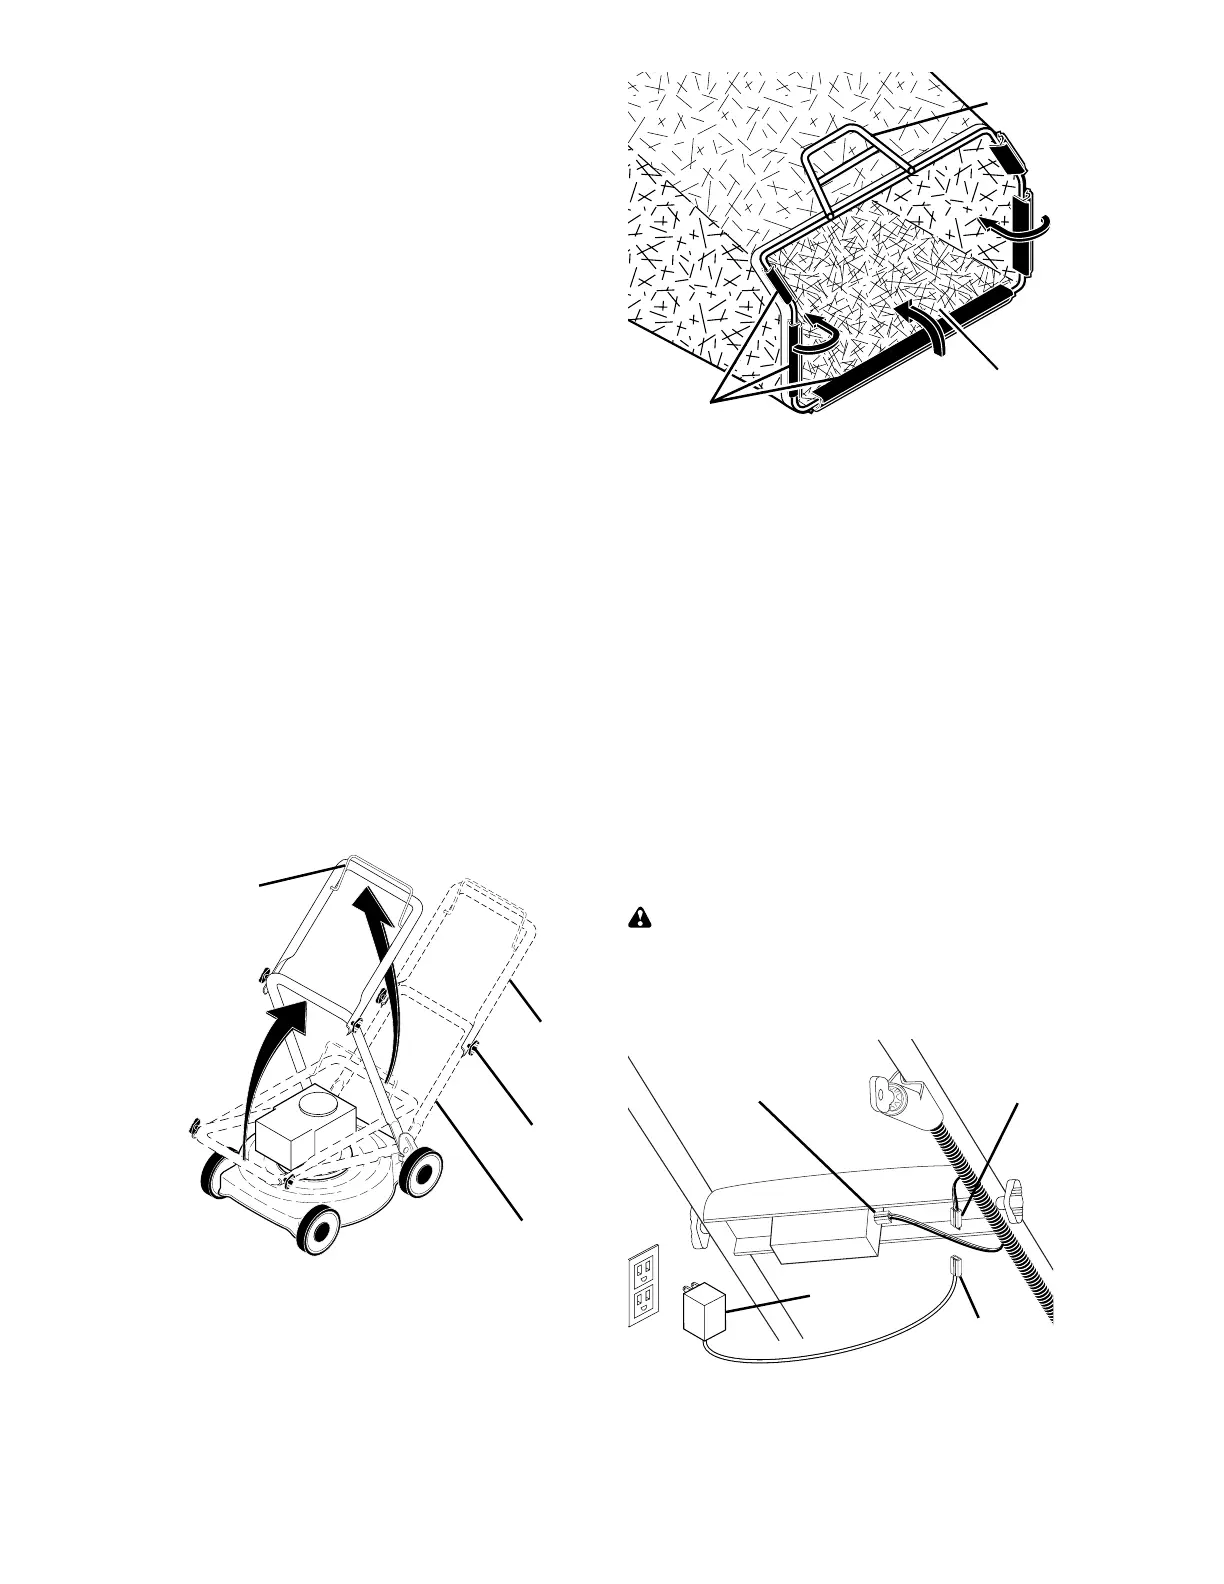
MOWING
POSITION
Lower handle
LIFT
UP
Operator
presence
control bar
Upper
handle
LIFT
UP
Handle
knob
TO REMOVE LAWN MOWER FROM
CAR TON
1. Remove loose parts included with
mower.
2. Cut down two end corners of carton
and lay end panel down fl at.
3. Remove all packing materials except
padding between upper and lower
handle and padding holding operator
presence control bar to upper handle.
4. Roll lawn mower out of carton and
check carton thor ough ly for additional
loose parts.
HOW TO SET UP YOUR LAWN
MOW ER
TO UNFOLD HANDLE
IMPORTANT: Unfold handle carefully so
as not to pinch or damage con trol cables.
1. Raise handles until lower handle sec-
tion locks into place in mowing position.
2. Remove protective padding, raise up-
per handle sec tion into place on lower
handle and tighten both handle knobs.
3. Remove handle padding holding
operator pres ence control bar to upper
handle.
Your lawn mower handle can be adjusted
for your mowing comfort. Refer to “AD-
JUST HANDLE” in the Service and Adjust-
ments section of this manual.
TO PREPARE BATTERY
NOTE: Your battery must be charged
before you can start your lawn mower.
1. Con nect battery charger con nec tor
(male) to harness con nec tor (fe male).
2. Plug battery charger into 110 volt A.C.
outlet.
3. Leave battery charger connected for
24 hours before starting your engine
for the fi rst time.
4. After charging, disconnect harness
connector (female) from bat tery char-
ger connector (male).
Connect your battery charger to charge
battery after each use.
IMPORTANT: The engine will not re-
charge your battery.
At the end of the mowing season the
battery should be charged for 48 hours to
protect the battery during winter storage.
CAUTION: Always disconnect the
en gine connector (male) from the battery
connector (female) to prevent ac ci den tal
start ing when transporting or stor ing your
lawn mower after the season.
Engine
connector
(male)
Harness
connector
(female)
Battery
charger
Charger
connector (male)