32
SERVICE AND MAINTENANCE
NOTE: Use a 3⁄8” drive ratchet wrench as instructed in earlier steps when
routing the new belt.
5. Retighten idler pulleys, if loosened earlier.
6. Remount the spindle covers if removed earlier.
7. Re-install the deck make sure the belt remains routed around the pulleys as
instructed.
8. On manual PTO units, re-install the engine pulley keeper rod and the PTO
cable.
9. Pull the right side of the belt and place the narrow V side of the belt into the
PTO pulley. See Figure 54.
Figure 54
10. While holding the belt and pulley together, rotate the pulley to the left.
Continue holding and rotating the pulley and belt until the belt is fully rolled
into the PTO pulley.
Removing the Brush Guard
WARNING
The exhaust system and surrounding areas are HOT. To avoid personal injury,
allow the tractor to cool before beginning any brush guard installation or
removal procedures.
1. Remove two cotter pins, and then pull the pins. See Figure 55.
1
2
Figure 55
All belts on your tractor are subject to wear and should be replaced if any signs of
wear are present. To change or replace the deck belt on your tractor, proceed as
follows:
1. Remove the deck as instructed earlier in this section under Deck Removal.
2. Loosen, but do not remove the hardware on the right and left idler pulley.
NOTE: On some decks it may be necessary to remove the spindle covers to
remove and/or install the new belt. To remove the spindle covers, remove the
screws securing them to the deck.
3. Carefully remove the belt from around the idler pulleys and the spindle
pulleys.
WARNING
Avoid pinching injuries. Never place your fingers on the idler spring or
between the belt and a pulley while removing the belt.
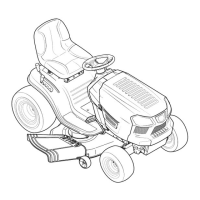
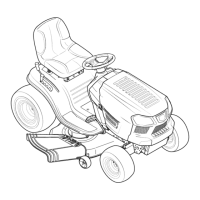
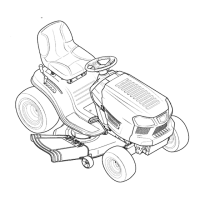
4. Route the new belt as shown in the applicable figure on the following pages.
See Figure 51 for 42” decks, Figure 52 for 46” decks and Figure 53 for 50” &
54” decks.
Figure 51
Figure 52
Figure 53
 Loading...
