EasyManua.ls Logo

Crayola Draw 'N Store - User Manual

Crayola Draw 'N Store
5 pages
Print Icon
To Next Page IconTo Next Page
Loading...
PART LIST
# DESCRIPTION
A 1
1
4
4
2
2
2
2
2
4
4
4
4
4
4
2
8
B
C
D
E
F
G
H
I
J
K
L
M
N
O
Chalkboard
Dry-erase board
Side bar
Leg
Head board
Tray
Paper clip
Side brace
Cross beam
25mm bolt
Small self-tap screw
27mm bolt
Nut
Long self-tap screw
P
Q
Hinge
Short self-tap screw
Pocket
QTY
Notes: Illustrations not to scale.
NO. 9032
Ages: 3+
Draw ‘N Store Wood Studio Set
Assembly Instructions
A
E
F
G
H
I
J
B C D
FASTENER SHOWN ACTUAL SIZE
P - Hinge
PARTS LIST
1
K -
Bolt
1 inch / 25 mm
M - Bolt
1
 inch / 27 mm
N - Nut
O - Long self-tap screw
 inch / 16.5 mm
Q - Short self-tap screw
 inch / 11 mm
x 4
x 8
L - Small self-tap screw
 inch / 11.5 mm
x 4
x 4
x 4
x 4
x 2
Adult assembly required. Phillips/ cross-headed screwdriver (not included) is required during assembly.
Adult supervision advised when item is in use.
• DO NOT use on an uneven surface. This item must be used on level ground.
Assembly must be conducted by an ADULT.
• Keep small parts and sharp points necessary for assembly out of children’s reach during and after assembly.
• Please remove all packaging materials before giving this product to a child.
CAUTION:
Adult Assembly Required.
Contains sharp points.
Keep unassembled parts out of children’s reach.
WARNING :
CHOKING HAZARD-
Small parts.
Not suitable for children under 36 months.
Question and Answer IconNeed help?

Do you have a question about the Crayola Draw 'N Store and is the answer not in the manual?

Summary

Safety and Usage Guidelines

Assembly Warnings and Precautions

Crucial safety information for assembly and use, including adult supervision and small part hazards.

Component and Hardware Inventory

Parts List (A-J)

Identifies all major wooden and plastic components required for building the studio set.

Fastener List (K-Q)

Details all screws, bolts, nuts, and other hardware needed for assembly.

Assembly Steps

Step 1: Attaching Side Bars

Connect side bars (C) to the base using screws (L), ensuring correct orientation.

Step 2: Installing Chalkboard

Attach the chalkboard (A) to the side bars using fasteners (G).

Step 3: Installing Whiteboard

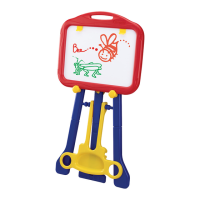
Attach the whiteboard (B) to the side bars.

Step 4: Securing Top Handle

Fasten the top handle (K) to the structure using screws (K).

Step 5: Securing Top Shelf

Attach the top shelf (E) to the structure using screws (K).

Step 6: Attaching Lower Supports

Connect the lower support bars (D) using screws (O, M, N).

Step 7: Reinforcing Lower Supports

Further secure the lower support bars (D) with screws (O, M, N).

Step 8: Attaching Hinges

Install hinges (P) to the top shelf using screws (Q).

Step 9: Installing Shelves

Insert shelves (H) and trays (J) into their designated slots.

Step 10: Final Assembly Check

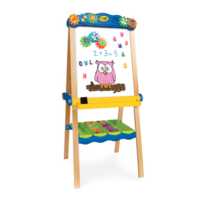
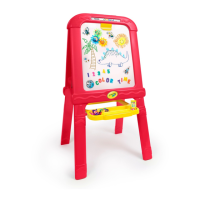
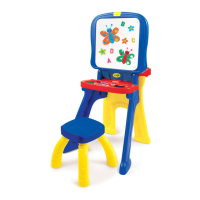
Review the complete assembled structure.

Step 11: Usage Modes

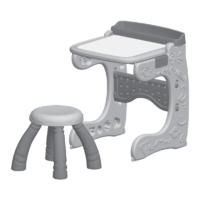
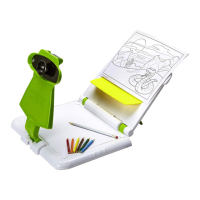
Demonstrates tabletop use and assembly of functional components like handle extension and magnetic gears.

Safety and Maintenance

Care Instructions

Guidelines for cleaning and maintaining the easel, including specific advice for whiteboards and chalkboards.

Limited Warranty

Information on product warranty coverage, duration, and requirements for claims.

Crayola Draw 'N Store Specifications

General IconGeneral
Batteries RequiredNo
Age Recommendation3 years and up
Featuresstorage compartments
Recommended Age3 years and up
IncludesEraser
MaterialPlastic

Related product manuals