3
Left Box
Facing Side 2
Divider
15
19
23
27
31
35
39
43
47
5
Use the shelf peg tool to install another (24)
shelf pegs in holes on Side 1 of Left Box Divider
to match peg placement from step 5.
x24
Shelf
Pegs
Shelf Peg Tool
an angle.
3
Left Box
Facing Side 2
Divider
15
19
23
27
31
35
39
43
47
5
Use the shelf peg tool to install another (24)
shelf pegs in holes on Side 1 of Left Box Divider
to match peg placement from step 5.
x24
Shelf
Pegs
Shelf Peg Tool
an angle.
3
Left Box
Facing Side 2
Divider
15
19
23
27
31
35
39
43
47
5
Use the shelf peg tool to install another (24)
shelf pegs in holes on Side 1 of Left Box Divider
to match peg placement from step 5.
x24
Shelf
Pegs
Shelf Peg Tool
an angle.
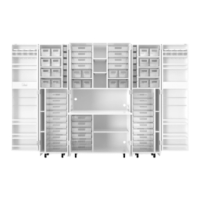
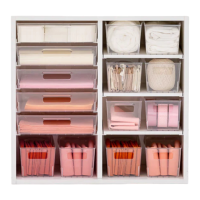
three cheers
YOU’RE D OING GREAT
Now you are ready to start moving in! You can begin by customizing your tracks and
totes to fit your organization needs. The instructions below will help you install your
tracks correctly.
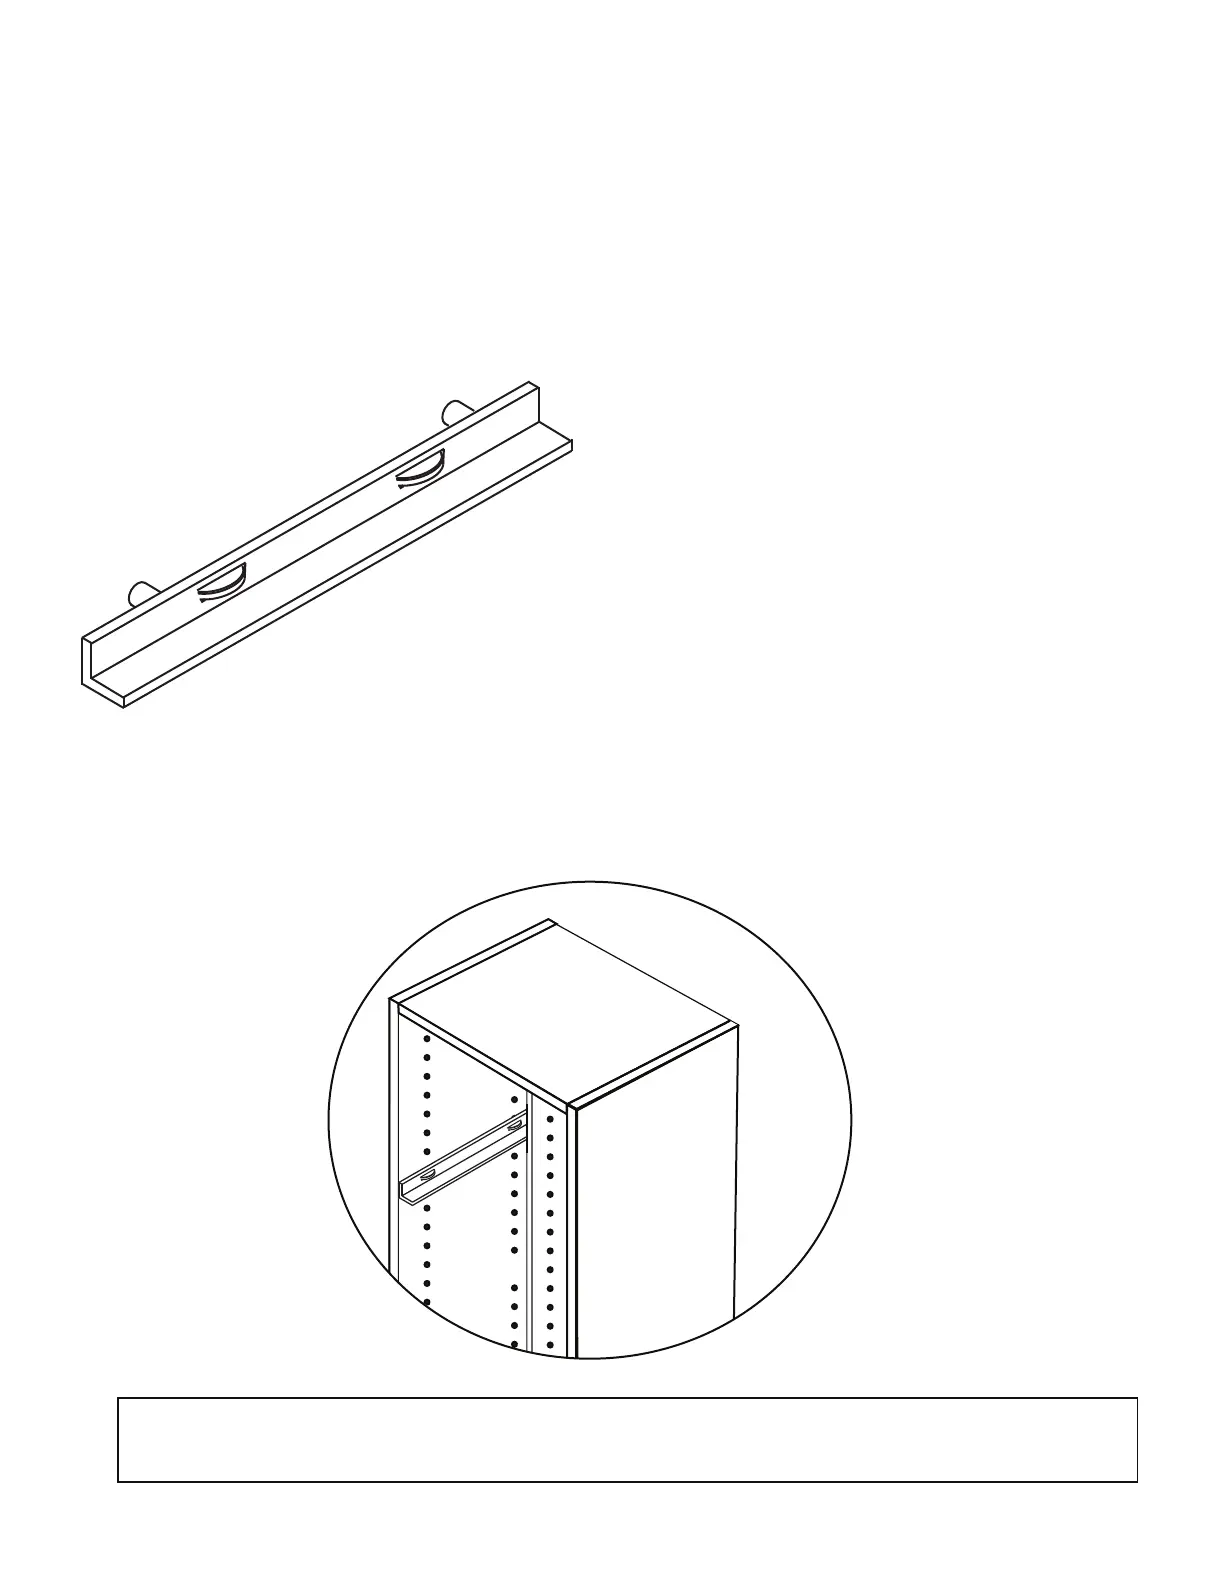
Insert your tote tracks into the peg holes in this position. (Bumpers on top.)
Two tracks needed for each tote or shelf.
Once you’ve inserted your tracks, your large and notion sized totes can slide
directly onto the tracks - no shelves needed. Place the tote at the front of
the tracks and slide forward past the bumpers. Your 13x13” and “13x6”
shelves will also slide directly onto the tracks in the same manner, where
your shoebox totes can sit.
Follow our recommended configurations on the next two pages.
3
Left Box
Facing Side 2
Divider
15
19
23
27
31
35
39
43
47
5
Use the shelf peg tool to install another (24)
shelf pegs in holes on Side 1 of Left Box Divider
to match peg placement from step 5.
x24
Shelf
Pegs
Shelf Peg Tool
an angle.