9
ENGLISH
• Remove the bolt from the seatpost, removing the pin and pass the nial (crown molding)
and hood through the hanger bar. Next, route the fan motor wires through the inside of the
hanger bar. Tighten the hanger bar to the engine and insert the bolt and pin.
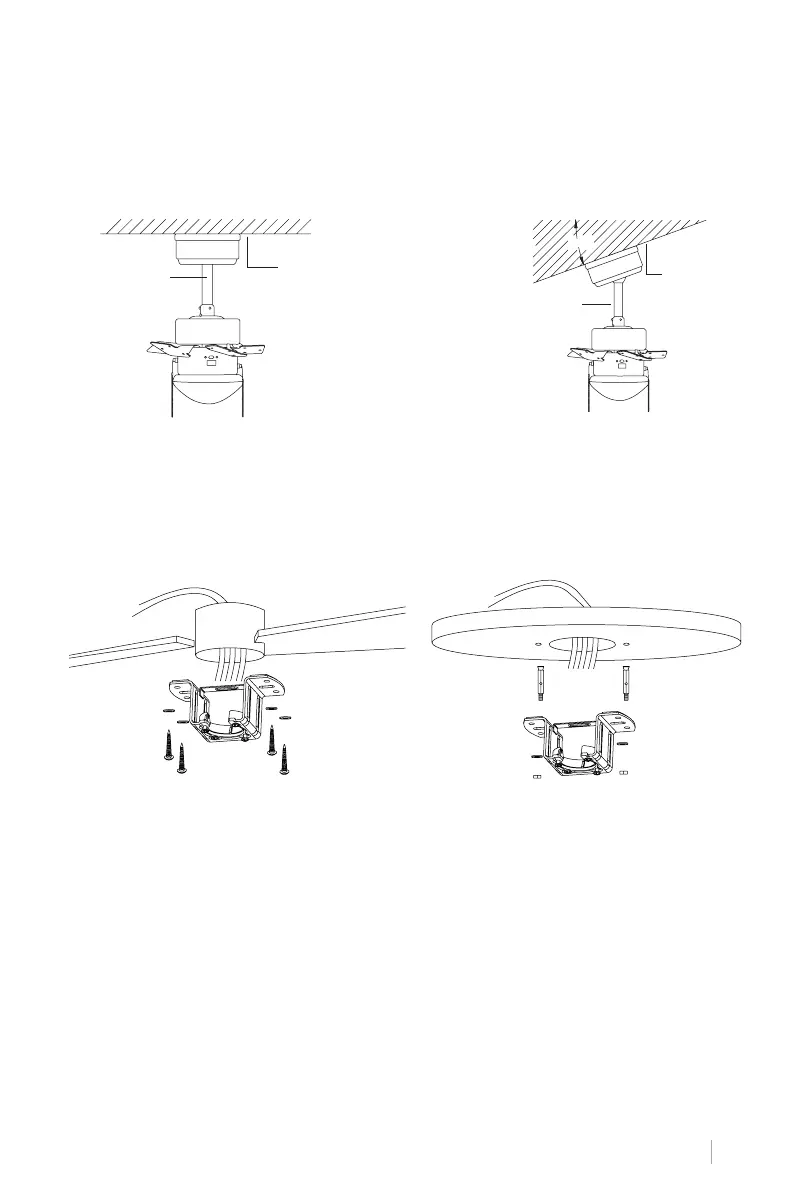
POST INSTALLATION
Support
surface
Traditional
mounting
style
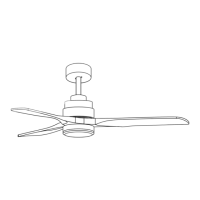
The standard mount hangs from the ceiling
using a rod.
Support
surface
Angle mount style
Angle mounting is recommended for a
vaulted or angled ceiling.
• The outlet box and beam must be securely mounted and capable of reliably supporting at
least the weight of the fan.
FIXING THE MOUNTING BRACKET
Wood roof
Securely attach the mounting bracket with
wood screws and washers to the ceiling
joints.
Concrete ceiling
Drill holes with an 8mm drill, depending on
the length of the expansion screws. Next,
secure the mounting bracket to the ceiling
with the expansion screws.
Do not x the mounting bracket directly on ceilings with a thickness less than 10mm to avoid
the risk of the screw loosening.
20°