© Copyright 2013, Creative Playthings
MODEL PS18SPH
19861-300 Rev A (07-20)
Page 22
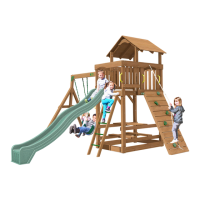
ASSEMBLY INSTRUCTIONS
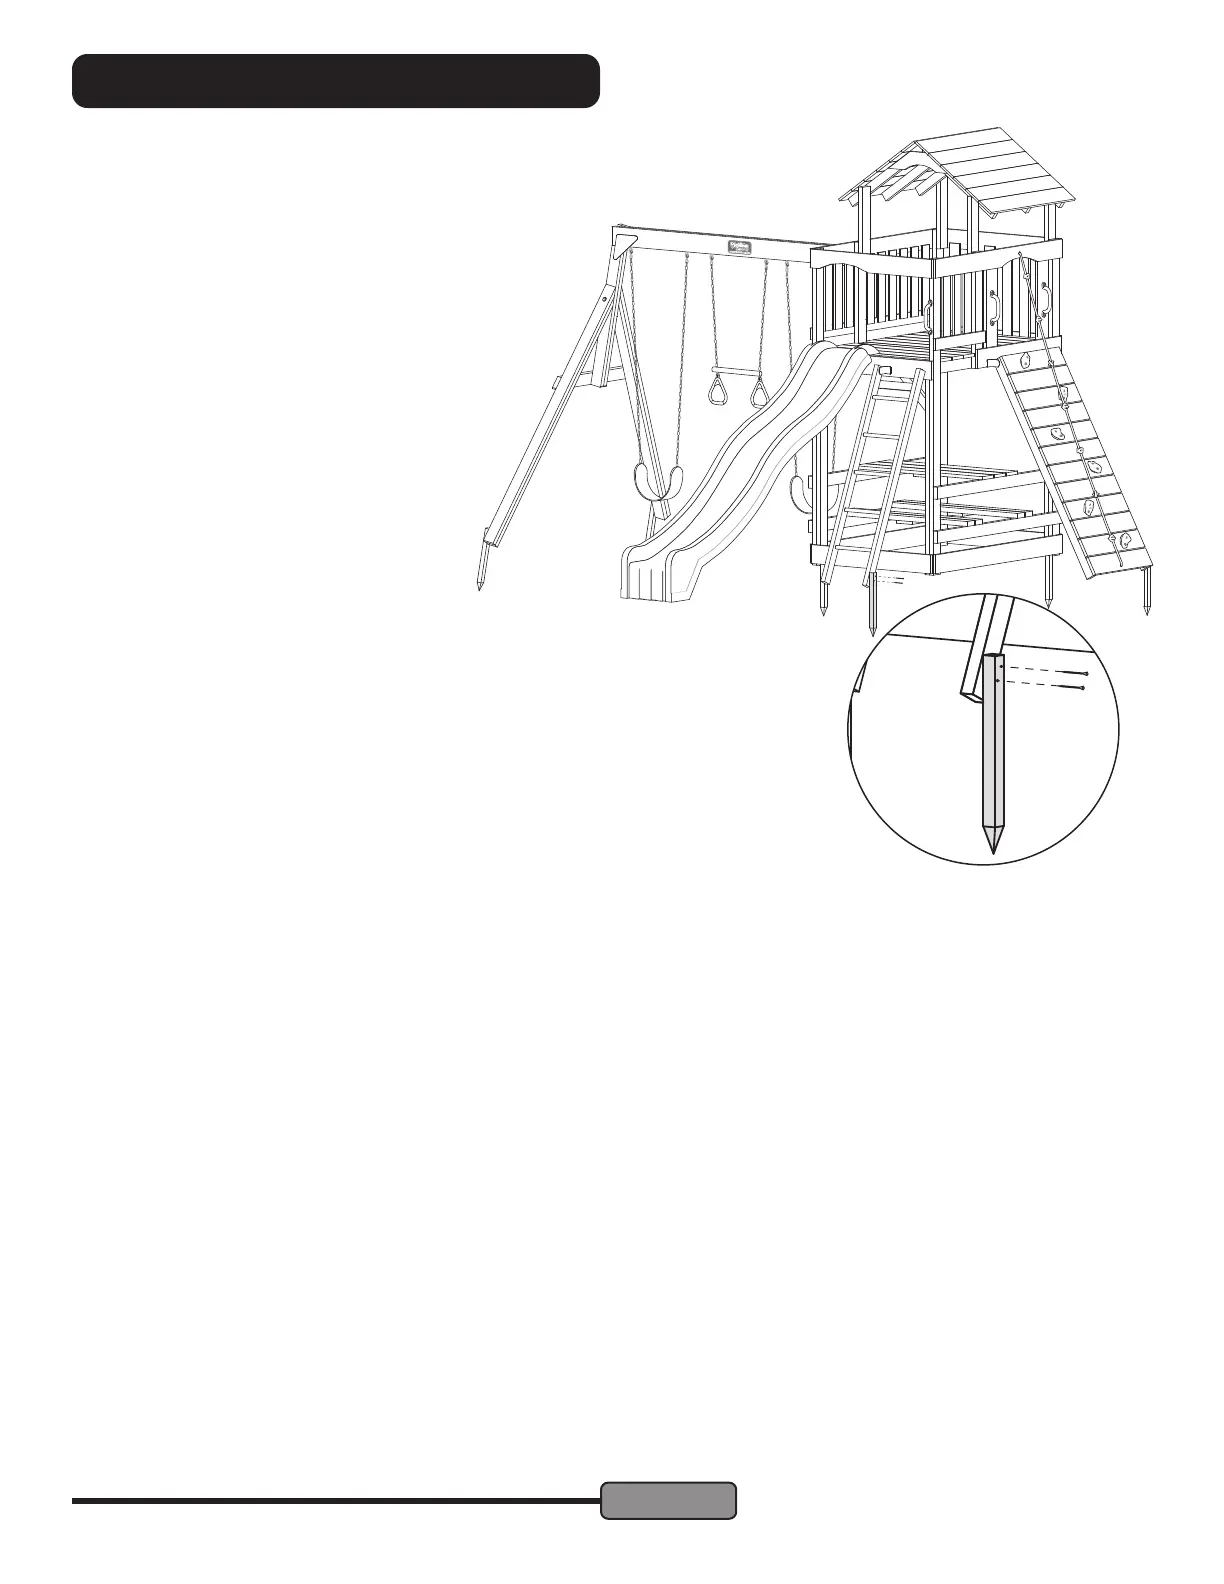
STEP 34 — Swing Beam & Swings:
Install the Swing Beam as instructed by the assembly guide
included with the Beam.
Hang the Swings and Ring Trapeze in the positions shown
at right.
U.S. safety standards require a minimum clearance of 8"
from the bottom of each Swing Accessory to the ground.
U.K. (& E.U.) safety standards require a minimum
clearance of 350mm (13-3/4") between the bottom of
each Swing Accessory and the ground.
The height of each Swing Accessory is adjusted by
using a different link in the chain. Be sure to hang
the Swings Accessories with ground clearance
greater than or equal to the safety standard for
your region.
STEP 35 — Ground Stakes:
Hammer two Ground Stakes next to the
Front Left Post and Back Right Post as
shown. The top of the Ground Stake should be minimum of 1/8" below the top of
the Sandbox Sides. Secure each stake to the adjacent Sandbox Side using two #10
x 2" Screws through the pre-drilled holes.
Hammer Ground Stakes next to the Access Ladder and Cargo Upright as shown.
Secure each stake with two #10 x 2-1/2" Screws through the pre-drilled holes. Secure
the Beam Legs in the same manner.
Note: Do NOT use concrete to set Ground Stakes. Pound a metal spike or rod into the
ground to start a hole in hard or rocky ground.
Inspect your work; make sure all fasteners are secured properly and the
area is clear of hazards before allowing children on the Swing Set.
Save all instruction sheets and receipts in case it becomes necessary to contact
Creative Playthings for warranty service and/or part replacement. The warranty
can be found in your Owner’s Manual.