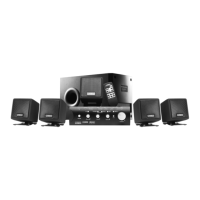
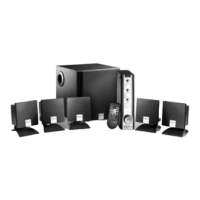
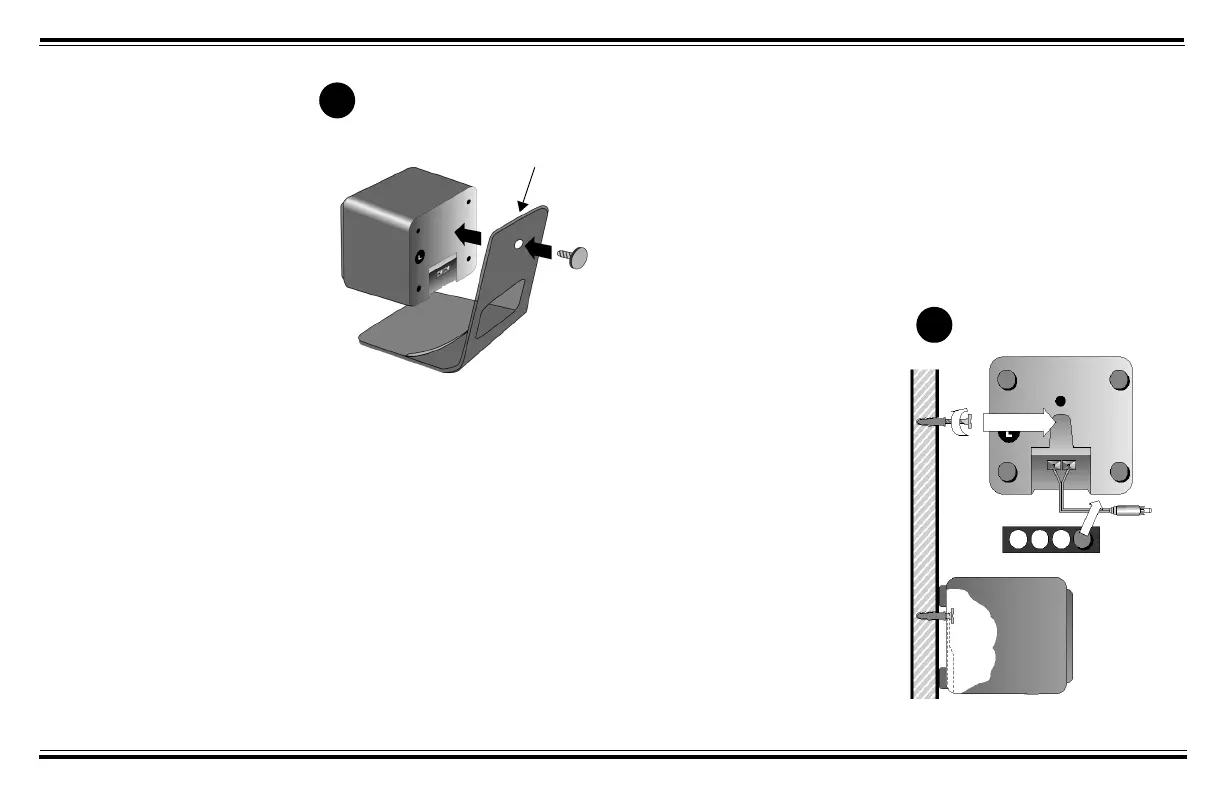
8
Center Speaker Stand
Installation
Unlike the Desktop Stand (for
Satellites), the stands for the Center
Speaker are of the screw-in type.
1. Align the Attachment Arm to
the Center Speaker (see
Diagram B)
.
2. Use the screw provided to
connect the Attachment Arm to
the Center Speaker.
Screw Mounting
Mounting the rear satellites on side
walls will give you superior surround
effects.
For a secure installation, mount the
rear satellites only on walls that are
structurally sound.
1. Place the following near you: rear
satellites, screws, plastic anchors
and rubber pads (supplied). You
will also need a drill and hammer.
2. Mark the wall where each rear
satellite screw will be. Position
the speakers behind you and
slightly above ear level.
3. Drill a hole about 2 cm (1 inch)
deep into each wall. Tap a plastic
anchor into the hole until it is
flush with the wall (see
Diagram
C
).
4. Screw a M5 x 25 mm screw into
each anchor, leaving about
0.5 cm (¼ inch) of the screw
protruding.
5. Apply four rubber pads on the
corners at the back of each rear
satellite. The rubber pads will
cushion the satellites from any
vibration and help keep them in
position.
6. Slip the keyhole of each rear
satellite onto a protruding screw
to complete the installation.
B
Attachment Arm
Mounting Speakers
C