Crestron CHV-RTS & CHV-RTHS Temperature & Humidity Sensors
Installation Guide – DOC. 8189D Temperature/Humidity Sensors: CHV-RTS/CHV-RTHS • 5
NOTE: In situations where ordinary two-conductor thermostat
wire (18 to 20 gauge) has been installed, it may be used for runs up
to 100 feet (30 meters). This is not a preferred method of
installation.
NOTE: If multi-conductor cables are used, the unused conductors
must NOT be used for other purposes and must be left
unconnected at both ends.
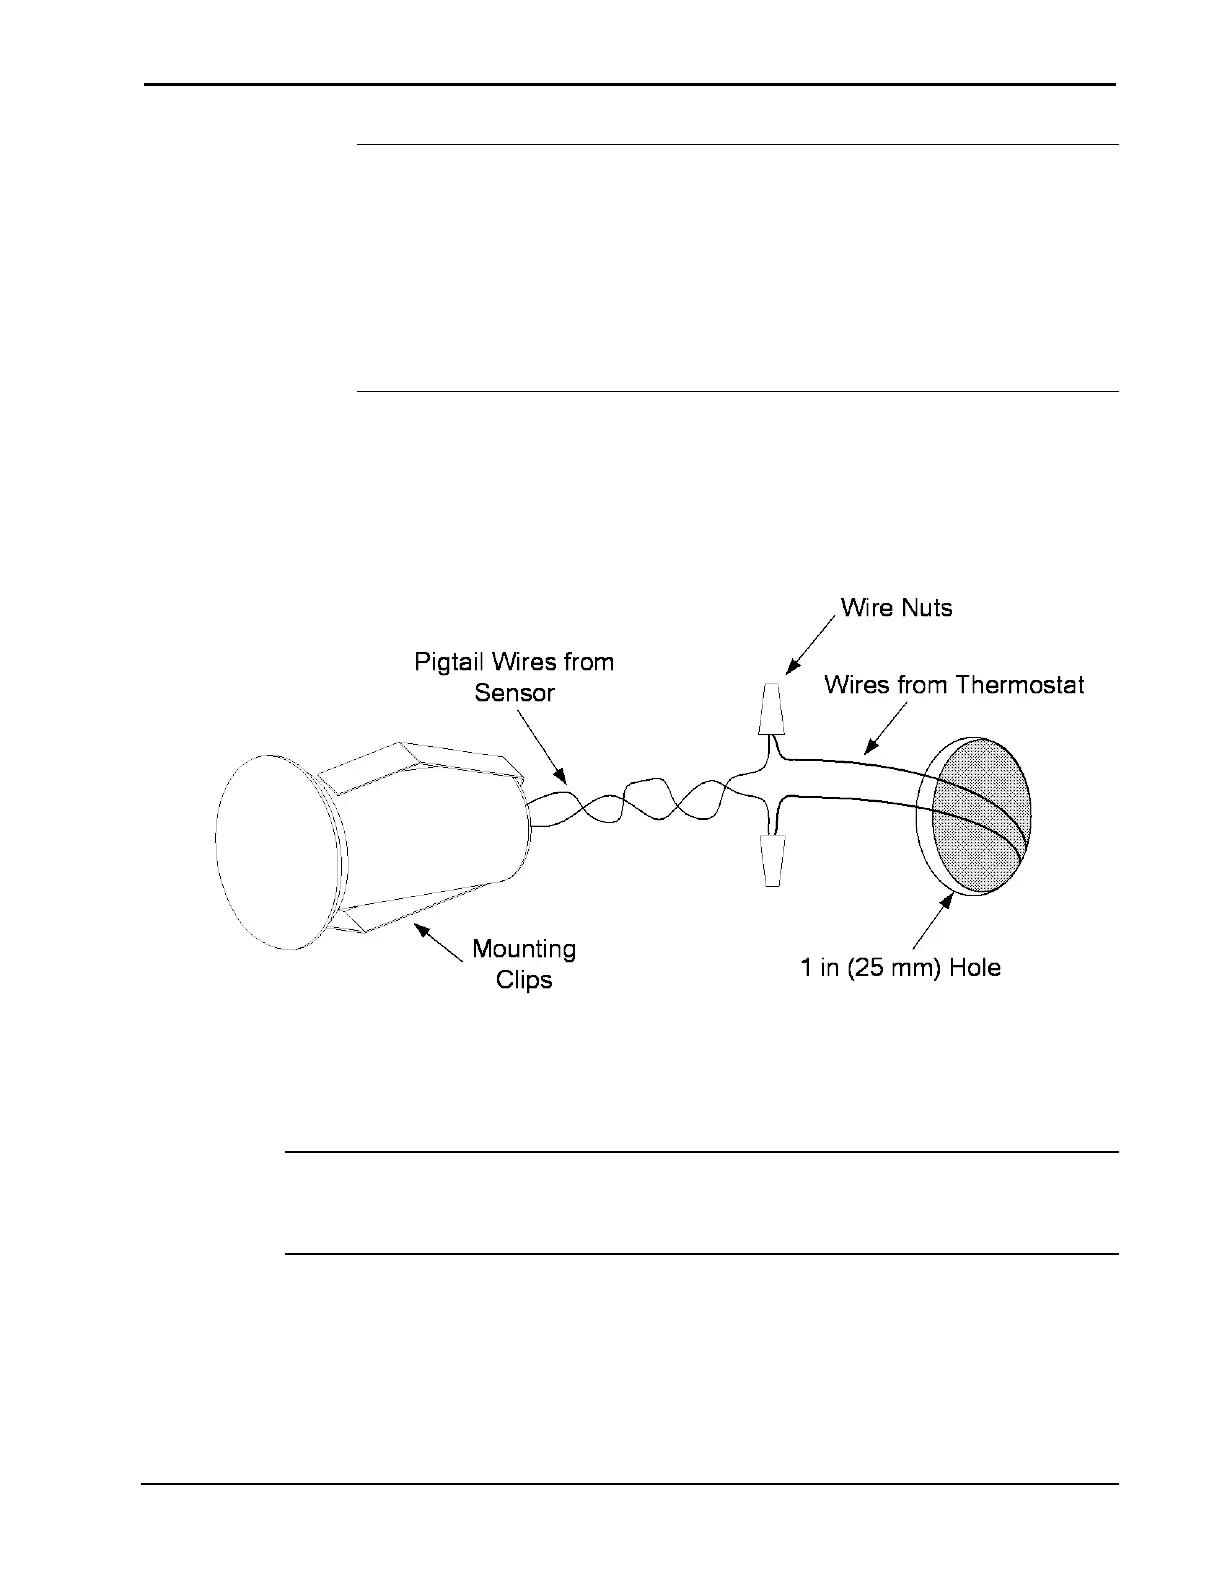
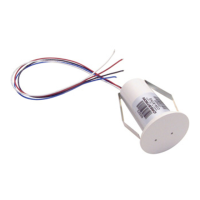
5. Connect the wires from the thermostat to the 10 inch (254 mm)
sensor pigtail (22 AWG x 12" black/black twisted pair) using wire
nuts. The wires are non-polarized. (Refer to “Hardware Hookup,”
below.)
Wiring the CHV-RTS and CHV-RTHS
6. Press fit the sensor into the hole; the clips on either side of the
sensor hold it in place.
NOTE: The face of the sensor may be painted or wallpapered to match
the wall. However, keep the small gap around the outer edge clear of any
obstructions.
Hardware Hookup
CHV-RTS and CHV-RTHS sensors connect to the terminal blocks on the
back plate of the CHV-TSTAT, CHV-THSTAT, CHV-TSTATEX, and
CHV-TSTATEX-FCU thermostats (all sold separately).