8
3.2. Gently pull or push the vehicle chassis front end forward until it stops. Then lift and turn the T-Lever
counterclockwise and lock the chassis into position. You might need to slightly adjust the two chassis
once the TLever is lowered for it to “click” into lock. Check that the lever is locked. (Fig 3.2.1)
Figure 3.2.2 SX3 T-Lever Locked
3.3. Remove the floorboard knobs from both sides of the chassis, located just under the front seat on the
frame.
3.4. Slide the floorboard extension into position by angling it in toward the front of the CRICKET. Check that
the Key is in the “OFF” position and you may need to depress the throttle pedal slightly to get the
floorboard to clear.
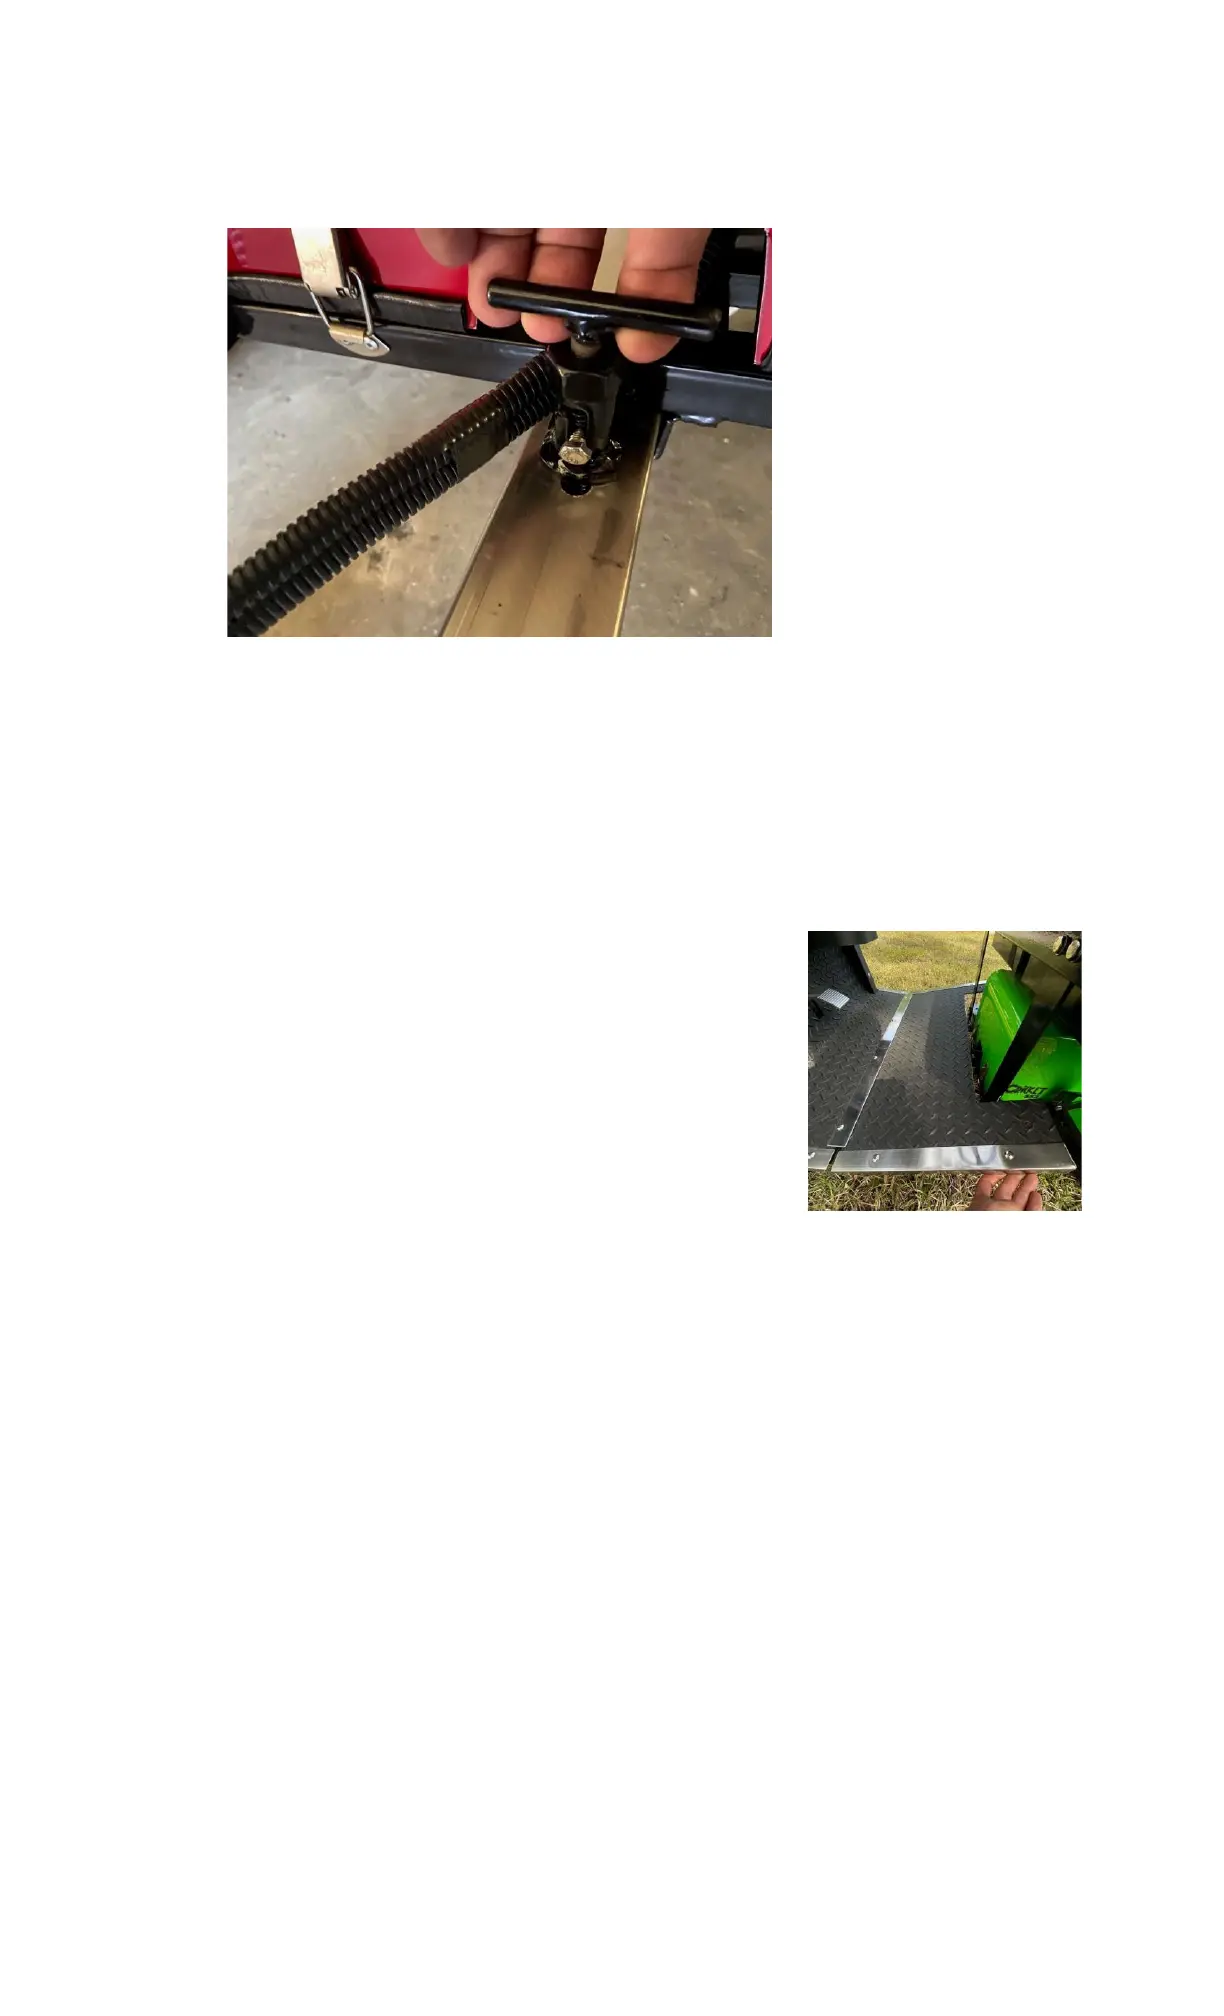
3.5. Slide the floorboard extension underneath the stainless-steel flash plate of the permanent floorboard
assembly. (Fig 3.5.1)
3.6. Make sure both sides of the floorboard extension are lined up and
securely fitted underneath the front stainless-steel flash plate and
into the black plastic tabs on the front body.
3.7. Install but do not tighten one of the floorboard knobs located on the
chassis under the front seat, then install the second knob. You may
need to slightly move the floorboard in order to line up with the
threaded holes for the knobs. Once both knobs are installed tighten
them down to secure the floorboard in place.
Figure 3.5.1 SX3 Floorboard Installation