Instructions for iron-on
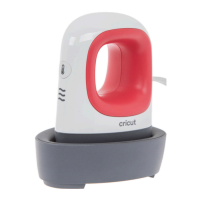
• Cricut EasyPress Mini
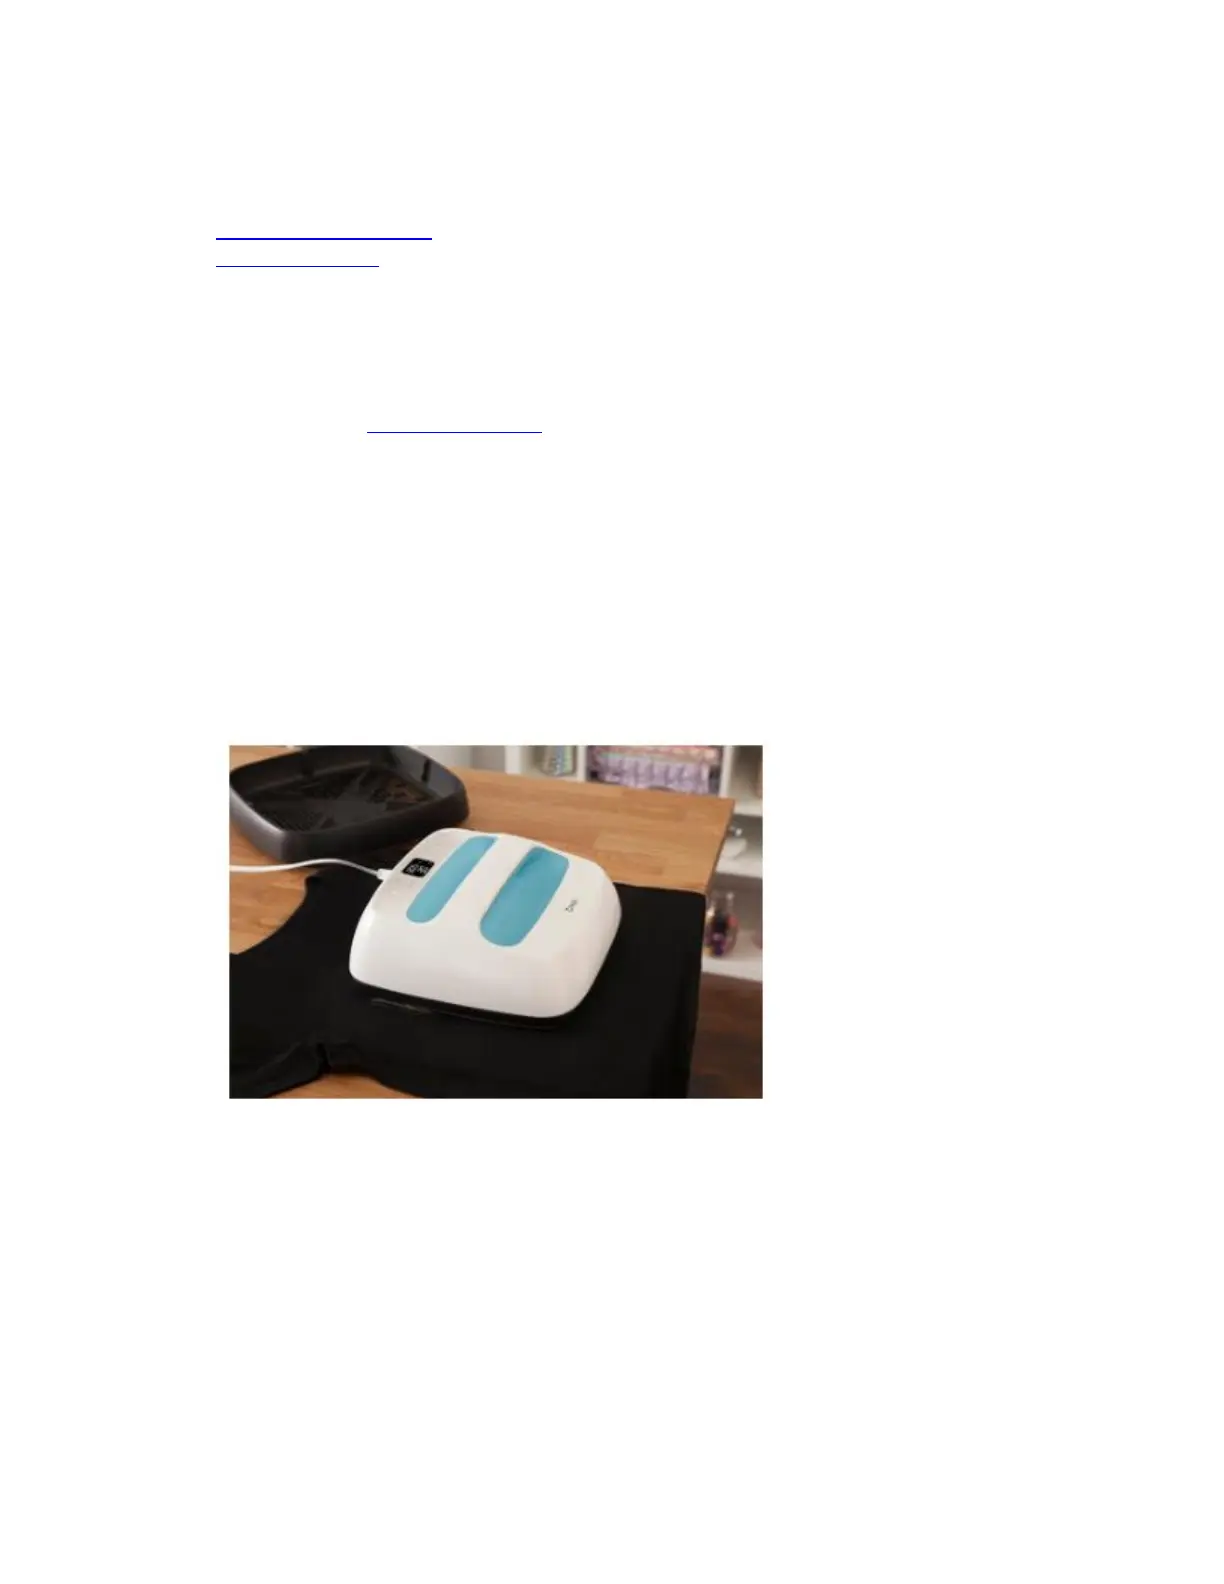
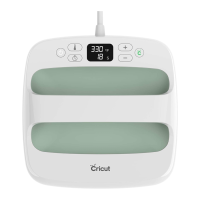
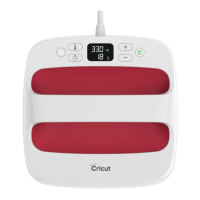
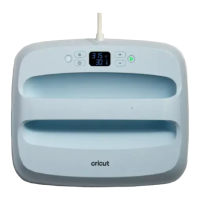
• Cricut EasyPress
1. Power Cricut EasyPress ON.
o Find a firm, flat, heat-resistant surface, around waist high.
o Be sure to avoid flimsy ironing boards.
2. Set timer and temperature.
o Use the Cricut Heat Guide or Cricut Heat app (for Cricut EasyPress 3) to
determine project settings.
o Press timer, then use +/- buttons to set recommended time.
▪ Cricut Heat app can send settings directly to Cricut EasyPress 3.
o Press temperature, then use +/- buttons to set recommended temperature.
▪ Cricut Heat app can send settings directly to Cricut EasyPress 3.
o Orange light means it's heating up. Green light means temperature has been
reached. Beep sounds when it's ready.
o Use extreme caution. Machine operates at high temperatures that can caused
burns.
3. Preheat base material. Place Cricut EasyPress on fabric for recommended time.