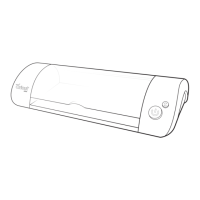
Do you have a question about the Cricut Mini and is the answer not in the manual?
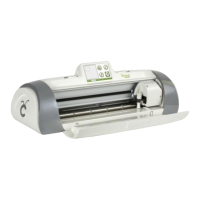
Instructions for opening the lid, loosening the screw, releasing the swing arm, and inserting the blade assembly.
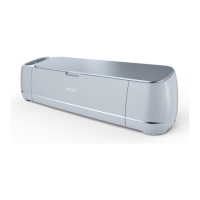
Assemble the power supply, plug it into the machine and outlet, and press the power button to turn it on.
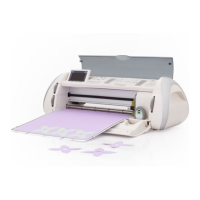
Remove the plastic cover, place paper on the mat, and insert the mat into the machine.
Download the Cricut Craft Room software and run the drivers, following all prompts.
Log in to Cricut Craft Room or create an account, then follow online instructions for the first cut.
Change default height to 2.5 inches and select the 'Thank You Card' design.
Drag shapes onto the mat, click CUT, and confirm settings for cutting cardstock.
Unload the mat after cutting and remove the cut rectangle and flower shapes.
Remove cut pieces from the mat, replace the plastic cover, and glue the pieces together.
| Cutting Width | 8.5 inches |
|---|---|
| Connectivity | USB |
| Material Compatibility | Paper, Vinyl, Fabric |
| Blade Type | Standard Blade |
| Software | Cricut Craft Room |