TRUSS ROD
One adjustment that probably causes the greatest anxiety is the truss rod. Clearly, random truss rod changes can cause problems, but
the right tools and process will empower you to master this otherwise mysterious component.
String tension pulls on the neck, creating a slight upward bow. This is called "relief," and desirable within a certain range. To control
relief, manufacturers place a metal bar (or sometimes more exotic material) called a truss rod inside the neck with a nut on one end.
Tightening the nut (clockwise) will atten the neck, reducing relief. Conversely, loosening the truss rod (counterclockwise) will increase
relief. Since the neck is made of wood, it won’t necessarily respond immediately to changes in truss rod tension. Therefore, it is gener-
ally recommended to wait at least several minutes between adjustments to
let the neck "settle," then measure again. Only a small amount of adjust-
ment is typically required; otherwise you may need to consult a profes-
sional.
Before making the rst measurement, you can "sight" for curvature by
looking down the neck. With the instrument in an upright position, set the
body on a table or other surface and look down from the headstock. You
can quickly get a feel of your starting point. After making adjustments,
sight the neck again. After a while, you’ll be able to spot problems without
tools.
To measure for proper truss rod tightness, an automotive-style thickness
gauge and straightedge are needed. As it turns out, a string under tension
happens to make a very good straightedge. The process therefore involves
holding the string down at the two extreme frets and measuring clearance
between the string and fret at the midway point. Since you only have two
hands, a capo is provided for the rst fret. Fasten the capo on top, rather
than behind, the rst fret.
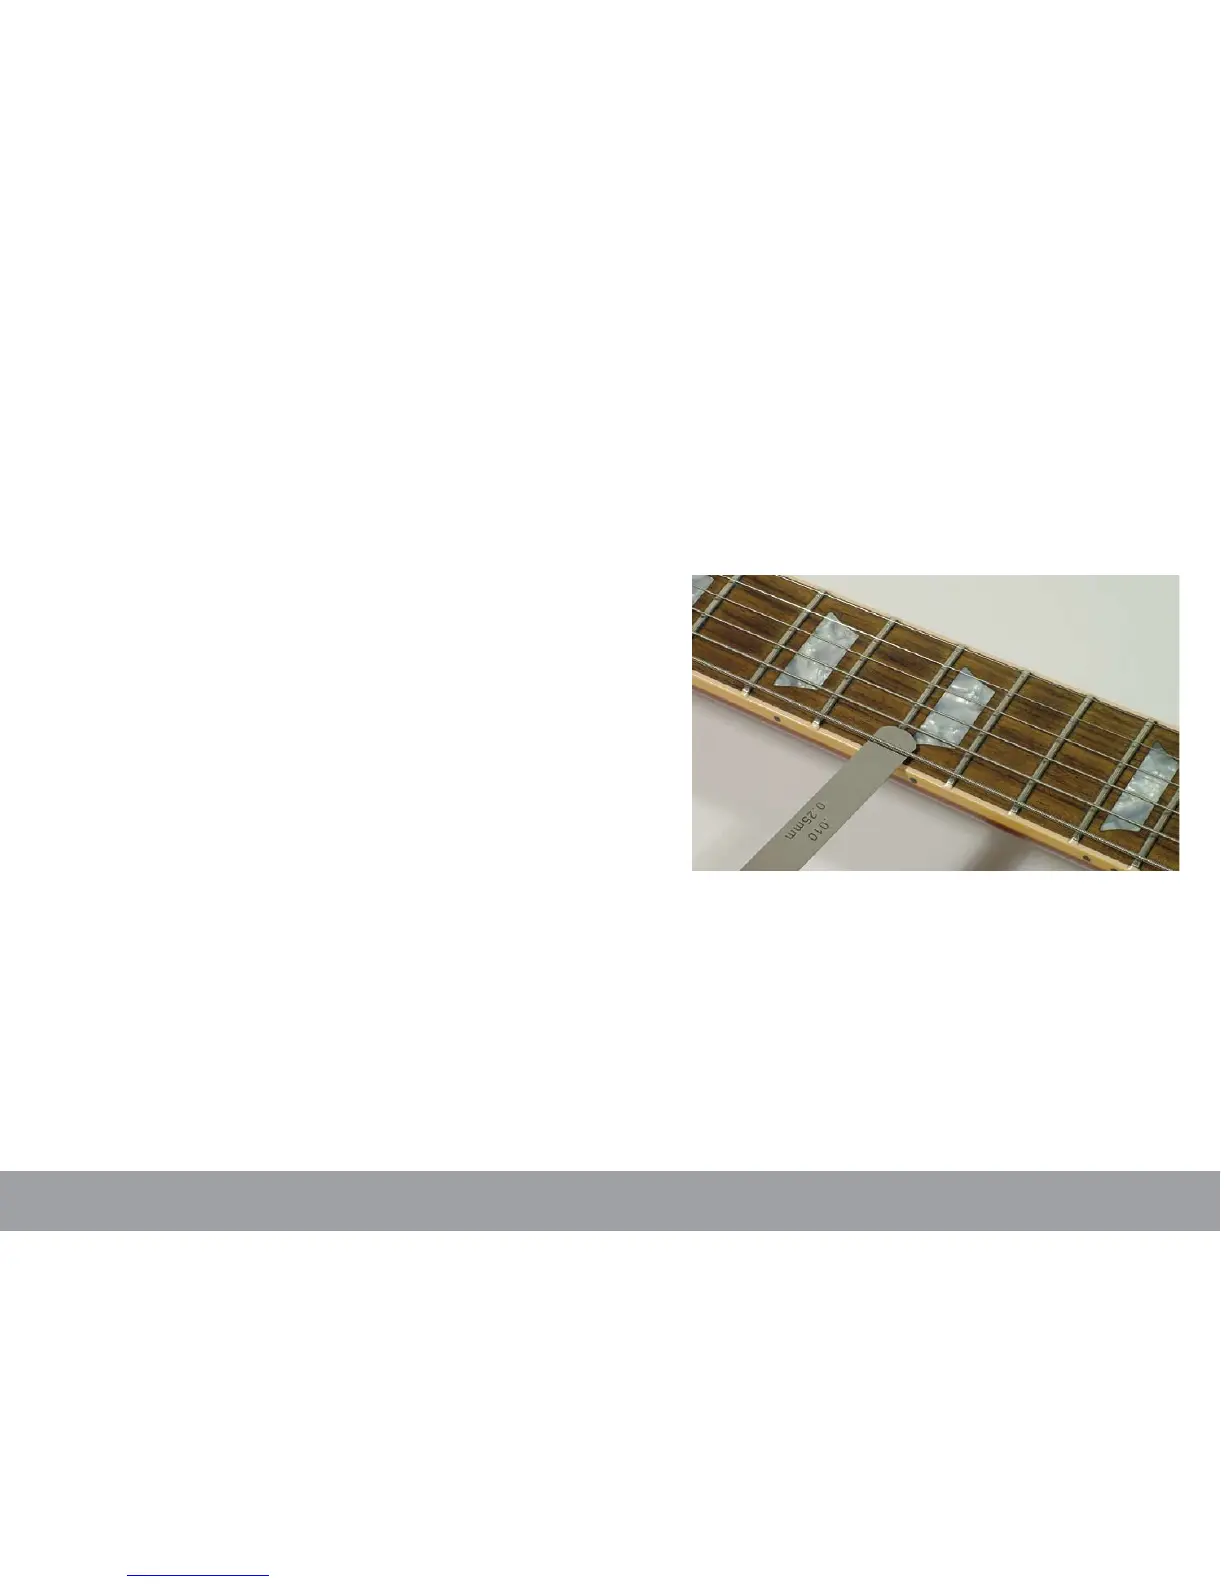
You can measure relief by fretting at the rst and last fret on the 6th string (4th string on basses), and checking clearance at the eighth
fret. That is, with the rst and last fret depressed, measure the distance between the bottom of the string and the top of the eighth
fret on the E string. Gently insert the thickness gauge while laying it completely at on top of the fret. Clearance for guitars should be
about 0.010,” and 0.015” for basses. You may nd it helpful to check with the next highest and lowest gauges until you get a good feel
for clearance.
If the gap exceeds the appropriate thickness, there’s too much relief and the truss rod should be tightened. If less, loosen the truss rod
for more relief. You might end up overshooting the spec – that’s OK; just go back in the other direction slightly. The important thing is
to make small adjustments at a time.
As previously mentioned, necks can be somewhat slow to respond to truss rod adjustments. It’s therefore useful to recheck the neck
later, perhaps after a gig or two, and make residual adjustments as needed.
4
 Loading...