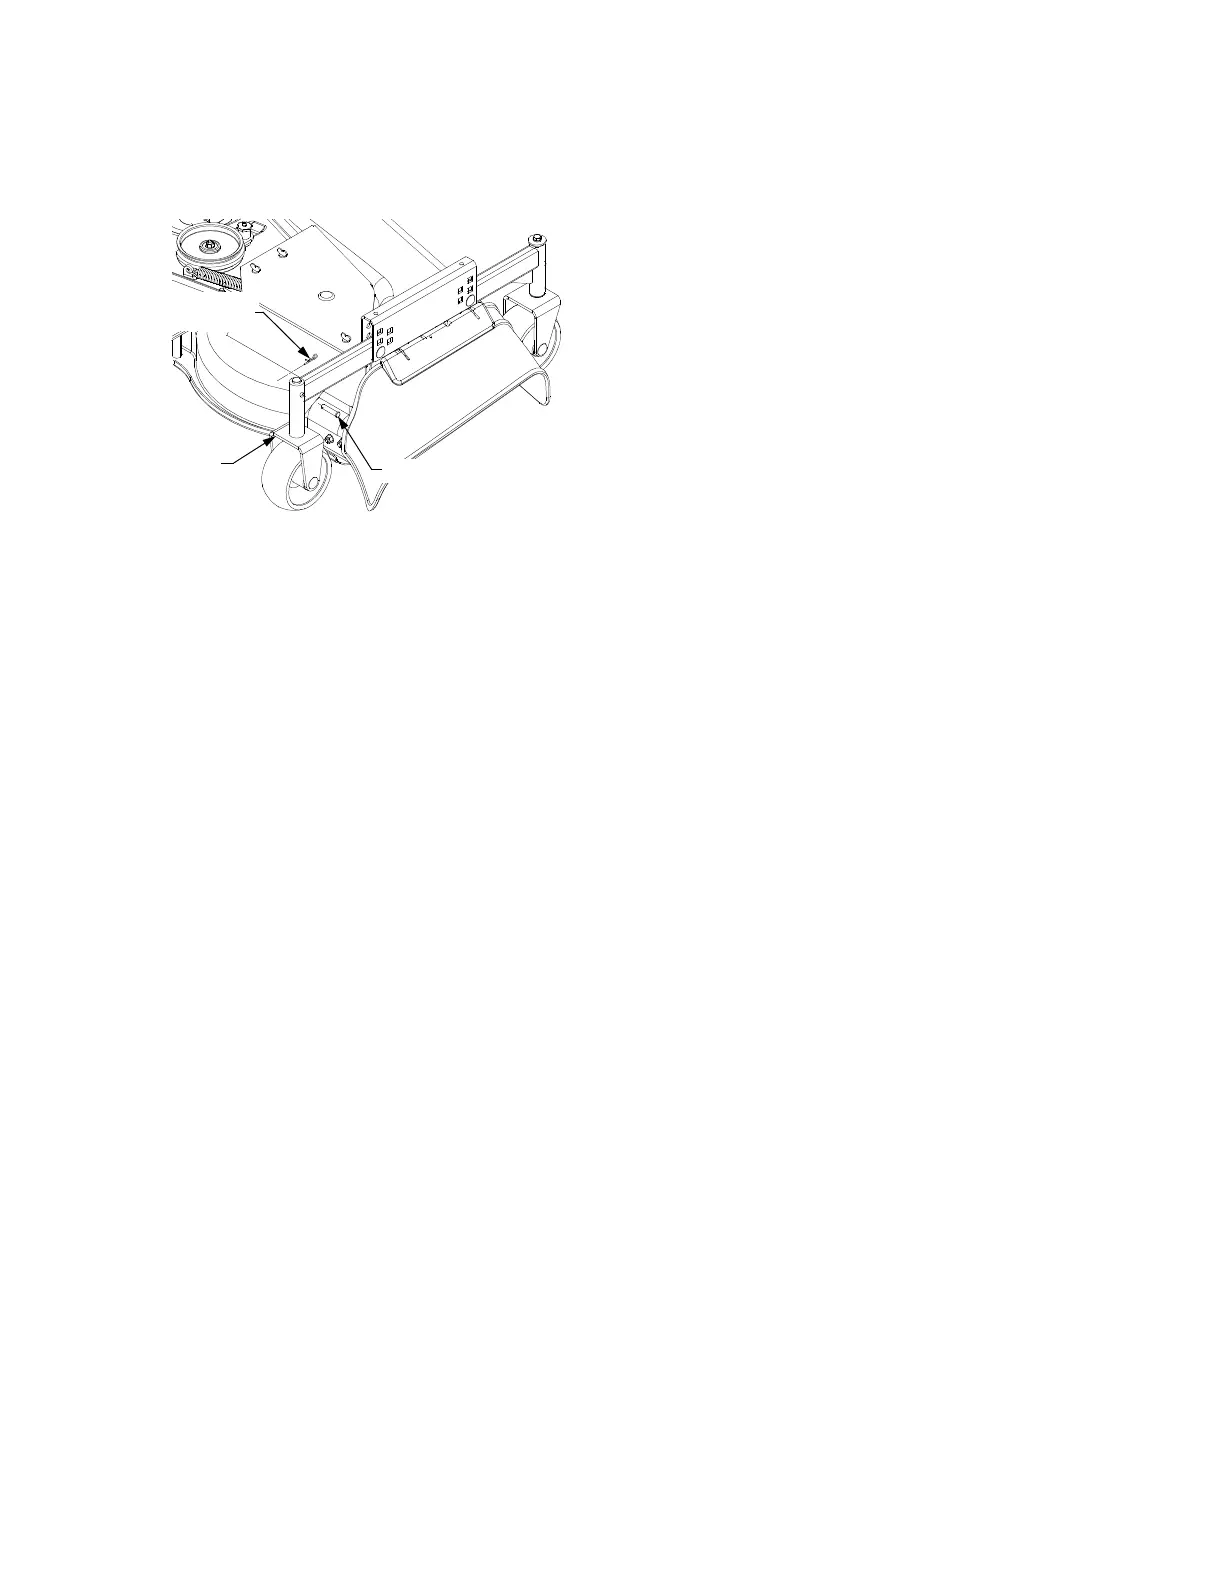
47
• Remove the internal cotter pins and clevis pins
to allow the rear deck wheels to pivot. See
Figure 60.
Figure 60
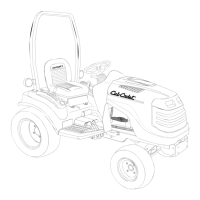
• From the right side of the tractor, grasp the
fixed link and make certain it is clear of the right
lift arm. Refer to Figure 57.
• Holding the fixed link upward, maneuver the
fixed link between the tire and fender while
sliding the deck out from beneath the right side
of the tractor.
• Reposition the rear deck wheels and reinstall
the clevis pins and internal cotter pins.
INSTALLING THE DECK
• Remove the internal cotter pins and clevis pins
to allow the rear deck wheels to pivot. Refer to
Figure 60.
• Hold the fixed link upward and maneuver the
fixed link between the tire and fender while
sliding the deck underneath the right side of the
tractor.
• Reposition the rear deck wheels and reinstall
the clevis pins and internal cotter pins.
• While noting the forms (bends) in the rod are
correctly positioned, slide the deck hanger rod
into the slots in the front receiver brackets.
Refer to Figure 59.
• From either side of the tractor, lift the deck
hanger rod and roll the deck forward until the
hanger rod aligns with slots of the deck front
roller bracket. Lower the hanger rod into the
front roller bracket slots and slide the deck
rearward to engage the rod fully forward in the
slots of the roller bracket. Refer to Figure 59.
• If installed, remove the two klik pins from the
pins of LH and RH frame mounting plates.
• Slide the deck lift arms and side braces onto
the pins of the LH and RH frame mounting
plates. Insert a klik pin through the hole of each
frame mounting plate pin. Flip the locking rings
downward and over the ends of the mounting
plate pins to lock the klik pins in place. Refer to
Figure 58.
NOTE: If necessary, start the engine and use the
tractor’s hydraulic lift lever to lower the lift arms on
the tractor. Stop the engine.
• Slide the fixed link of the deck over the RH lift
arm. Align the holes, insert the clevis pin, and
secure with the internal cotter pin (Refer to
Figure 57).
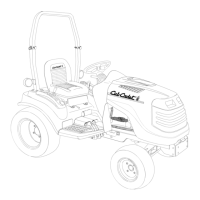
• Slide the check chain of the deck over the LH
lift arm. Align the holes, insert the clevis pin,
and secure with the internal cotter pin. Refer to
Figure 56.
NOTE: When connecting the fixed link and check
chain, it is recommended that the clevis pins be
inserted from the inside-out to minimize the
possibility of contact with the brake rods and to
ease installation of the internal cotter pins.
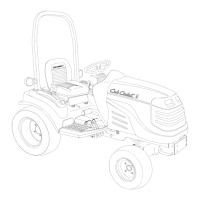
• Compress the locking collar of the drive shaft
and slide the drive shaft fully onto the PTO
shaft protruding from the front of the
transmission housing. Release the collar and
check to ensure the drive shaft is locked onto
the PTO shaft. Refer to Figure 55.
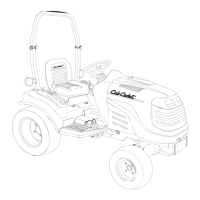
REAR
DECK
INTERNAL
COTTER PIN
CLEVIS PIN
WHEEL

 Loading...