21se c t i O n 6 — Ma i n t e n a n c e & ad j u s t M e n t s
2.
an equivalent No. 2 multipurpose lithium grease through
the steering shaft lube fitting.
Deck Wheels
fitting. Lubricate with a No. 2 multi-purpose grease applied with a
grease gun after every 25 hours of tractor operation.
Pivot Points & Linkage
Lubricate all the pivot points on the drive system, parking brake
and lift linkage at least once a season with light oil.
Adjustments
WARNING!
ignition key and engage the parking brake before
heavy gloves when handling the blades.
NOTE:
any deck leveling adjustments. Refer to Tires on page 25 for
information regarding tire pressure.
Seat Adjustment
adjustment instructions.
WARNING!
the seat is engaged in the seat-stop. Engage the
back on seat until it clicks into place.
Parking Brake Adjustment
If the tractor does not come to a complete stop when the brake
roll with the parking brake applied (and the hydrostatic relief
Cadet dealer to have the brake adjusted.
Wheel Alignment
The front wheels should toe-in approximately ⁄ to ⁄, as
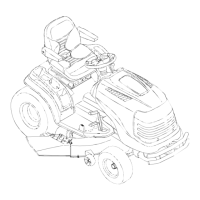
Steering/Toe-in Adjustment
To adjust front wheel toe-in, proceed as follows:
Check the steering gear to ensure it is in the centered
position. The hole in the steering segment gear will align
NOTE: A ⁄
assure the steering segment is centered.
Mark the front horizontal diameter of both front wheels at 2.
the same spot on each wheel-preferably the inner bead
flange of the wheel rims. Mark the rear horizontal diameter
of both front wheels in the same manner.
Measure the distance between the bottom edges of the
tractor frame channels and the marks on the front of
measurements should be equal.
Measure the distance between the frame and the marks 4.
6-8). Measurement D should be approximately ⁄- to ⁄-
inch less than measurement C on each side of the tractor.
5.
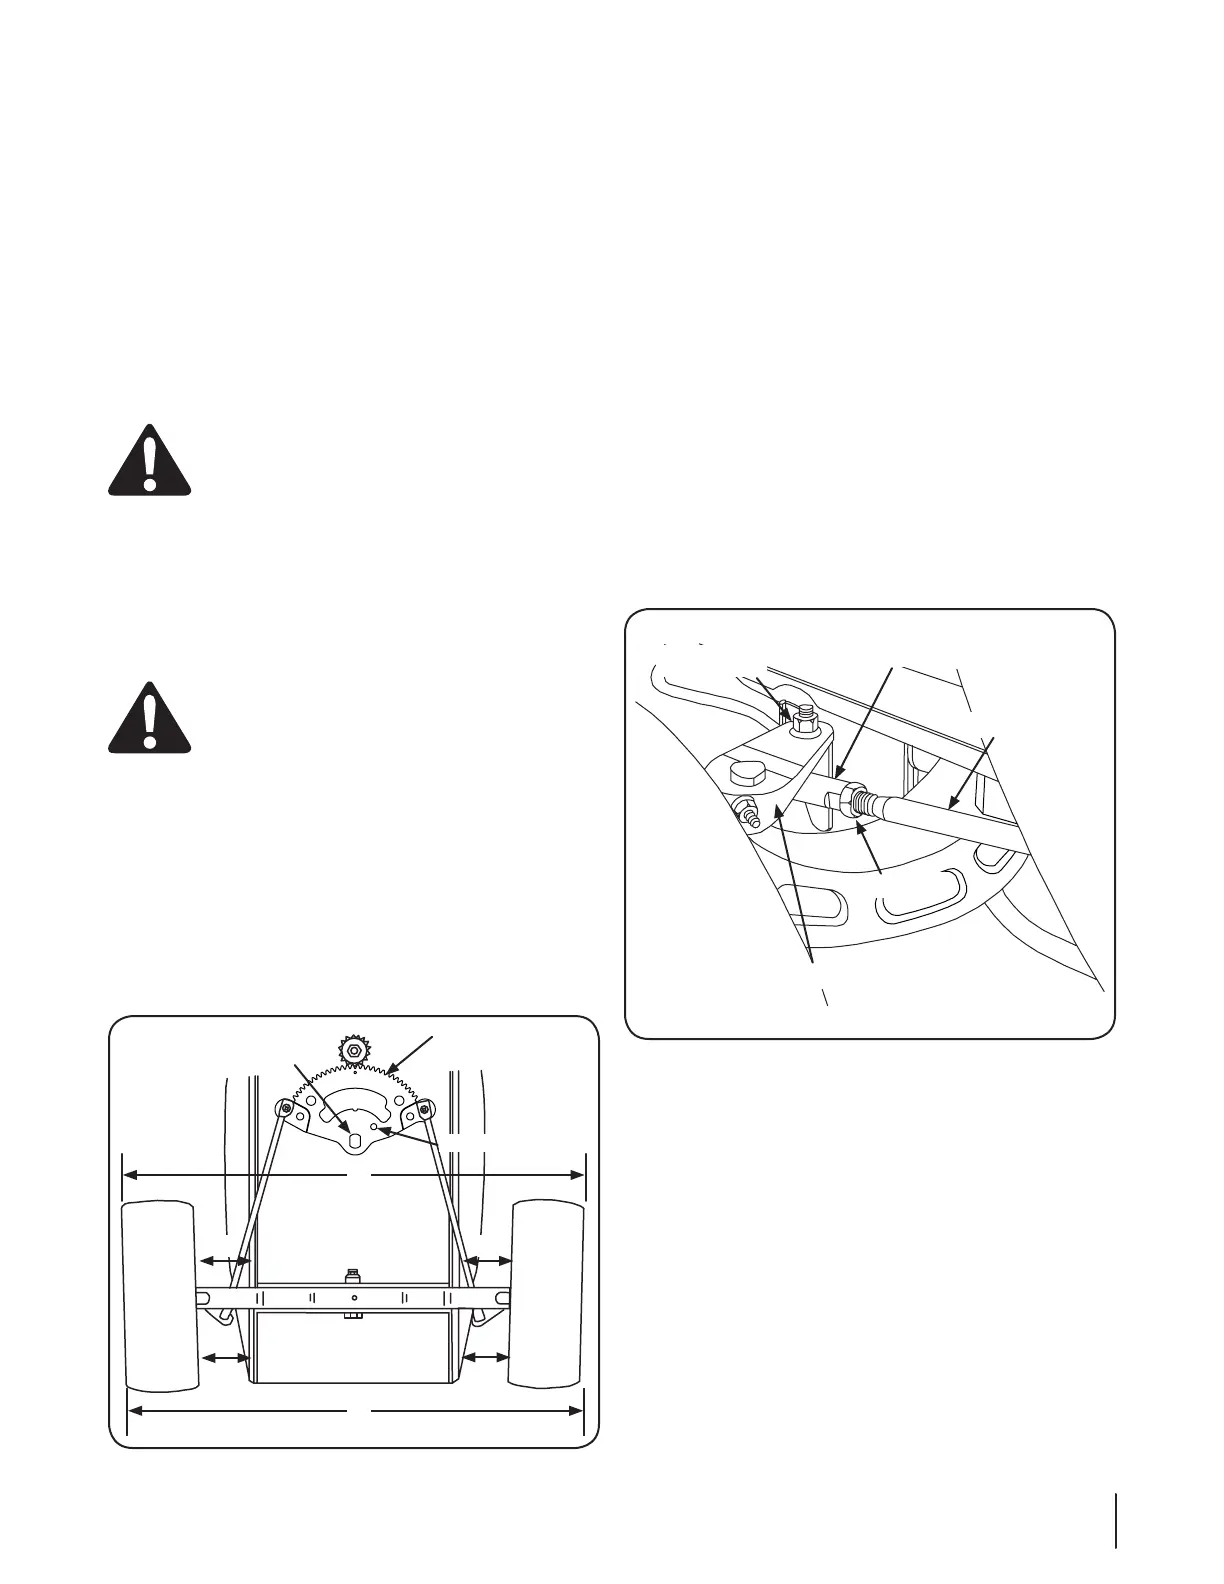
Disconnect the front ball joints from the steering arms 6.
move each wheel to achieve the required toe-in and equal
D measurements.
Making sure not to move the steering gear or either wheel, 7.
turn the ball joint in or out on each drag linkas necessary to
align with the hole in each steering arm.
Reinstall the ball joints in the steering arms and secure with 8.
the hex lock nuts. Tighten the jam nuts against the ball
joints.
Figure 6-8
Centering Hole
Steering Gear
Centered
A
B
C C
D
D
Pivot Hole
Ball Joint
Jam Nut
Drag Link
Steering Arm
Hex Lock Nut
Figure 6-9

 Loading...