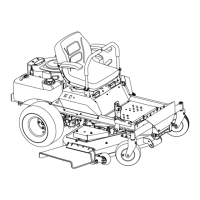
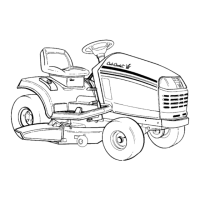
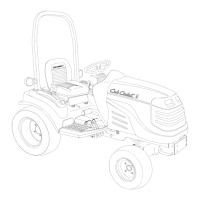
22 Section 4— Product care
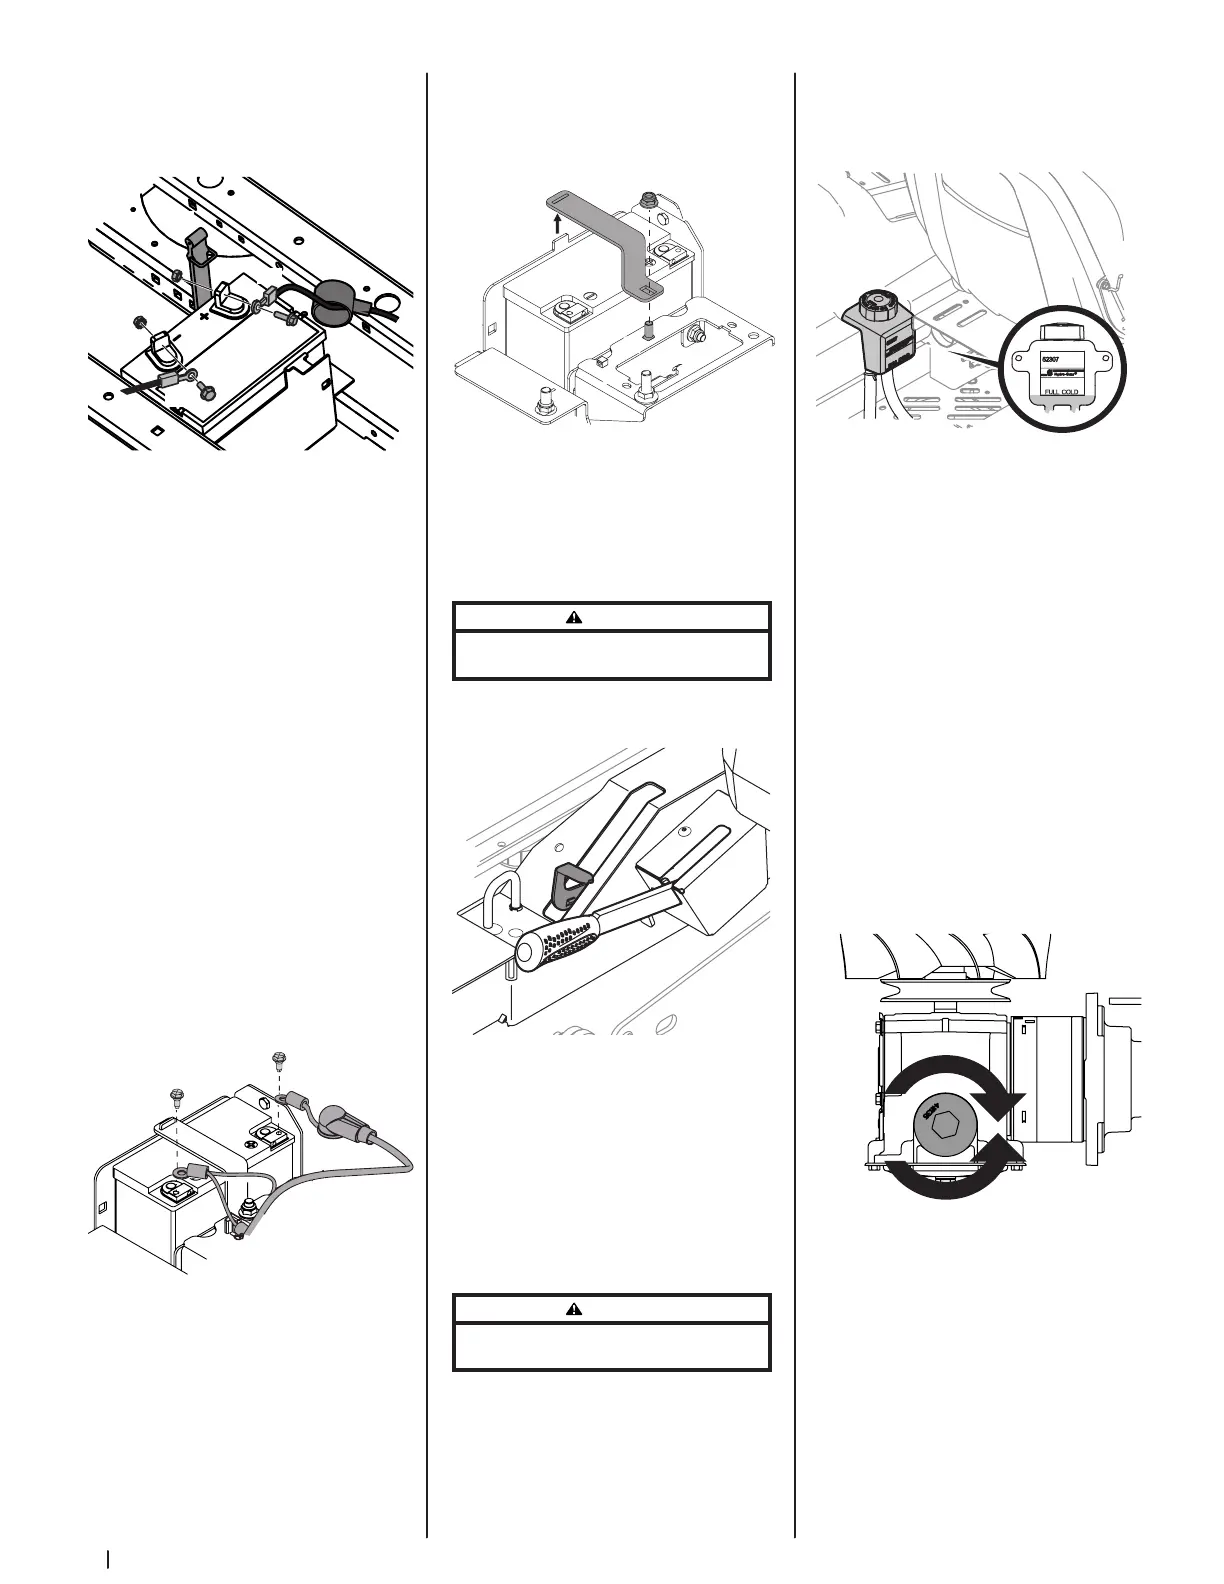
Removing the Battery (SD Models)
1. Flip the seat all the way forward.
2. Unhook the strap (a) holding the battery in
place. See Figure 4-5
Figure 4-5
3. Remove the hex cap screw and sems nut
securing the black negative battery lead (b)
to the negative battery post (marked NEG).
Move the cable away from the negative
battery post.
4. Remove the hex cap screw and sems nut
securing the red positive battery lead (c)
to the positive battery post (marked POS).
5. Carefully lift the battery out of the tractor.
6. Install the battery by repeating the
above steps in the reverse order.
Removing the Battery (SDL Models)
1. Flip the seat all the way forward.
2. Remove the hex screw securing the
black negative battery lead (a) to the
negative battery post (marked NEG).
Move the cable away from the negative
battery post. See Figure 4-6.
3. Remove the hex screw securing the red
positive battery lead (b) securing the the
red positive battery lead to the positive
battery post (marked POS). Move the
cable away from the positive battery
post. See Figure 4-6.
Figure 4-6
4. Locate and hold the carriage bolt (a) at
the front of the battery bracket (c) to
prevent it from falling. See Figure 4-7.
5. Remove the hex lock nut (b) securing
the battery bracket (c) in place. Save the
carriage bolt and hex lock nut for later
reinstallation. See Figure 4-7.
6. Lift the battery bracket (c) off from
the tab at the left side of the battery
compartment and save for later
reinstallation. See Figure 4-7
Figure 4-7
Using the Transmission Bypass Rods
If for any reason the tractor will not drive or you
wish to move the tractor, the two hydrostatic
transmissions are equipped with a bypass
rod that will allow you to manually move the
tractor short distances.
WARNING
Do not tow the tractor, even with the bypass rod engaged.
Serious transmission damage will result from doing so.
1. Engage the transmission bypass valves
by pulling the bypass lever (a) upward
and all the way back. See Figure 4-8.
Figure 4-8
2. To release the bypass lever (a), push the
lever forward.
Hydrostatic Transmission
The tractor is equipped with dual integrated
hydrostatic pumps/transaxles that is equipped
with a transmission oil expansion reservoir.
Under normal operating conditions, the oil
level in the expansion reservoir does not need
to be checked and no additional oil is needed.
If checking the reservoir oil level, proceed as
follows:
WARNING
Check the oil level ONLY before starting the tractor
when the transmission oil is fully cooled.
1. Pivot the operator’s seat forward and
clean the reservoir cap and the area
around the cap to prevent debris from
contaminating the transmission oil. See
Figure 4-9.
Figure 4-9
2. Turn the reservoir cap counterclockwise
to re-move, then check the oil level in
the reservoir. Oil should be visible at the
bottom of the cup, but the oil level must
NOT be above the “FULL COLD” line. See
Figure 4-9. DO NOT FILL THE RESERVOIR.
3. If necessary to add oil because of some
type of leakage, use a quality 20W50 motor
oil and add only enough oil to bring the
level to the “FULL COLD” line. Reinstall the
cap and fully tighten.
Note: Prior to the initial operation of the
tractor, the oil level in the reservoir may
be slightly higher than the maximum
due to air in the oil lines. Operation of
the tractor will eventually purge the air
from the lines and the oil level will settle
to the maximum.
To change the transmission oil:
1. Remove the cap from the transmission
oil expansion reservoir.
2. Place a suitable container under the
drain plug (a) on the transmission.
Remove the drain plug (a) and allow the
transmission oil to drain. See Figure 4-10.
Figure 4-10
3. Using a pair of needle-nose pliers or a
magnet remove the filter.
4. Replace the filter and drain plug (torque
to 115-135 in-lbs.) and fill through the
expansion reservoir slowly until the
“FULL COLD” line. Allow the transmission
oil to move through the system and top
off as necessary.
5. Replace the cap and fully tighten.
 Loading...