8
Assembly
Section 3
On some units, the D-handle may be preinstalled and
only require loosening the screws and adjusting the
D-handle to the operator. Go to step 4 for adjusting the
D-handle if preinstalled.
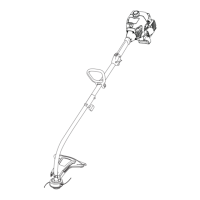
INSTALLING AND ADJUSTING THE D-HANDLE
1. Remove the screws, nuts and bottom clamp piece
that were installed on the D-handle for shipping.
2. Place D-handle the over the shaft housing and onto
the bottom clamp (Fig. 3-1). Place it a minimum of
6 inches (15.24 cm) from the end of the shaft grip.
3. Hold each hex nut in the bottom clamp recess with
a finger. Start screws with a screwdriver. Do not
tighten until you make the handle adjustment.
4. If it was preinstalled, loosen the screws on the
D-handle just enough to move the D-handle.
5. While holding the unit in the operating position
(Fig. 3-2), position the D-handle to the location
that provides you the best grip.
6. Tighten the clamp screws evenly, until the D-handle
is secure.
(4) Screws
Shaft
Housing
D-Handle
Bottom Clamp
Fig. 3-1
Fig. 3-2
(4) Nuts
Shaft Grip
Minimum 6 inches
(15.24 cm)
 Loading...