Section 6 — Maintenance & adjuStMentS
29
Changing the Engine Oil
WARNING ! If the engine has been recently run,
the engine, muffler and surrounding metal surfaces
will be hot and can cause burns to the skin. Exercise
caution to avoid burns.
Maintain oil level as instructed in engine manual. Be careful not
to spill oil on any of the belts.
To complete an oil change, proceed as follows:
1. Run the engine for a short time to warm the engine oil. The
oil will flow more freely and carry away more impurities.
Use care to avoid burns from hot oil.
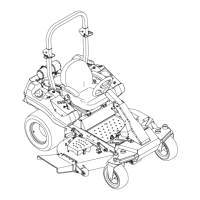
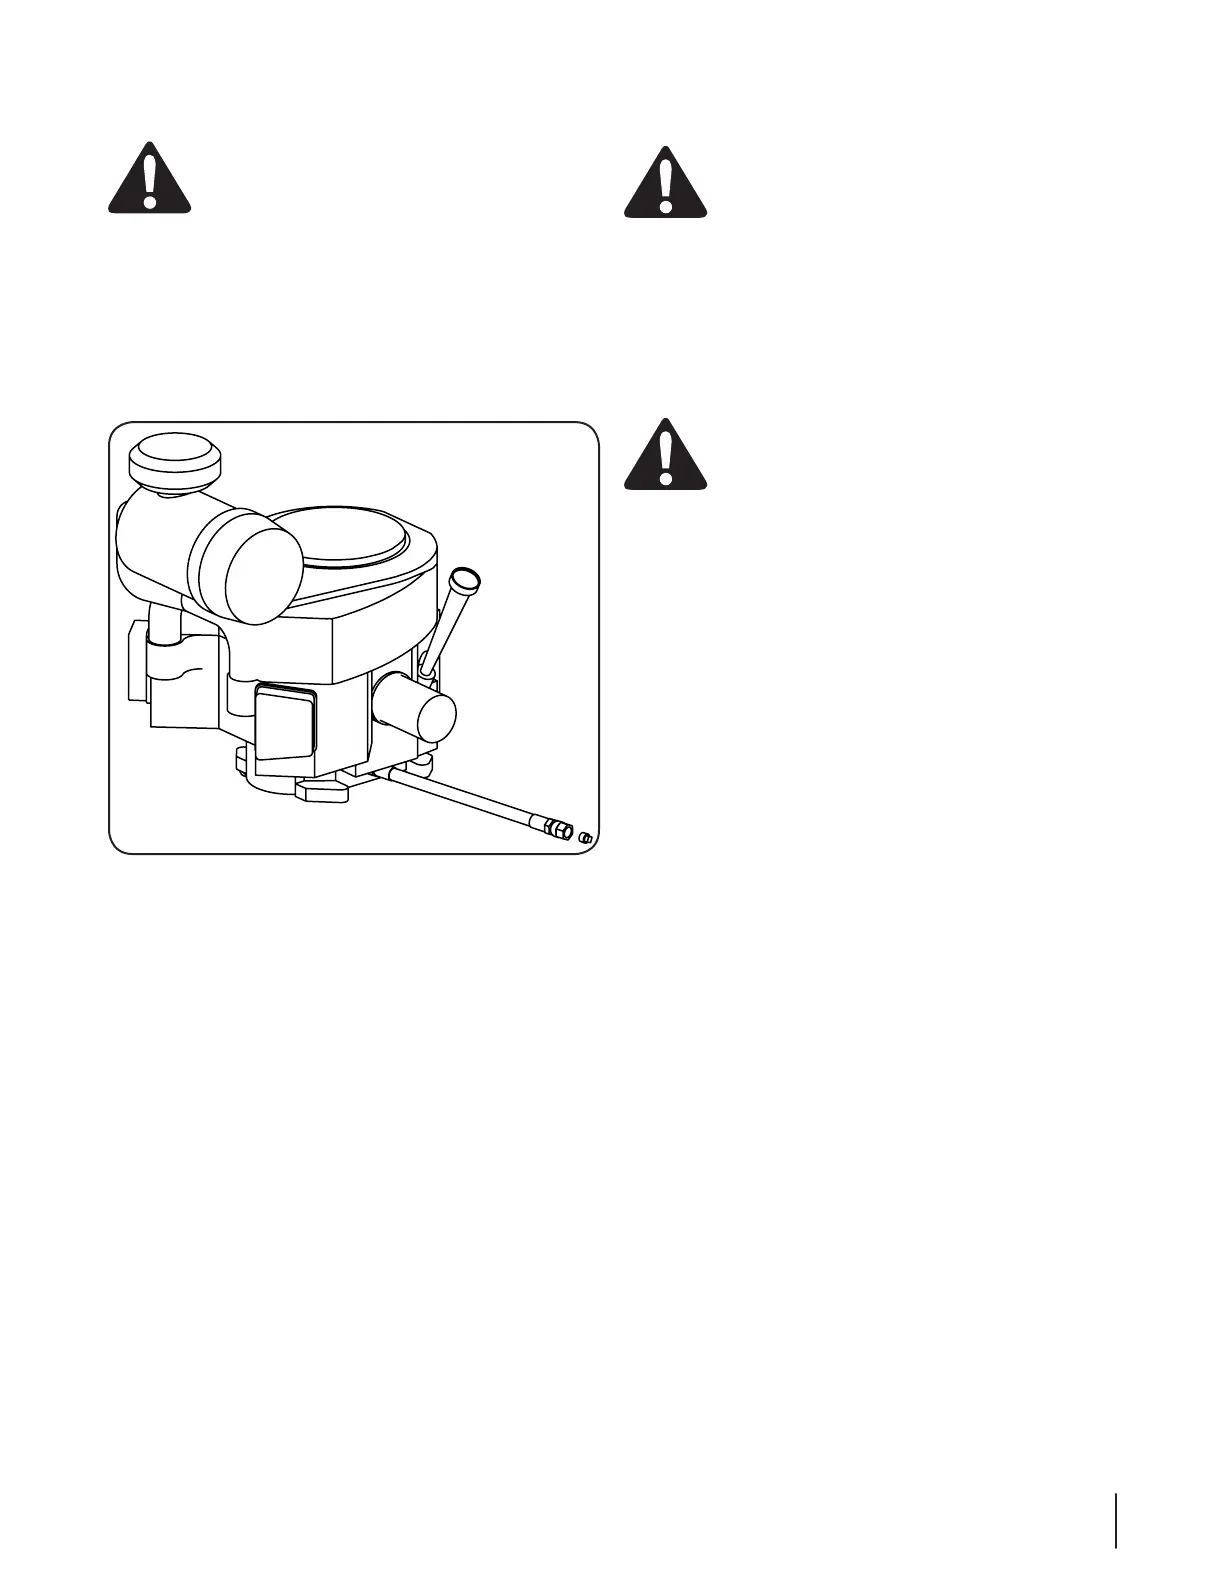
2. Locate the oil drain hose on the engine. See Figure 5-4.
Figure 5-4
3. Remove the hose from the clip securing it to the frame.
4. Route the free end of the oil drain hose toward an
appropriate oil collection container with at least a 2.5 quart
capacity, to collect the used oil.
NOTE: Avoid getting oil on the muffler when draining.
5. While holding the free end of the oil drain hose over the oil
collection container, unscrew the square-head hose plug
from the end of the hose. See Figure 5-4. Drain the engine
oil into the collection container.
6. After draining the oil, wipe any residual oil from the oil
drain hose. Thread the square head plug into the drain
hose fitting and fully tighten the plug.
7. Refill the engine with new oil. Refer to the Engine Operator’s
Manual for information regarding the volume and weight of
engine oil.
8. Place the hose back into the clip securing it to the frame.
Battery
CALIFORNIA PROPOSITION 65 WARNING!
Battery posts, terminals, and related accessories
contain lead and lead compounds, chemicals known
to the State of California to cause cancer and
reproductive harm. Wash hands after handling.
The battery is sealed and is maintenance-free. Acid levels cannot
be checked and fluid can not be added.
• Always keep the battery cables and terminals clean and
free of corrosive build-up.
• After cleaning the battery and terminals, apply a light coat
of petroleum jelly or grease to both terminals.
CAUTION: If removing the battery for cleaning,
disconnect the NEGATIVE (Black) wire from its terminal
first, followed by the POSITIVE (Red) wire. When re-
installing the battery, always connect the POSITIVE
(Red) wire its terminal first, followed by the NEGATIVE
(Black) wire. Be certain that the wires are connected to
the correct terminals; reversing them could result in
serious damage to your engine’s alternating system.
Battery Storage
1. When storing the tractor for extended periods, disconnect the
negative battery cable. It is not necessary to remove the battery.
2. All batteries discharge during storage. Keep the exterior
of the battery clean, especially the top. A dirty battery will
discharge more rapidly.
3. The battery must be stored with a full charge. A discharged
battery can freeze sooner than a charged battery. A fully
charged battery will store longer in cold temperatures than hot.
4. Recharge the battery before returning to service. Although
the tractor may start, the engine charging system may not
fully recharge the battery.
Tires
Inflation Pressure
Rear Tires — 10-12 psi max
Front Tires — 20-25 psi max
Check the tire air pressure before each use. Inflation pressure
of the rear tires is important for stability while the mower is in
operation. If the tire diameter is not equal between the two tires,
the mower will pull to one side. Keep the tires inflated to the
recommended pressures. Improper inflation will shorten the tire
service life.
• Do not inflate a tire above the maximum pressure listed
above
• Do not reinflate a tire that has been run flat or seriously
under inflated. Have a qualified tire mechanic inspect and
service the tire.
• Balance inflation pressure between the rear tires to help
maintain straight travel.
• Keep the valve caps tightened to prevent air pressure loss.
Leaking Tires
When a flat tire occurs, repair or replace immediately. The normal
procedure is to remove the wheel and replace it. If a tire is
getting soft, park the mower on the nearest level, paved area.
1. Rear Tire
 Loading...