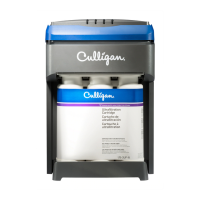
6
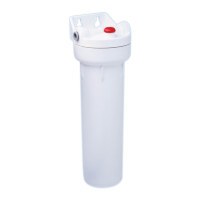
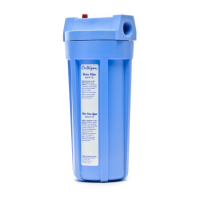
Remove the cap from the top of the system head.
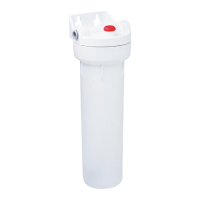
Choose an easy-to-access area under the sink to
mount the filter system.
NOTE: Allow 2˝ of clearance below system to
allow space for filter changes. The filter system
must be mounted in a vertical position.
NOTE: Filter head should be mounted on a stud
or firm surface.
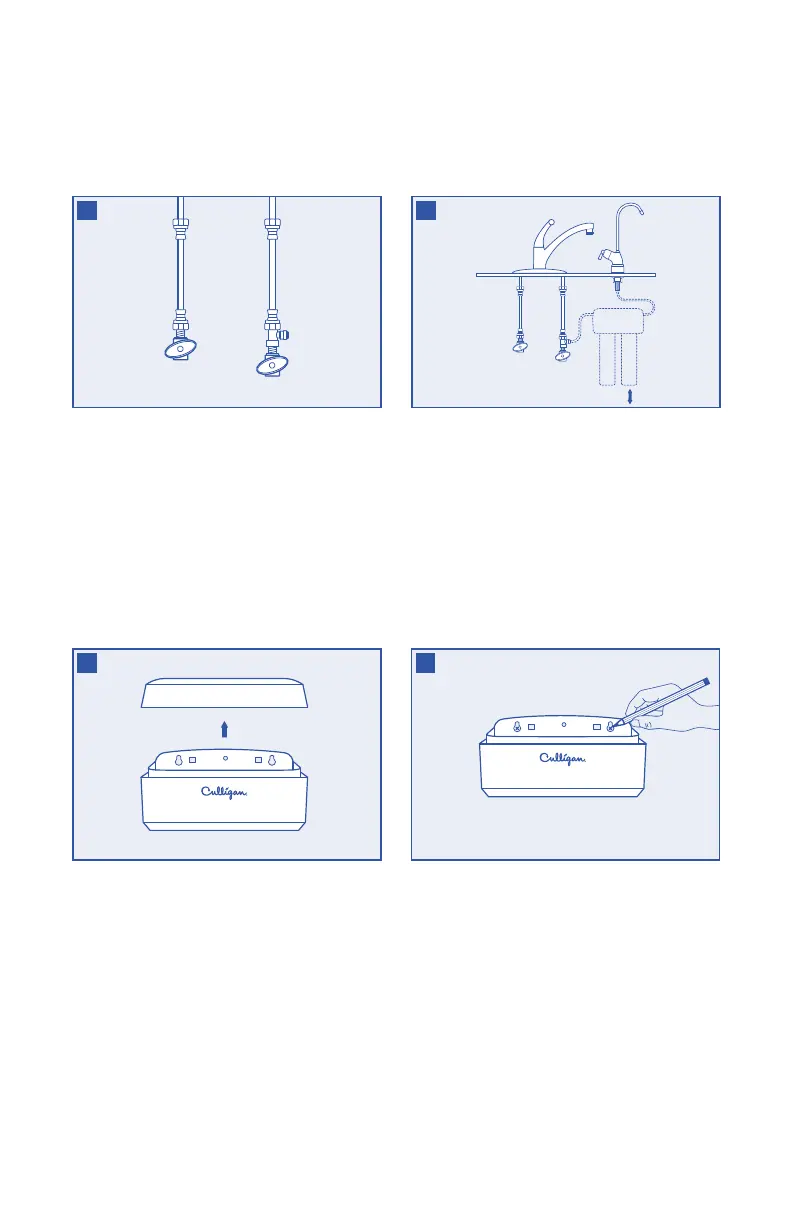
Hand-tighten the water supply adapter to the
cold water shut-off valve as shown.
Hand-tighten the lower end of cold water line
onto the top of the water supply adapter.
7
8
9
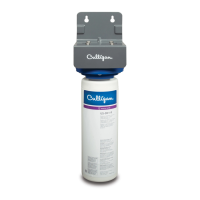
Using the built-in bracket on the back of the
system head, mark with a pencil the holes for
the mounting screws on the wall surface.
Using a 1/8˝ drill bit, drill two pilot holes
for the mounting screws. Insert mounting
screws into the wall with a screwdriver,
leaving approximately 3/8˝ of each mounting
screw exposed.
Hang the system head on the eyes of the bracket
and replace the system head cap.
10
2˝