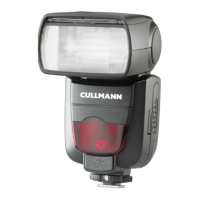
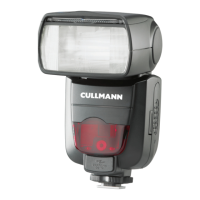
4140
Slave Unit Setting
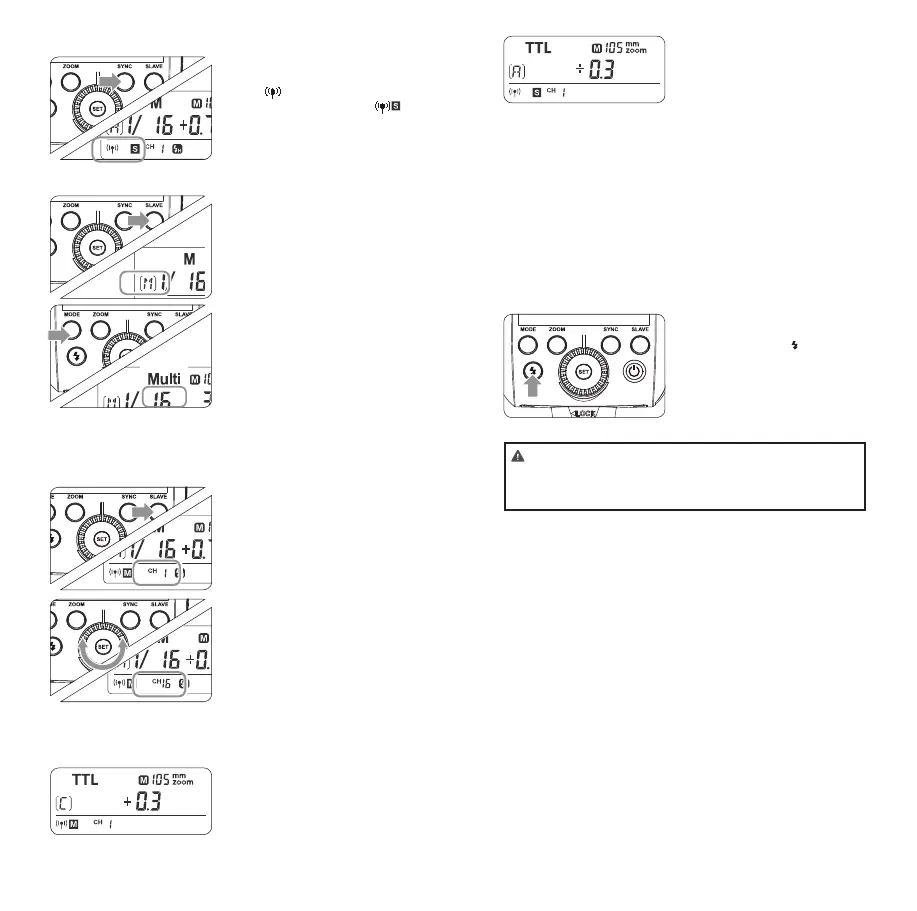
1
Long Press the < SYNC >
button for 2 seconds so that
< > is blinking. Turn the
Select Dial until the < >
is displayed on the LCD
panel, which means the
slave unit.
2. Setting Master Unit’s Flash Mode
1
Press the < SLAVE > Button
to choose the group from
M/A/B/C. Then, press the
< MODE > Button so that
the master unit can work
in OFF/TTL/M ash mode.
Choose one of them as the
ash mode of master unit.
2
Press the < MODE > Button
for 2 seconds to switch to
Multi mode.
3. Setting the Communication Channel
If there are other wireless ash systems nearby, you can change
the channel IDs to prevent signal interference. The channel IDs of
the master unit and the slave unit(s) must be set to the same.
1
Long press the < SLAVE >
Button for 2 seconds until
the channel IDs is blinking.
Turn the Select Dial to
choose a channel ID from
1 to 16.
2
Press the < SET > button to
conrm.
4. TTL: Fully Automatic Wireless
Flash Shooting
Autoash Shooting with One Slave Unit
2
Slave Unit Setting
• Set the CUlight FR 36N
that to be controlled as
the wireless slave unit.
(Page 40)
• The slave unit can be set
as A/B/C.
3
Check the communica-
tion channel
• If the master unit and slave
unit(s) are set to a different
channel, set them to the
same channel. (Page 40)
4
Position the camera and
ashes
• Position the camera and
ashes as the picture
shows. (Page 43)
5
Check the ash operation
• Press the master unit’s
Test Button< >.
• Then, the slave unit will
re. If not, adjust the slave
unit’s angle toward the
master unit and distance
from the master unit.
• The slave unit might be out of order or re an unwanted
ash due to the nearby wi routers or other 2.4G equip-
ments. If in this case, please adjust the ash’s channel or
turn off the 2.4G equipments.
1
Master Unit Setting
• Attach a CUlight FR 36N
camera ash on the
camera and set it as the
master unit. (Page 39)
• A/B/C can be set as TTL
mode independently.
FR36_BDA_Nikon 171005.indd 40-41 06.10.2017 15:10:51