Assembly Continued,
5. Lubricate the bolting, unless pre lubricated
bolt nuts are being used. Replace the hex nuts
finger tight. Torque the nuts using proper
bolting procedures in a crisscross pattern to
no more than 1/4 of the nominal torque value
specified in Table 4. After all nuts have been
initially torque, increase the torque by 1/4 of
the specified nominal torque using proper
bolting procedures again. Repeat the process
until all nuts are tightened to the specified
nominal value. Apply final torque once again,
should any nut still turn, repeat the torque
process on all nuts.
6. Install new packing box parts using steps 11
thru 13 of the replacing packing procedure.
NOTE: Should minor adjustments be required, re
clamp the actuator and valve stems together. Do
not screw the valve stem in or out of the stem
connector as this may change the orientation of
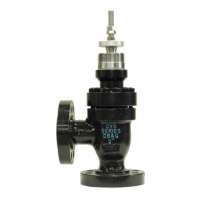
the valve plug shown in Figure 5.
7. Mount the actuator using correct procedures
referenced in the appropriate actuator
manual. Check for packing leakage when
putting the valve into service. Re-torque
packing flange nuts as required.
PARTS ORDERING
The CVS DBQ and DBAQ Series Valves are
identified by a serial number located on the valve
body. Please reference this number when
contacting a CVS Controls Ltd. Representative for
technical support or part inquiries.
When shipped as part of a complete valve
assembly with a CVS Controls actuator, the same
valve serial number can be found on the actuator
nametag as well as the valve body.