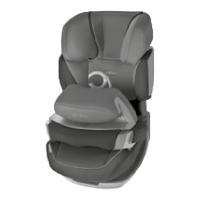
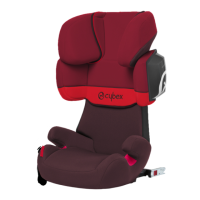
ISOFIX-CONNECT MODIFICATION
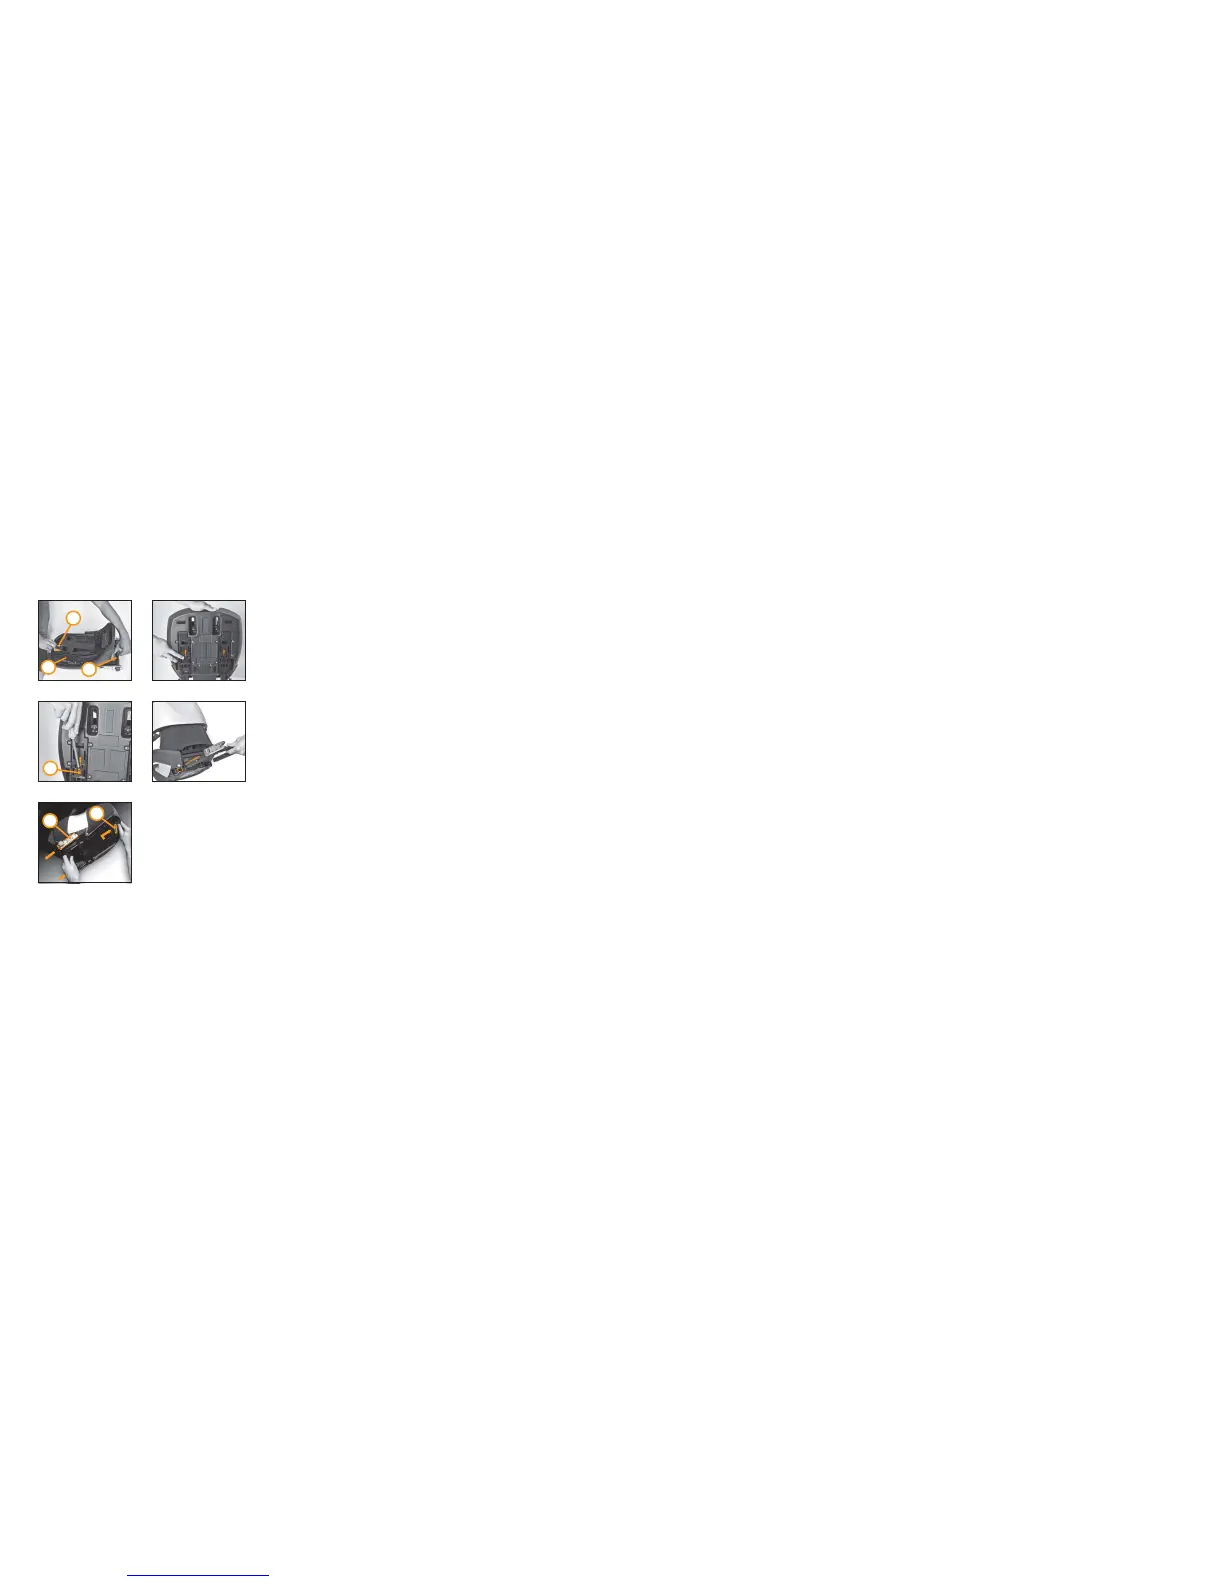
7. Press the adjusting handle (c) of the main frame (w) and pull out the ISOFIX
connectors (o) until you feel a resistance.
8. Simultaneously hold the adjusting handle (c) and release the two snap-fits (A) with
your fingers or the aid of a screw driver.
10. Press the handle (v) situated centrally on the bottom of the seat cushion (d) and
push the ISOFIX connectors (o) into the seat cushion until they are completely
hidden.
11. We refer to the section “INSTALLING OF THE CHILD SEAT WITH THE ISOFIX-CONNECT
SYSTEM” for further installation steps.
9. Shift the ISOFIX connectors (o) into the designed chamber on the bottom side of
the seat cushion (d) until you feel a resistance.
20
Note! In correct position, the ISOFIX connectors (o) release automatically from the
main frame (w), simply by force of gravity.
Note! Please keep all spare parts together and store them properly.
Warning! Observe a minimum drop height to avoid damaging parts of the child seat
or hurting yourself or others.
Warning! Please make sure that the adjustment and fixation teeth are on top of the
ISOFIX Connect arms before mounting to the booster seat.
Warning! For reassembly please proceed with these steps in reverse order. Check the
user guide in advance to make sure no parts are missing.
o
v
A
19
o
w
c
ISOFIX-연결 변경
경고! 부스터좌석에 장착하기전에 ISOFIX 연결막대의 상단에 고정 및 조절장치를
확인해주십시요.
경고! 재조립을 위해서 이절차를 반대순서로 진행해주세요. 누락되는 부품이 없도록 미리
사용설명서를 확인해 주십시요.
경고! 아이좌석의 손상부분을 피하기위해서 최소한 낙하높이를 인지해주세요.
7. 고객님이 힘이들때까지 주프레임(w)의 조정핸들(c)를 누르고 ISOFIX 연결장치(o)를
빼네세요.
8. 동시에 조정핸들(c)를 잡고 고객님의 손가락이나 스크류드라이버로 두개의 조임쇠를
해제하세요.
10. 좌석쿠션(d)의 바닥 중앙에 위치한 핸들(v)를 누르고 그것이 완전히 가려질때까지
좌석쿠션안으로 ISOFIX 연결장치(o)를 미세요.
11. “ISOFIX-연결 시스템이 있는 아이좌석 설치하기”부분을 참조해 주십시요.
주의! 올바른 위치에서, ISOFIX 연결장치(o)가 자동적으로 주프레임(w)에서 해제하세요,
단순히 중력의 힘으로
9. 고객님이 힘이들때까지 좌석쿠션(d)의 바닥면에 지정된공간에 ISOFIX 연결장치(o)를
바꿔주세요.
주의! 모든 예비부품을 함께 적절히 보관해 주십시요.
ISOFIX連結方式
警告!請確認調整及固定溝槽都已拉出朝上.
警告! 要重新組合時請按上述相反步驟組裝, 請先閱讀使用說明及確認零配件齊全.
警告! 建議拿高一點操作以上步驟以傷害到您自己,他人或物品.
7. 按下汽座主體(w)下方的調整把手(c)並拉出ISOFIX插銷連接杆(o)
8. 拉住調整把手(c), 可用螺絲起子或是手按下主體底部的凸起紐(A)
10. 按下座墊下(d)的調整把手(v)並將ISOFIX插銷桿(o)收回到汽座下方收藏處.
11. 可參考“ 安裝ISOFIX汽座連結“以做連結步驟.
注意! 在正確操作下, ISOFIX 插銷連結桿(o)可完全拉出.
9. 將插銷桿(o)完全拉出.
注意! 請保留所有零配件在一起並善收藏
 Loading...