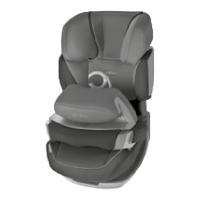
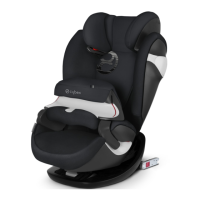
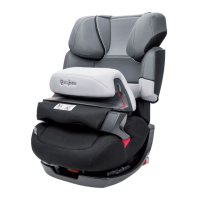
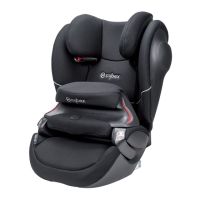
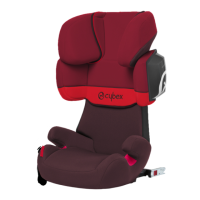
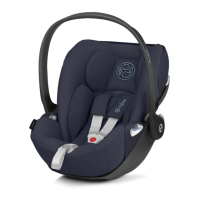
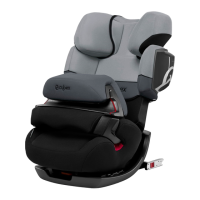
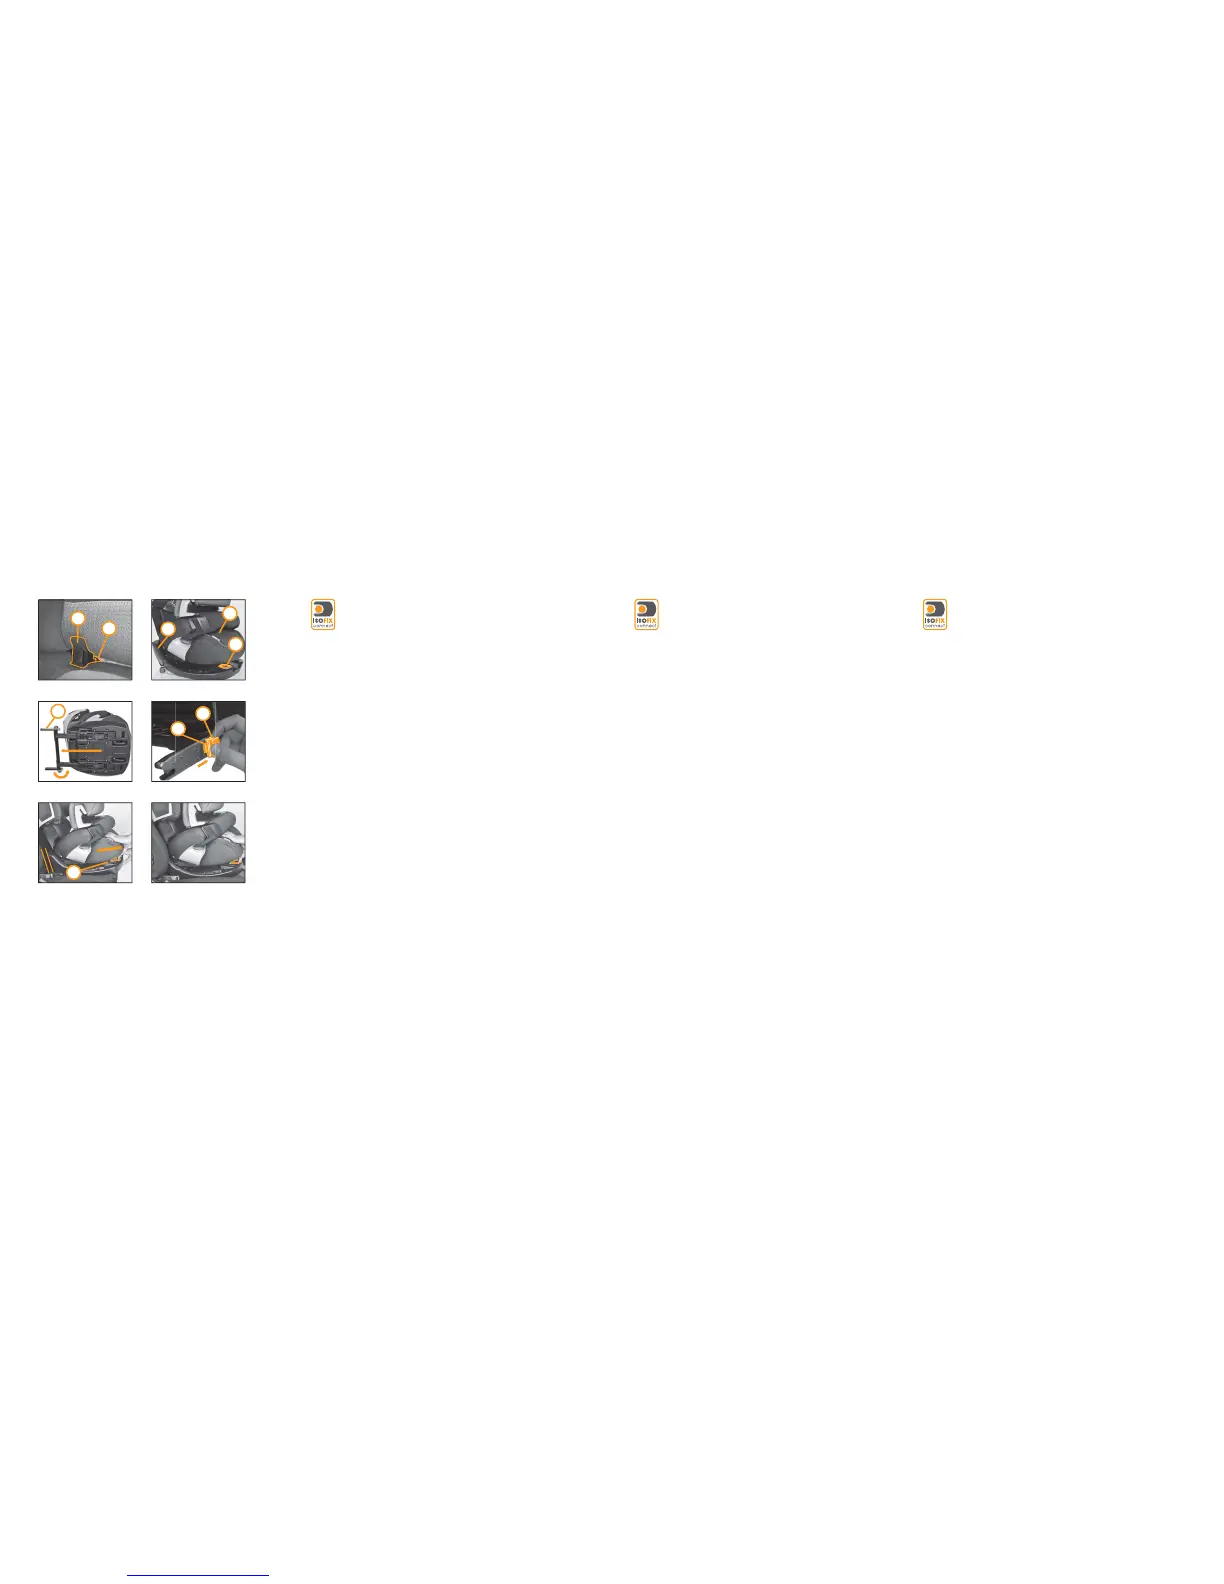
INSTALLING OF THE CHILD SEAT WITH THE ISOFIX-CONNECT SYSTEM
The safety of your child will be increased using the ISOFIX-CONNECT system
linking the CYBEX PALLAS 2-fix tightly with the vehicle. Your child will still be
buckled up using the car’s three-point belt.
Note! The car’s ISOFIX anchorage points (j) are two metal rings per seat, located
between the backrest and the seat cushion of your vehicle seat. If in doubt please
refer to your vehicle owner’s manual.
Note! Make sure that the two green security buttons (b) of the connectors (o) are not
sticking out. If necessary, release them by pushing and pulling back the red release
button (y). Repeat this procedure with the other connector.
Note! For additional information please refer to the section “SECURING THE CHILD”.
– Push both of the connectors (o) into the ISOFIX-CONNECT guides (u) until you hear
them clicking into the ISOFIX anchorage points (j).
– Make sure that the CYBEX PALLAS 2-fix is connected properly by trying to pull the
child seat out.
– The green security buttons (b) have to be clearly visible on both sides and must
stick out of the red release buttons (y).
– With the adjusting handle (c), located on the main frame (w) of the CYBEX PALLAS
2-fix, you can now adjust the position of the child seat.
– You can now buckle up the child. Please refer to section “SECURING WITH SAFETY
CUSHION”.
– Connect the two enclosed ISOFIX-CONNECT guides (u) (longer parts pointing
upward) with the ISOFIX anchorage points (j). An opposite installation (longer parts
pointing downward) is also possible.
– Pull the adjusting handle (c), located under the seat cushion (d) on main frame
(w) of the CYBEX PALLAS 2-fix.
– Pull the connectors (o) as far out as they will go.
– Rotate the connectors (o) by 180° until they point into the direction of the ISOFIX-
CONNECT guides (u).
9
10
j
w
d
c
c
o
y
b
u
ISOFIX-연결시스템이 있는 아이좌석 설치하기
고객님의 아이의 안전은 차량에 싸이벡스 팔라스-픽스 단단히 연결된 ISOFIX-
연결시스템을 사용함으로써 증가될 수 있습니다. 고객님아이는 차량의 3
점식벨트를 사용해서 매어지게 될겁니다.
주의! 차량의 ISOFIX 정박점(j)는 좌석마다 고객님 차량좌석의 좌석쿠션과 등받이 사이에
두개의 금속고리가 있습니다. 의문이 가신다면 고객님 차량메뉴얼을 참고해 주십시요.
주의! 연결장치(o)의 두개의 녹색안전버튼(b)이 튀어나오지 않게 확인해주십시요.
필요시에 그것을 누르고 빨간해제버튼(y)을 뒤로 당겨서 해제하십시요. 다른연결장치도
이절차를 반복해주십시요.
주의! 추가적인 정보를 위해서 “아이안전확보하기”부분을 참조해 주십시요.
– 고객님은 그부분이 ISOFIX정박점(j)에서 딸깍소리를 들릴때까지 ISOFIX-연결홈(u)
안으로 양쪽연결장치를 누르세요.
– 싸이벡스 팔라스-픽스는 아이좌석을 빼내려고 할때까지 제대로 연결되는 것을
확인해주십요.
– 녹색 안전버튼(b)은 양쪽면에 명확히 보여야 하고 빨간해제버튼(y)은 싸이벡스 팔라스
– 픽스의 주프레임(w)에 있는 조정핸들(c)과 함께 밖으로 빠져나와야 합니다, 고객님은
이제 아이좌석의 위치를 조절하셔도 됩니다
– 고객님은 이제 아이에게 벨트를 매어주세요. “안전쿠션으로 안전확보하기”부분을 참조해
주십시요.
– 동봉된 ISOFIX 정박점(j)이있는 두개의 ISOFIX-연결 홈(u)을 연결하세요(더긴부품이
윗방향). 반대방향설치(더긴부품이 아래방향) 또한 가능합니다.
– 싸이벡스 팔라스-픽스의 주프레임(w)에 좌석쿠션(d)아래 위치한 조정핸들(c)을
당기세요
– 연결장치를 뺄수있을만큼 많이 연결장치(o)를 당기세요
– 그것이 ISOFIX-연결홈(u)의 방향을 가리킬때까지 180°까지 연결장치(o)를 돌리세요.
安裝ISOFIX汽座連結
CYBEX Pallas 2-fix可快速插入ISOFIX連結固定汽座. 但是孩童依然需要扣
上三點式安全帶.
注意! 汽車ISOFIX連結勾(j) 是藏在座椅內的兩個鐵鉤環, 位在汽車椅背及椅墊中間. 若是有任
何疑問,可參考您愛車的說明書.
注意! 請確認插銷上(o)安全按鈕(b)按住往後拉. 另一邊插銷也是重覆一樣的動作.
注意! 其他相關資訊請參閱“保護兒童安全“部分
– 將兩邊ISOFIX插銷(o)插入汽車椅背內ISOFIX連結座(u), 直到您聽到卡住ISOFIX連結勾(j)
的聲音.
– 請確認CYBEX Pallas 2-fix已經安裝完, 可試著將Pallas 2-fix往外拉, 確認是否已固定.
– 可清楚地看到兩側的綠色安全紐, 也可拉住坐墊下的躺背調整器(c)作調整椅背角度.
– 幫孩童綁上安全帶. 請參閱“ 前防護墊的安全“ 部分
– 穿過ISOFIX連結座(u) (長邊朝上)插入ISOFIX連接勾(l). 顛倒安裝(長邊朝下)也可
安裝.
– 拉出CYBEX Pallas 2-fix椅背調整器(c),(位於汽座主體w座墊下方d).
– 拉出後方ISOFIX連結插銷(o), 完全拉出.
– 將插銷組翻轉180度朝向ISOFIX連結座(u).
 Loading...