Do you have a question about the CYBEX The New Bike and is the answer not in the manual?
Consult a physician before using equipment. Stop exercising if you feel pain, faint, dizzy or short of breath.
Maximum weight not to exceed 400 pounds.
Indicates Type B shock protection and suitability for non-flammable environments.
Shows compliance with UL1647 and MET listing for Exercise Equipment.
Physiological alterations from regular exercise sessions at intensity levels exceeding daily functions.
Continuous submaximal exercise, maintaining body's oxygen demand, like jogging, walking, or biking.
Short bursts of activity near maximal effort, without oxygen, for limited periods.
How often exercise sessions take place, recommended 3-5 days/week on alternate days.
Level of exertion during a session, determined by goals and heart rate.
Actual duration of exercise, excluding warm-up/cool-down, related to intensity.
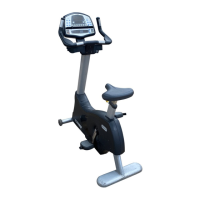
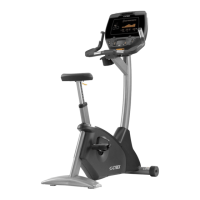
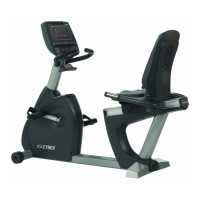
Seat height adjustment for proper leg extension (no hyperextension) with heel on pedal.
Seat position adjustment for leg extension; adjust forward/back for knee flexion.
Prepares muscles/joints with mild calisthenics, low-intensity pedaling, and stretching.
Conditioning phase where intensity elevates heart rate to target zone for desired training effect.
Low-level exercise (at least 3 mins) to restore circulation and heart rate to resting levels.
Explains error codes (Error 1-4) and their corresponding solutions for machine issues.
Describes various test modes (Test 1-5) for checking display, battery voltage, and calibration.
Key display areas including Program Center, Intensity, Duration, Status, Profile, and Training Zone Chart.
Includes HOLD/SCAN button, RJ7 Serial Port, and Magazine Rack for functionality and convenience.
Important caution to consult a physician and stop exercising if experiencing adverse symptoms.
Sensors for accurate heart rate monitoring during workouts; requires both hands on sensors.
Begin workout by pedaling and pressing START; defaults to MANUAL MODE for 20 mins at level 2.
Intensity adjustment via plus/minus keys in the intensity window during manual or program modes.
Time adjustment via plus/minus keys in the duration window during manual or program modes.
Details displayed upon workout completion: Level, Speed (MPH/KPH), Watts, Calories, Distance (Miles/KM), and Time.
Covers daily cleaning tasks and monthly checks by a qualified service technician.
Information on contacting CYBEX Customer Service and using only genuine replacement parts.
Includes choosing a location, unpacking, and required tools like Allen wrenches and screwdrivers.
Steps for connecting monitor cables, securing handlebars, and attaching the console.
Includes installing the wire cover, connecting the heart rate cable, and securing the seat assembly.
Requires a 9/16" Wrench.
Place the unit and check for rocking by gently rocking it back and forth.
Use wrench to turn leveling guides clockwise (lower) or counterclockwise (raise) for stability.
Repeat adjustments for both guides until the bike/SR no longer rocks.
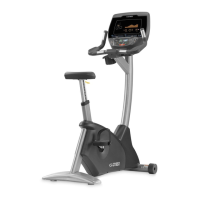
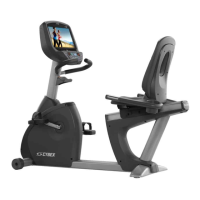
| Display Type | LCD |
|---|---|
| Transport Wheels | Yes |
| Drive System | Belt |
| Heart Rate Monitoring | Yes |
| Seat Adjustment | Yes |
| Handlebar Adjustment | Yes |