Do you have a question about the CycleOps Magnus and is the answer not in the manual?
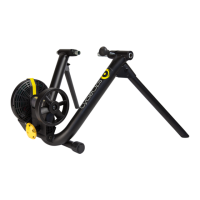
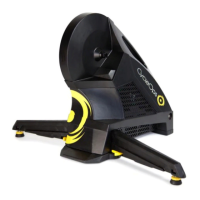
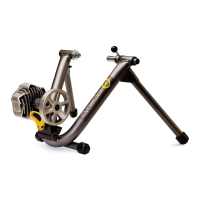
Diagram showing all trainer components with alphabetical labels for reference.
Extend trainer legs and adjust foot pads for a level stand on uneven surfaces.
Insert bolt action tube and quick release lever into the trainer frame and secure.
Position the folded trainer frame on the ground and insert the L-bolt as shown.
Place resistance unit between frame brackets and guide L-bolt through its center.
Hold resistance unit upright and insert nut into its designated position.
Guide bolt through frame and resistance unit, securing it with a 1/2” wrench.
Fold resistance unit into frame and thread clutch knob clockwise onto L-bolt.
Fill the bicycle tire to the pressure recommended by the manufacturer.
Use provided skewer only; improper use may cause damage. Ensure correct handle placement.
Lift bike and position left side of skewer into the left side of the trainer.
Pull down quick release lever to capture skewer's right side, ensuring it's locked.
Adjust non-drive side by pulling and rotating shaft to the correct position.
Insert power cable and plug in; motor sound and blue light indicate power on.
Turn resistance unit knob until it clicks to tighten roller against tire.
Use slick tires for less noise/vibration. Harder tires prolong rear tire life.
Important safety warnings: moving parts, children, pets, and general maintenance.
Details on frame/electronics warranty, exclusions, and how to make a claim.
Statements regarding compliance with FCC and Industry Canada regulations for digital devices.
| Brand | CycleOps |
|---|---|
| Model | Magnus |
| Category | Exercise Bike |
| Language | English |