Do you have a question about the CycleOps PRO 300PT and is the answer not in the manual?
Position the heart rate monitor strap on your torso beneath the pectoral muscles.
Attach the console bracket to the bike handlebars by inserting screws and tightening.
Arrow buttons are used to scroll through fields, move cursors, and adjust values.
Mode and Select buttons are used to toggle options and enter menu screens.
The top bar displays different functions that can be toggled through.
Displays total trip or interval distance in miles or kilometers.
Display of the current time of day on the console.
Indicates when a signal is transmitting from the hub to the receiver.
How to toggle between Max, Average, and Current readings for metrics.
Real-time display of the current wattage placed on the flywheel.
Display of raw torque value applied to the hub, not power in watts.
Select the ride type to configure the console for different training modes.
First step in the console setup process.
Second step in the console setup process.
Third step in the console setup process.
Select the recording rate (1 or 2 seconds) to optimize storage time.
Configure speed units between MPH and KPH.
Manually enter the starting odometer reading.
Toggle audible alerts between ON and OFF.
Navigate to and select RETURN to exit setup and start a ride.
Navigate to SETUP and then AVERAGE in the main menu.
Select the metric (e.g., WATTS AVG) to configure its averaging.
Set the number of data points for WATTS AVG averaging.
Navigate to SETUP USER RIDE and then ZEROS.
Select the ZEROS option to configure zero reading inclusion.
Reset user settings or return to the main menu.
Navigate to SETUP and then TIME AND DATE.
Select TIME AND DATE to enter the configuration screen.
Set the time format (12/24 hour) and enter the current time.
Navigate to SETUP and then MODES.
Configure SLEEP TIME settings to determine console sleep duration.
Select COMP MODE for 200E or PT300 based on your CycleOps model.
Set RECORD CNTR for SPEED or HEART to control ride time clock behavior.
Adjust BACKLIGHT settings for user interface illumination.
Manually change the hub I.D. by toggling with Select and saving with Mode.
Learn the hub ID by advancing to 'learn 1' and holding Select.
Clear memory by holding MODE and SELECT simultaneously on the dashboard.
Clear memory via the MAIN MENU by selecting CLEAR MEMORY.
Navigate to the TEST menu from the MAIN MENU.
Displays console version, support contact information, and test options.
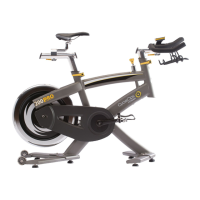
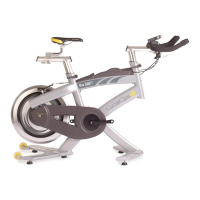
| Weight Capacity | 300 lbs |
|---|---|
| Transport Wheels | Yes |
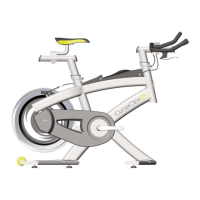
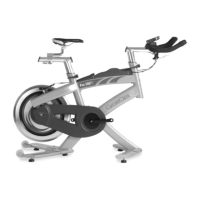
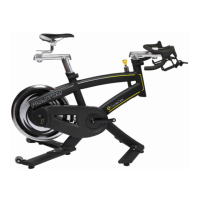
| Bike Type | Indoor Cycle |
| Console Features | Time, Distance, Calories, Heart Rate |
| Seat Adjustment | Up/Down, Fore/Aft |
| Handlebar Adjustment | Up/Down |
| Dimensions | 48" L x 21" W |
| Adjustability | Seat and Handlebar |