2
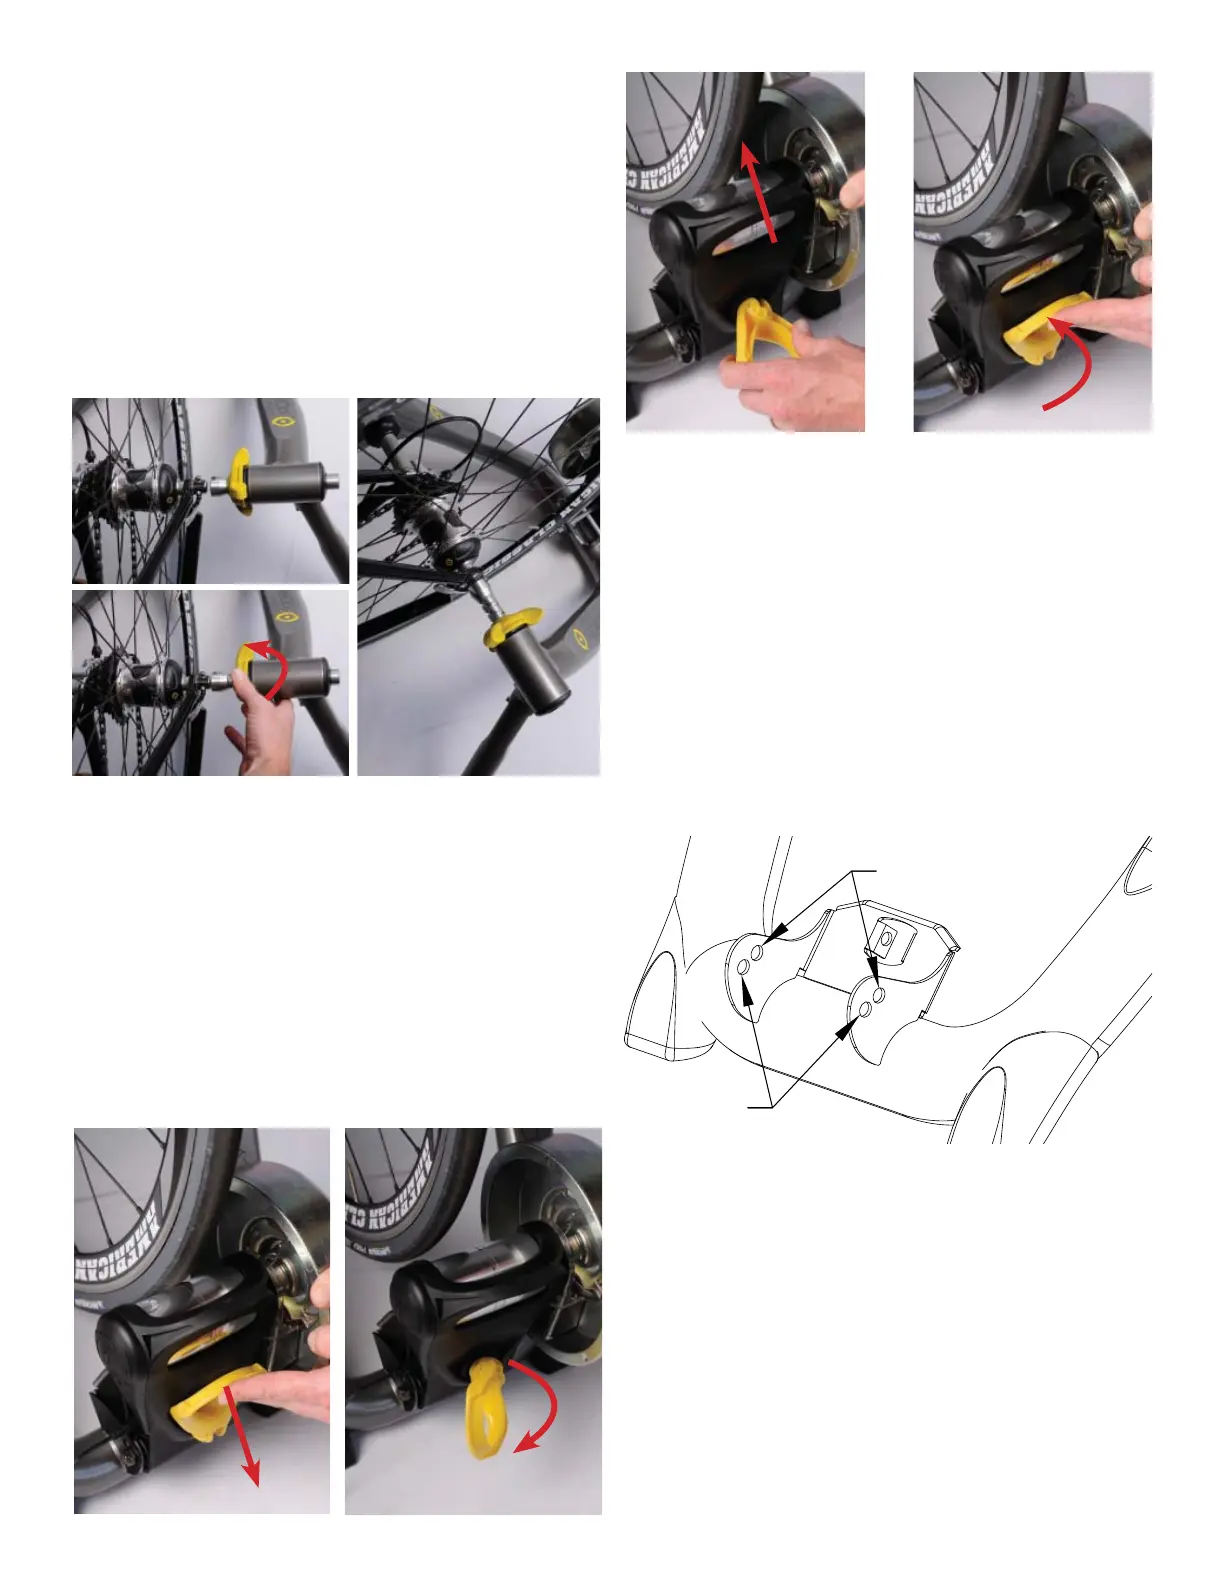
Lift your bike up by the seat post and insert the right
side (drive side) of the skewer into the fi xed cone
on the corresponding side of the frame (as shown
below).
Align the left side of the skewer with the adjustable
cone, lining the notches in the cone up with the
quick release handle/lever. Rotate the yellow skewer
clamp knob as shown below to secure your rear
wheel into the trainer. Securely tighten the knob
until tightly in place.
Note: Your bike does not need to be centered on the
roller for it to function properly.
Pull the yellow cam lever down and rotate 90 de-
grees clockwise to unlatch the resistance unit. Push
the resistance unit towards your rear wheel until the
roller contacts the tire. Latch the resistance unit by
rotating the cam lever 90 degrees counter clockwise,
while holding the resistance unit. Compress the
roller against the tire by pulling up on the cam lever
as shown below.
The resistance unit should be tight enough to pre-
vent the tire from slipping during accelerations.
A small indentation will be seen in the tire when
tightened properly. If slipping occurs, increase tire
compression by relatching the resistance unit. Pull
the yellow cam lever further down while performing
the initial unlatching step.
Note: If the cam lever pops open while riding, move
the resistance unit and mount it to the front bolt
hole as shown below. Most tires will fi t using either
mounting hole. Larger tires including 29” MTB tires
require mounting to the rear hole.
Note: Be certain your tires are infl ated to their proper
pressure. Knobby tires will cause noise and vibration.
For best results, use a slick-tread tire. Note that any
stationary trainer will increase the wear on your tires.
Using harder rubber composed tires will improve
their life.
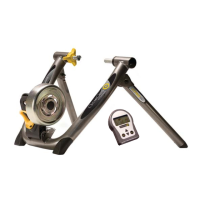
Note: The CycleOps PowerBeam
TM
Pro trainer can be
used without the CycleOps PowerBeam
TM
Pro com-
puter. Simply plug the resistance unit in and it will
provide a resistance curve similar to that of riding on
a fl at road.
Rear Holes
Front Holes
 Loading...