2
Welcome to the world of Cyrus!
Congratulations on your choice of Cyrus Hi-fi products. Our state-of-the-art
design technology and outstanding quality of manufacture has won countless
awards around the world. We are confident that you will derive great pleasure
from owning a product from one of the most recognised and respected
manufacturers of hi-fi equipment.
Now is a good time to register your new Cyrus product. Registration takes
only a few minutes, brings the added benefit of a full two year factory warranty
and adds you to our mailing list for future product updates and upgrades. To
register, visit www.cyrusaudio.com
and click the ‘Login/Register’ link.
Please read these instructions carefully before commencing installation. They
provide full guidance to help you install your CD player safely and correctly.
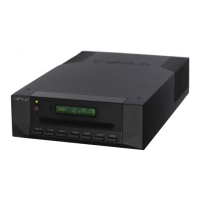
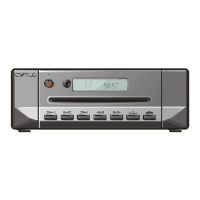
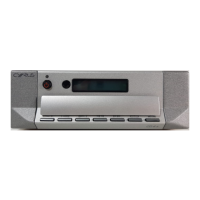
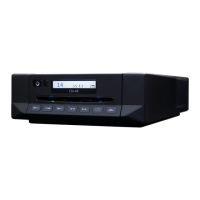
Cyrus CD 8 SE
2
, CD 6 SE
2
, CD XT SE
2
, CD T TRANSPORT
model differences
These user instructions are for the Cyrus CD 8 SE
2
, but also refer to the CD 6
SE
2
, CD XT SE
2
and CD T TRANSPORT. Model differences are indicated in the
text as they occur.
Preparations for Installation
Before installing the CD 8 SE
2
check that the following items are included in
the accessory box.
• AC Mains Cable
• Remote Control Handset
• 2 x Phono leads for MC-BUS connection
After removing these items, please retain the packaging.
Install the CD 8
SE
2
in a well ventilated location away from sources of high
temperature, dust or humidity. Never stand the CD8
SE
2
under another unit or
on any surface likely to hamper its cooling or ventilation.