ENGLISH
12
Installation
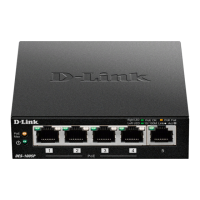
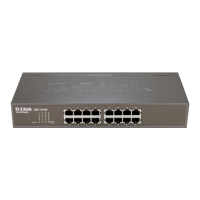
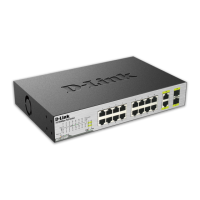
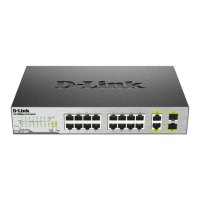
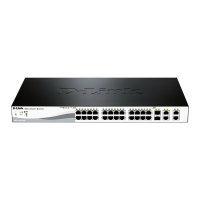
This section will explain how to connect Ethernet devices to your new D-Link switch and how to mount the switch.
Before You Connect to the Network
ThesitewhereyouinstalltheSwitchmaygreatlyaectitsperformance.PleasefollowtheseguidelinesforsettinguptheSwitch.
• InstalltheSwitchonasturdy,levelsurfacethatcansupportatleast3kg(6.6lbs.)ofweight.Donotplaceheavyobjectsonthe
Switch.
• Thepoweroutletshouldbewithin1.82meters(6feet)oftheSwitch.
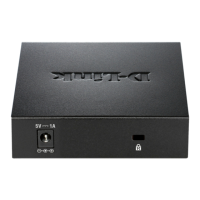
• VisuallyinspectthepowercordandseethatitisfullysecuredtotheACpowerport.
• MakesurethatthereisadequatespaceforproperheatdissipationfromandadequateventilationaroundtheSwitch.Leaveat
least 10 cm (4 inches) of space at the front and rear of the Switch for ventilation.
• InstalltheSwitchinafairlycoolanddryplacefortheacceptabletemperatureandhumidityoperatingranges.
• InstalltheSwitchinasitefreefromstrongelectromagneticeldgenerators(suchasmotors),vibration,dust,anddirectexposure
to sunlight.
• WheninstallingtheSwitchonalevelsurface,attachtherubberfeettothebottomofthedevice.Therubberfeetcushionthe
Switch, protect the casing from scratches, and prevent it from scratching other surfaces.