8
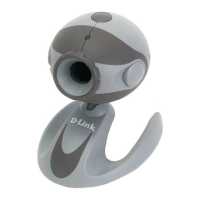
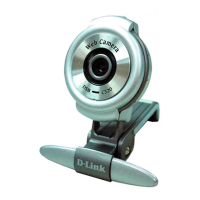
Once properly installed, you are ready to start immediately capturing
images and a creating video with the DSB-C320.
Please refer to the DSB-C320 Manual on the CD included with this
product for information on how to install and use the VP-EYE 4.0
software.
Attention:
1.Make sure to install the driver and software BEFORE
plugging the
camera into USB port.
2.We recommend plugging the cable connector to USB pot on PC directly
to avoid low voltage.
3.If a dialog box pops up and request to have the language setting file
replaced after plugging the camera into USB port, please simply click
“Yes” to continue.
4.Please download the latest update of “Service Pack
” (from
Start
Æ
Windows Update
) to keep the camera running smoothly.
5.If you have more than one image device in your system, please select
the “D-Link DSB-C320” as the PC Camera device. In this way, you can
use this camera to capture images.
 Loading...