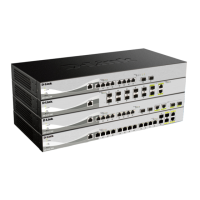
Link/Activity/Speed
(per optical port)
Solid green There is a secure 10 Gbps connection at the port.
Blinking green There is reception or transmission occuring at the port.
Solid amber There is a secure 1000 Mbps connection at the port.
Blinking amber There is reception or transmission occuring at the port.
Light off No link.
Installation Guidelines
This section will discuss the hardware installation guidelines that the user must follow in
order to properly and safely install this switch into the appropriate environment.
Visually inspect the power cord to see that it is secured fully to the AC power
connector.
Make sure that there is proper heat dissipation and adequate ventilation around the
switch.
Do not place heavy objects on the switch.
Desktop or Shelf Installation
When installing the switch on a desktop or shelf, the rubber feet included with the device
must be attached on the bottom at each corner of the device’s base. Allow enough
ventilation space between the device and the objects around it.
Figure 1 — Attaching rubber feet to the switch
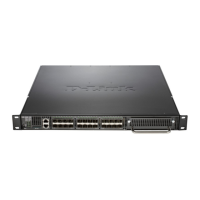
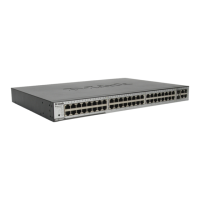
Rack Installation
The switch can be mounted in an EIA standard size 19-inch rack, which can be placed in a
wiring closet with other equipment. To install, attach the mounting brackets to the switch’s
side panels (one on each side) and secure them with the screws.
Figure 2 — Attaching rack-mount brackets to the switch
Then, use the screws to mount the switch in the rack.
 Loading...