Router
Modem
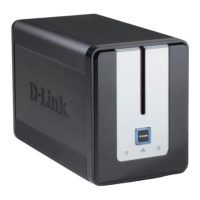
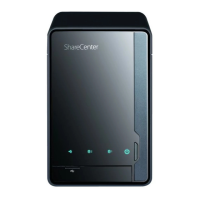
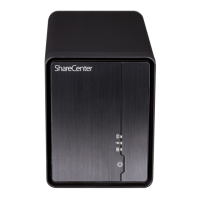
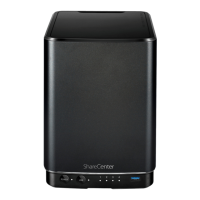
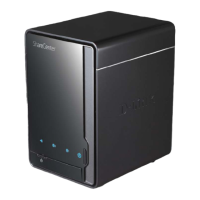
DNS-320
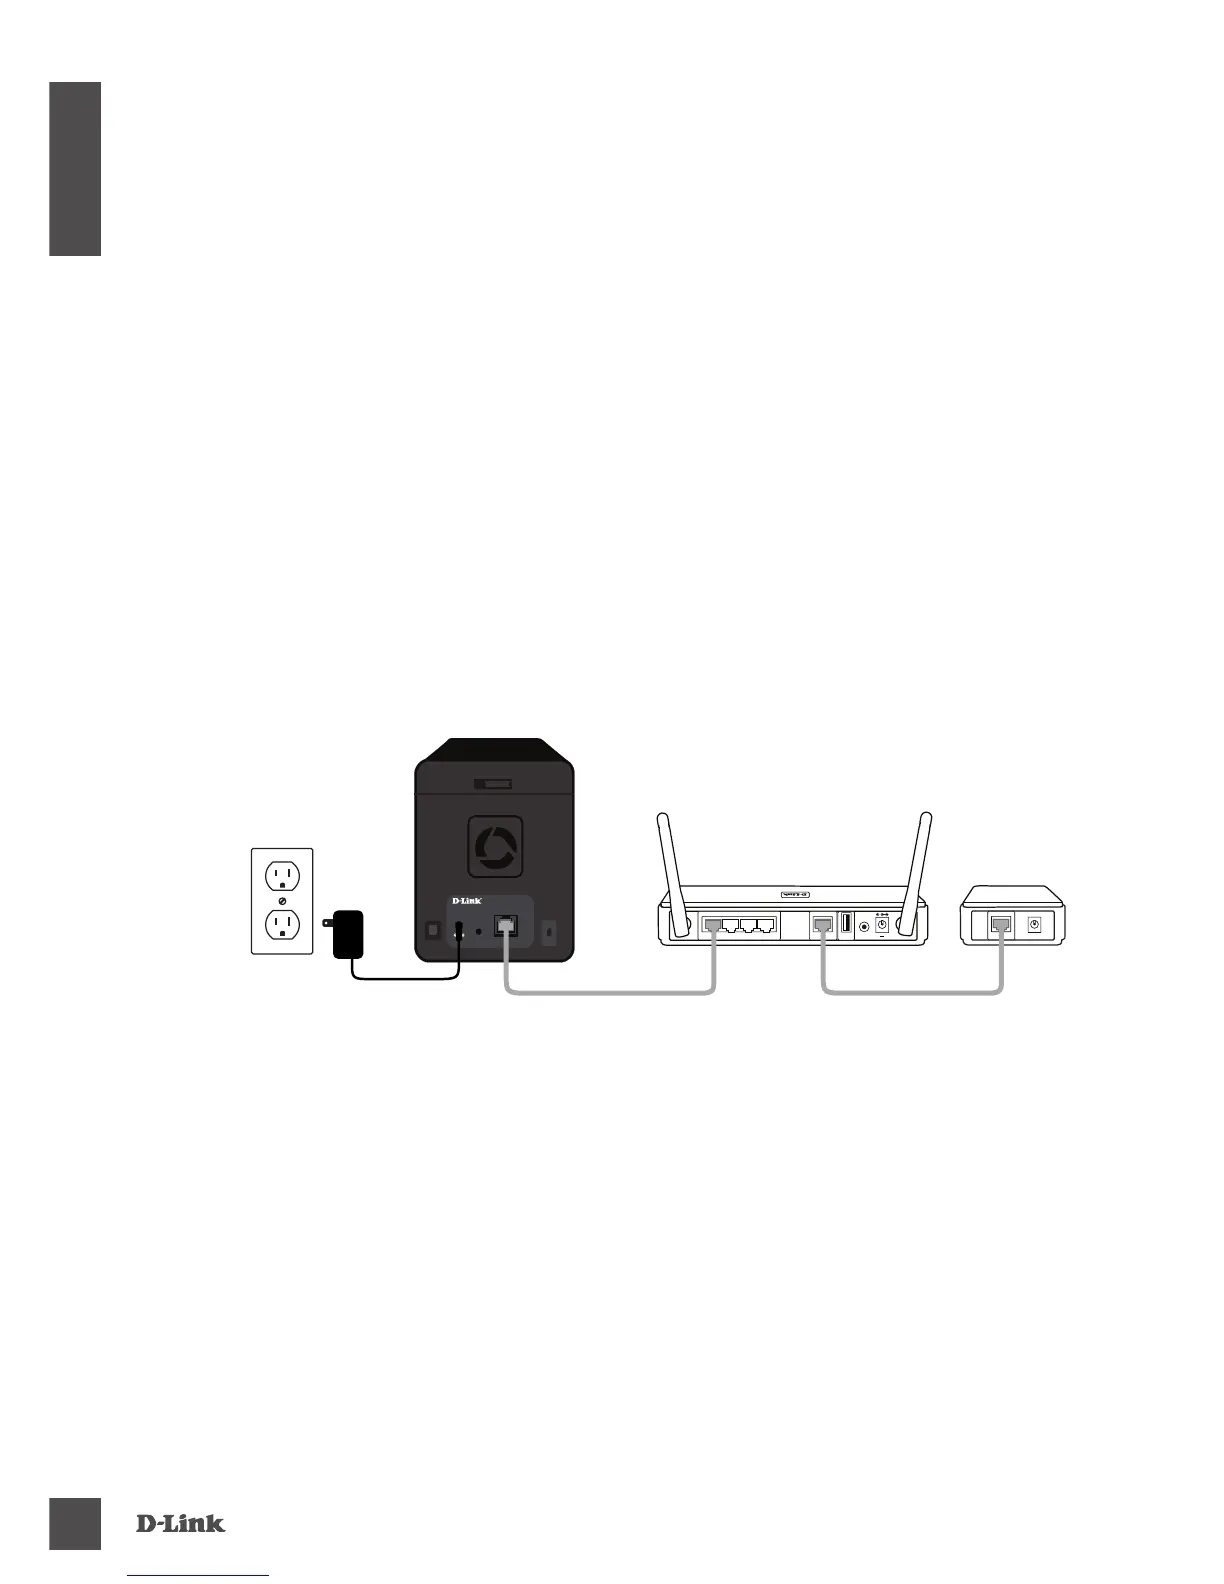
Step 4:
Connect an Ethernet cable to the available Ethernet port. This cable should
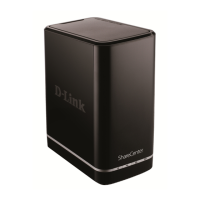
connect the ShareCenter
TM
Pulse 2-Bay Network Storage to your local network
via a router or switch, or directly to a computer for conguration.
Step 5:
Connect the power adapter to the power receptor.
Step 6:
Open a web browser and enter the IP address of the DNS-320 to access the
Web UI. If you have a DHCP-enabled router or server on your network, you
may need to check the DHCP table to see what IP address the DNS-320 was
assigned.
Note: The computer used to access the ShareCenter
TM
Pulse web-based conguration manager
must be on the same subnet as the ShareCenter
TM
Pulse. If your network is using a DHCP server
and the computer receives IP settings from the DHCP server, the ShareCenter
TM
Pulse will auto-
matically be in the same subnet.
 Loading...