Electrical Connection
[_ WARNINGS:
1. Ensure that the power supply
is disconnected before
proceeding.
2. Verify that the power supply
matches the ratings found on
the appliance data plate before
proceeding.
3. The complete appliance must
be properly grounded at all
times when electrical power is
applied.
4. Do not ground the appliance
with the neutral (white) house
supply wire. A separate
ground wire must be utilized.
5. If aluminum house supply
wiring is utilized, splice the
appliance copper wires to the
aluminum house wiring using
special connectors designed
and agency-certified for
joining copper and aluminum.
Plug the three-prong plug from the appliance
into the properly grounded and polarized wall
receptacle.
Verifying Proper Operation
[_ WARNINGS:
1. The cooktop and shut-off
valve must be disconnected
from the gas supply piping
during any pressure testing
exceeding 1/2 pound per
square inch (3.5 kPA).
2. The cooktop must be isolated
from the gas supply piping
by closing the shut-off valve
during any pressure testing at
or below 1/2 pound per square
inch (3.5 kPA).
Before beginning the test procedure, ensure
that the gas supply is turned off at the shut-off
valve, all cooktop control valves are in the "OFF"
position, and all burner heads, burner caps, and
grates are properly positioned on the cooktop.
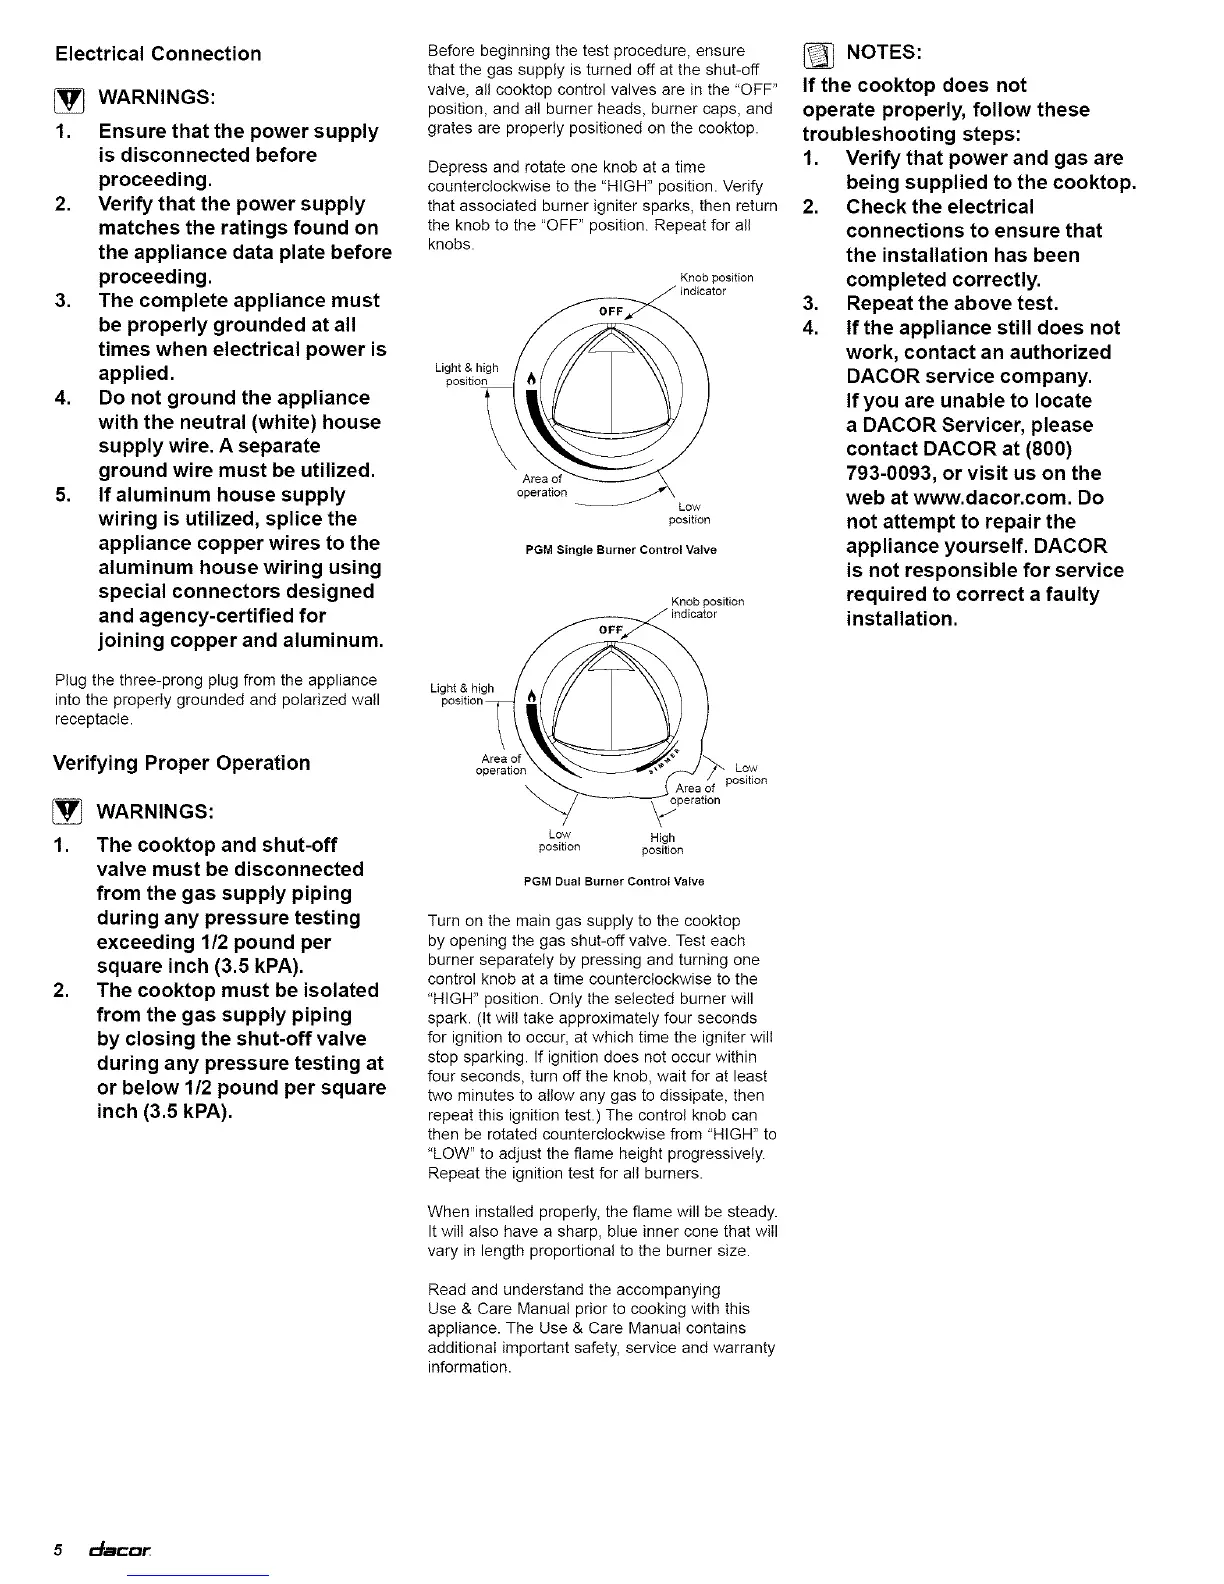
Depress and rotate one knob at a time
counterclockwise to the "HIGH" position. Verify
that associated burner igniter sparks, then return
the knob to the "OFF" position. Repeat for all
knobs.
Light & high
position
Knob position
_ indicator
operation _ Low
position
PGM Single Burner Control Valve
Knob position
Light & high
Area of
operation Low
position
\
Low High
position position
PGM Dual Burner Control Valve
Turn on the main gas supply to the cooktop
by opening the gas shut-off valve. Test each
burner separately by pressing and turning one
control knob at a time counterclockwise to the
"HIGH" position. Only the selected burner will
spark. (It will take approximately four seconds
for ignition to occur, at which time the igniter will
stop sparking. If ignition does not occur within
four seconds, turn off the knob, wait for at least
two minutes to allow any gas to dissipate, then
repeat this ignition test.) The control knob can
then be rotated counterclockwise from "HIGH" to
"LOW" to adjust the flame height progressively.
Repeat the ignition test for all burners.
When installed properly, the flame will be steady.
It will also have a sharp, blue inner cone that will
vary in length proportional to the burner size.
Read and understand the accompanying
Use & Care Manual prior to cooking with this
appliance. The Use & Care Manual contains
additional important safety, service and warranty
information.
@ NOTES:
If the cooktop does not
operate properly, follow these
troubleshooting steps:
1. Verify that power and gas are
being supplied to the cooktop.
2. Check the electrical
connections to ensure that
the installation has been
completed correctly.
3. Repeat the above test.
4. If the appliance still does not
work, contact an authorized
DACOR service company.
If you are unable to locate
a DACOR Servicer, please
contact DACOR at (800)
793-0093, or visit us on the
web at www.dacor.com. Do
not attempt to repair the
appliance yourself. DACOR
is not responsible for service
required to correct a faulty
installation.
5 _acor