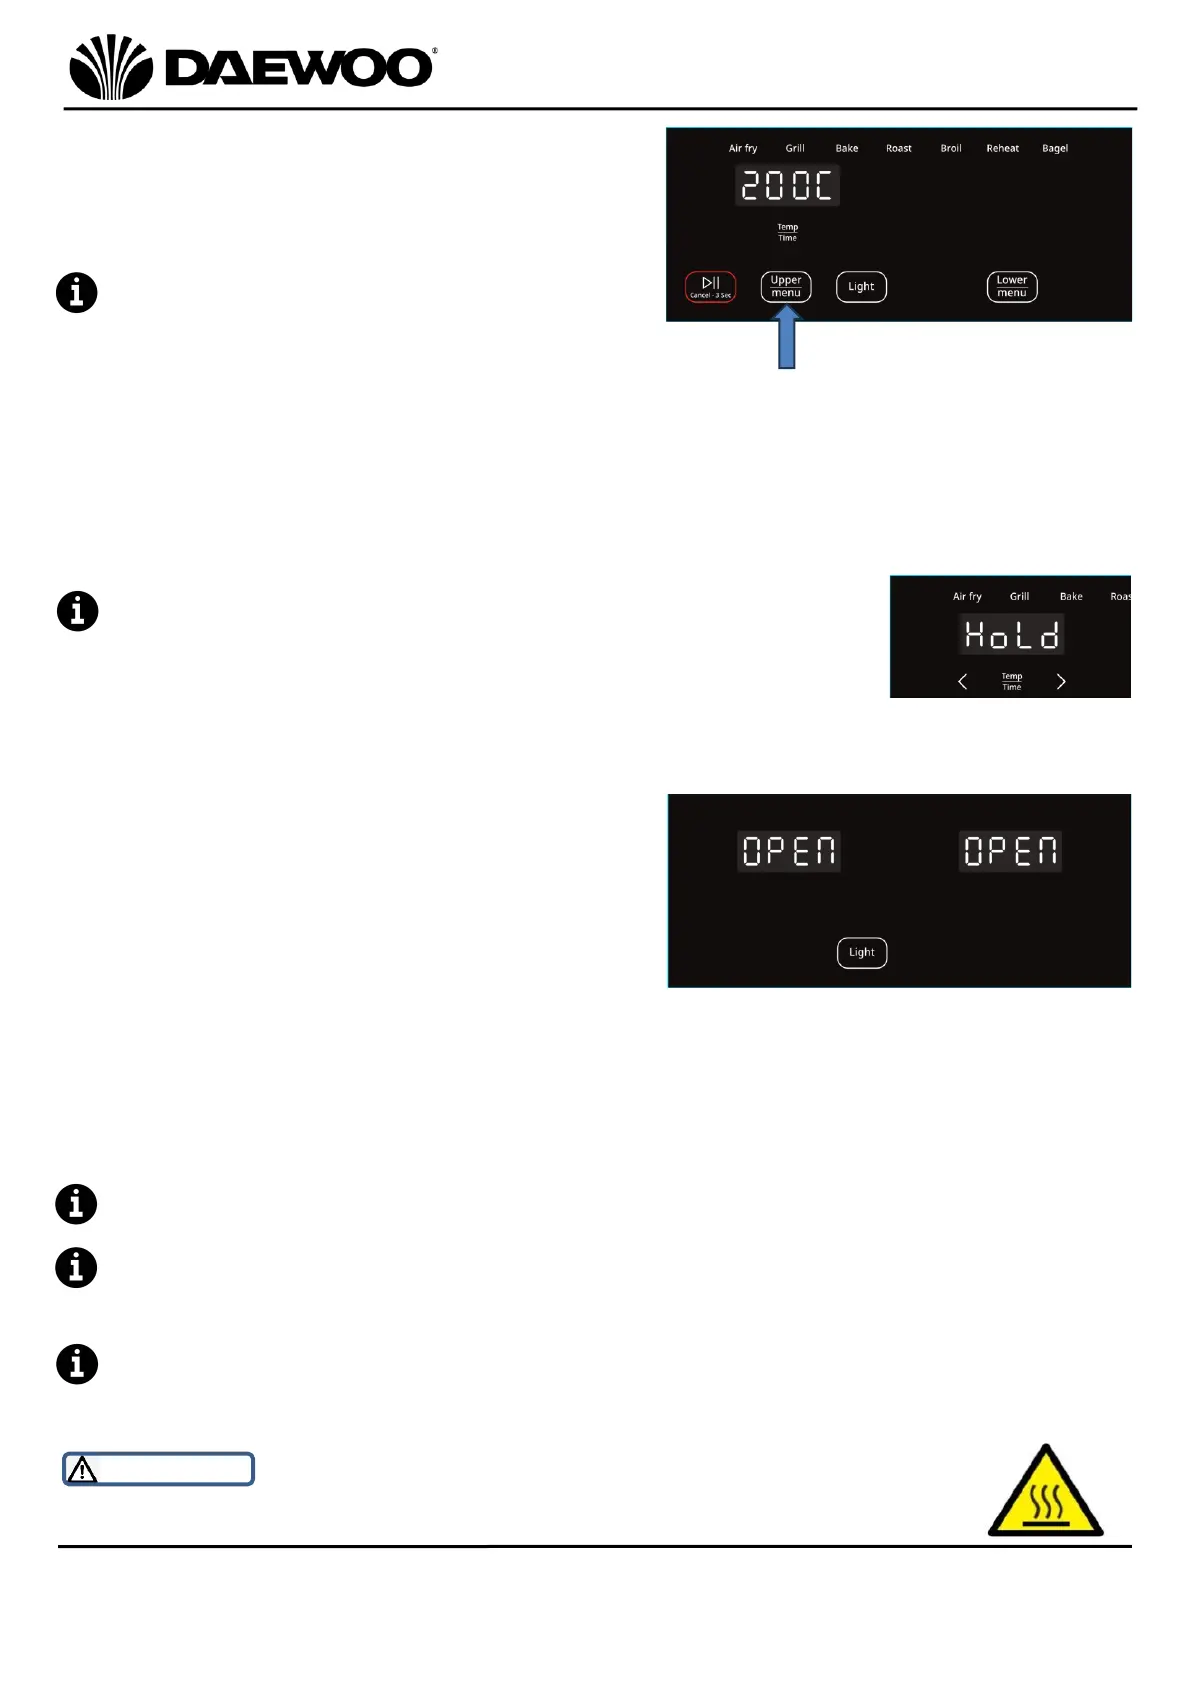
3. Press the Upper or Lower MENU button
(13 or 16) to select the desired Cooking
Pre-Set, the selected compartment and
cooking pre-set program will keep
flashing.
The cooking pre-set programs can be
overridden by pressing the Temp/Time
Control (11) to set the desired
temperature and time accordingly.
4. Repeat the above step 3 to use both upper and lower compartments together.
If the cooking times are different between compartments, press the Sync
Finish (15) button so that the two compartments will finish cooking at the
same time.
While the sync finish function is activated, the
compartment with less cook time will show “HoLd” until
both compartments have the same remaining cook time.
5. Press the Start/Pause/Cancel button (12 or 17) to start cooking.
6. If the Fryer Drawer (3) is removed or
Lower Fryer Door (5) is opened to
shake/turn the ingredients, the Air
Fryer will pause the current programme
and will show “OPEN” on the LED
Display (10). The air fryer will restart
when the Fryer Drawer (3) is replaced
or Lower Fryer Door (5) is closed.
7. At the end of the cooking time the Air Fryer will stop heating and the LED
Display (10) will show “End”.
For better cooking results, turn the food over by removing and shaking the
Fryer Drawer (3) or Baking Tray (7) during the cooking process.
DO NOT use metal cooking tools with this Air Fryer as damage may occur to
the non-stick coating. Only use wooden or plastic (nylon) tools with your Air
Fryer.
Cooking can be paused at any time by pressing the corresponding
Start/Pause/Cancel button (12 or 17), or press and hold 3 seconds to cancel.
WARNING! Be aware of hot surfaces. The Fryer Drawer (3) is liable
to get hot during use. Always use the Drawer Handle (2) provided.
 Loading...