The Internal Water Tank and Draining
During normal use, most of the moisture collected will be
evaporated internally by the unit and expelled through the
Exhaust (2).
However, the internal water tank will eventually fill to its
maximum capacity and the Water Full (WF) Indicator (8)
will illuminate on the Control Panel (4) to show the tank is
full.
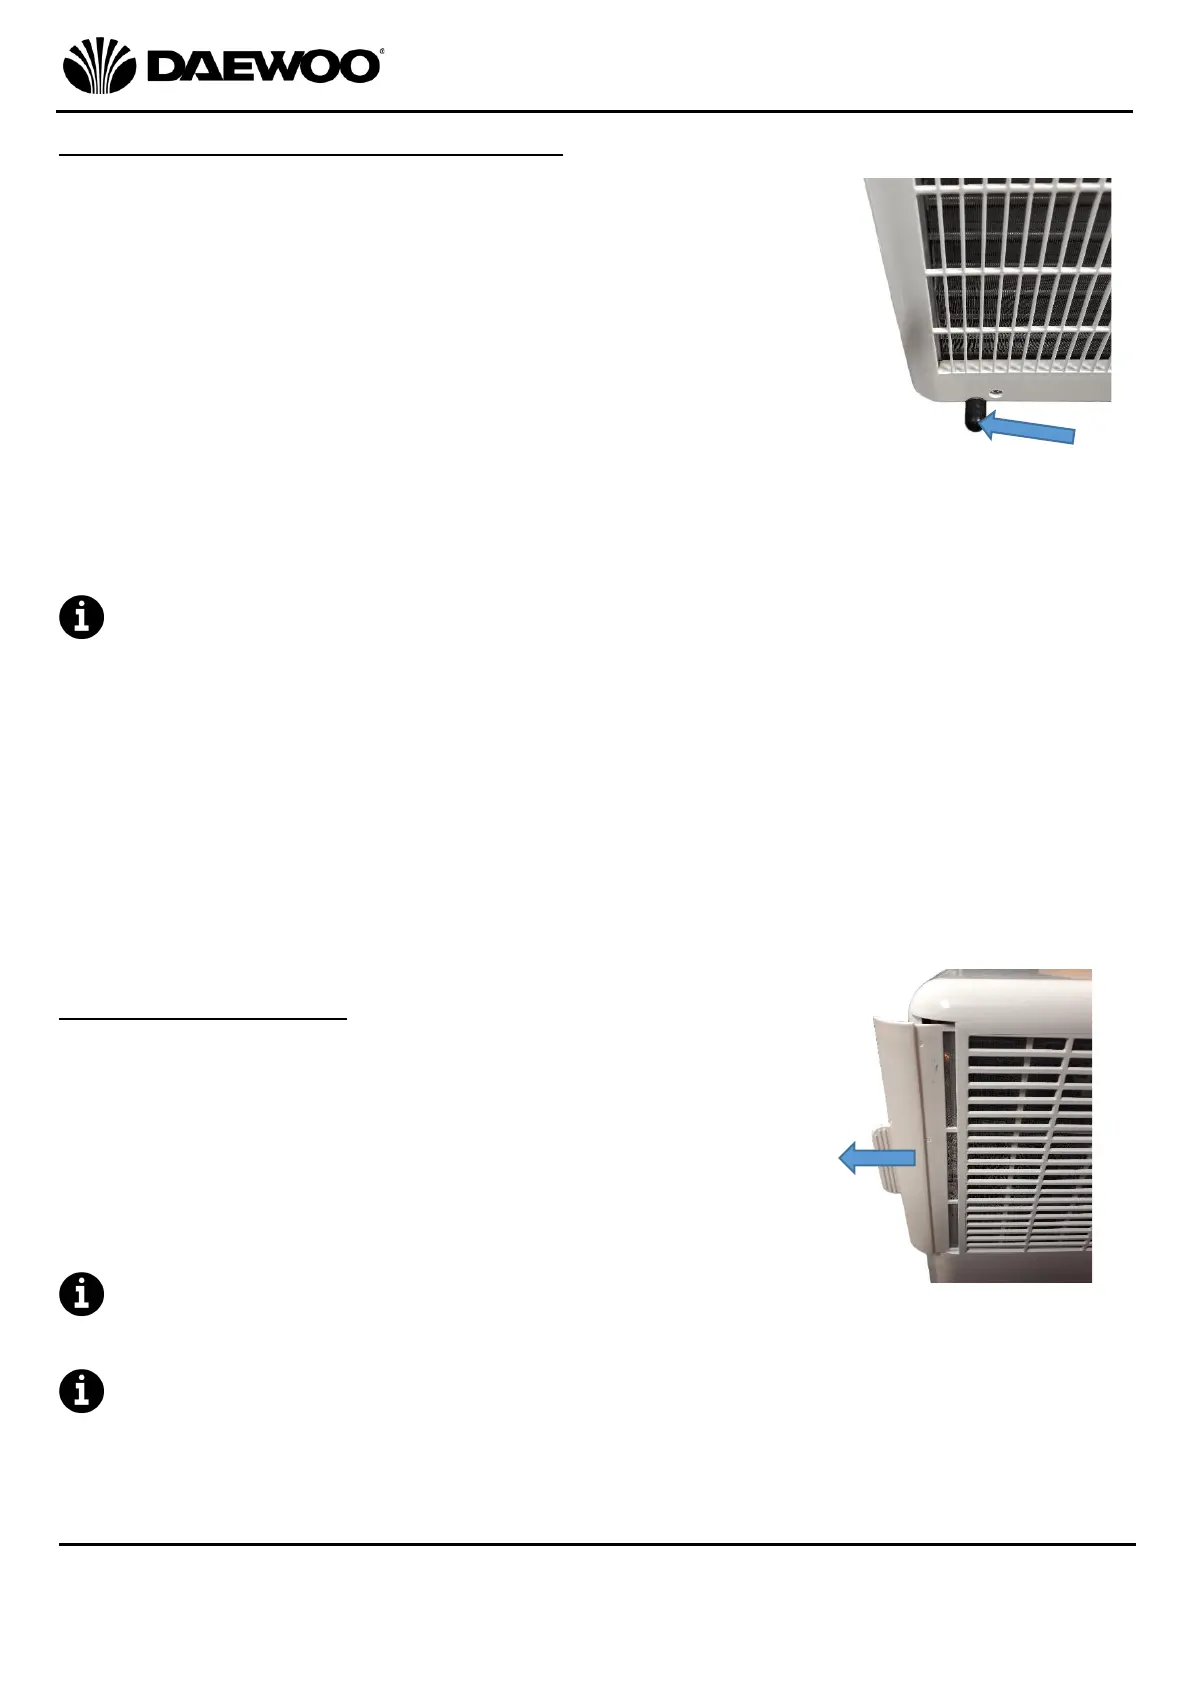
To empty the water tank, take the unit outside, remove
Tank Drain Cover (6) at the bottom rear left of the unit and
allow the tank to empty.
Alternatively connect a hose to the drain and lead it outside
to the drain the tank continuously.
Ensure the Tank Drain Cover (6) is replaced before
using the unit again.
The amount of water collected by the tank and the frequency of draining is
caused by the relative humidity levels which will vary and will depend on several
factors:
1. Avoid placing the Air Conditioner near kitchens or bathrooms (though not in the
bathroom!).
2. Avoid drying washing in the same room as the Air Conditioner.
3. Damp weather outside will affect the amount of water collected especially
when it is raining.
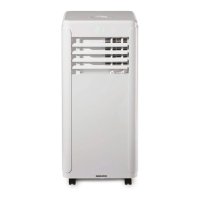
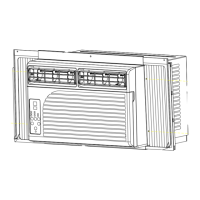
Cleaning the Air Filter
The air filter is located behind the side Air Inlet (1) grille
and will need occasional cleaning. To clean the filter,
remove the filter by pulling the tab, the filter can be
cleaned in lukewarm (40˚C) water with mild detergent. See
image left.
After washing allow the filter to dry naturally, laid flat to
avoid stretching.
Ensure that the filter has thoroughly dried before
refitting it to the unit.
DO NOT use the unit without the filter fitted.
Above: The Air Filter located
on the top left hand side of
the unit (shown partially
removed). To remove, slide
the filter out in the direction
of the arrow.