www.daewoopower.bg
48
Инспектирайте визуално свещта. Подменете я, ако изолаторът е пукнат.
Измерете разстоянието между електродите на свещта с
луфтомерна пластина или шаблон. Разстоянието трябва
да бъде 0.7-0.8 mm. Коригирайте разстоянието, ако е
необходимо с помощта на външния електрод.
Поставете шайбата на свещта и я завийте на ръка към главата на цилиндъра като пазите резбата;
Затегнете внимателно без да пренатягате или да оставите свещта разхлабена.
Внимание!
Свещта трябва да бъде сигурно затегната, неправилно затегната свещ може да се нагорещи прекалено и да по-
вреди двигателя. Никога не използвайте свещ с неправилна работна температура.
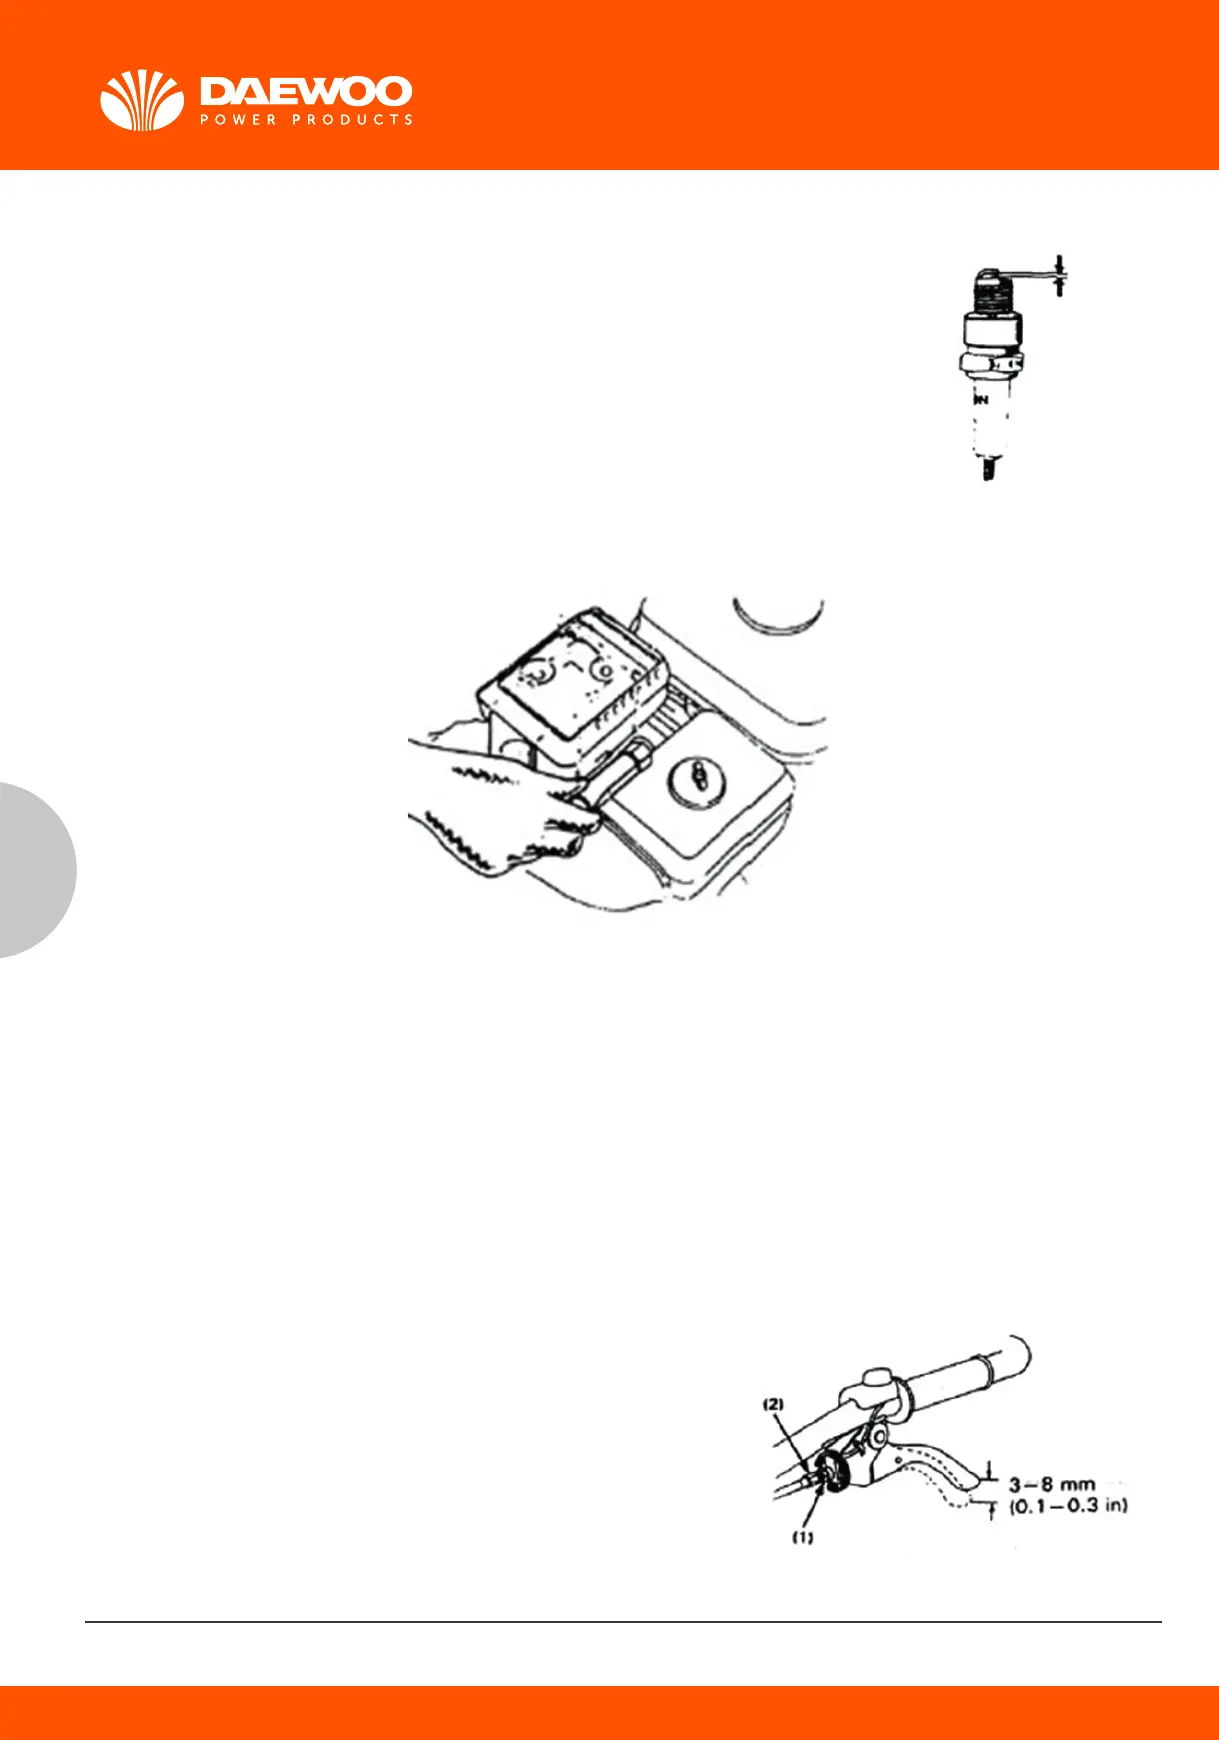
5. Регулиране на жилото на съединителя
Измерете свободния ход на върха на лоста.
Свободен ход 3-8 mm.
Ако свободният ход е неправилен, разхлабете контра гайката и завъртете регулиращия болт в една или друга по-
сока, колкото е необходимо.
(1) Контра гайка
(2) Регулиращ болт
18
3. Fuel Strainer Cup Cleaning
WARNING: Gasoline is highly flammable and explosive under certain conditions. Do not smoke or
allow flames of sparks in the area.
Turn the fuel valve to the OFF position and remove the fuel strainer cup and the O-ring. Wash the
removed parts in solvent, dry them thoroughly and reinstall them securely. Turn the fuel valve ON
and check for leaks.
(1) O-RING
(2) FUEL STRAINER CUP
4. Spark plug service
Recommended spark plug: BPR5ES (NGK)
W16EPR-U (NIPPONDENSO)
To ensure proper engine operation, the spark plug must be properly gapped and free of deposits.
• Remove the spark plug cap.
WARNING: If the engine has been running the muffler will be very hot.
Be careful not to touch the muffler.
• Visually inspect the spark plug. Discard it if the insulator is cracked or chipped.
• Measure the plug gap with a feeler gauge. The gap should be 0.7-0.8 mm (0.028-0.031 in), Correct
as necessary by bending the side electrode.
19
· Attach the plug washer, thread the plug in by hand to prevent cross-threading.
•Tighten a new spark plug 1/2 turn with the wrench to compress the washer if you reuse a plug, it
should only take 1/4-1/2 turn after the plug seats.
CAUTION: The spark plug must be securely tightened. An improperly tightened plug can become
very hot and possibly damage the engine. Never use a spark plug with an improper heat range.
5. Clutch Cable Adjustment
Measure the free play at the lever tip.
Free play: 3-8 mm (0.1-0.3 in)
If the free play is incorrect, loosen the lock nut and turn the adjusting bolt in or out as required.
(1) LOCK NUT
(2) ADJUSTING BOLT
After adjustment, tighten the lock nut securely. Then start the engine and check for proper clutch
lever operation.
6. Throttle Cable Adjustment
Measure the free play at the lever tip.
Free play: 5-10 mm (0.2-0.4 in)
If the free play is incorrect, loosen the lock nut and turn the adjusting nut in or out as required.
(1) THROTTLE LEVER
(2) ADJUSTING NUT
(3) LOCK NUT
BG
 Loading...