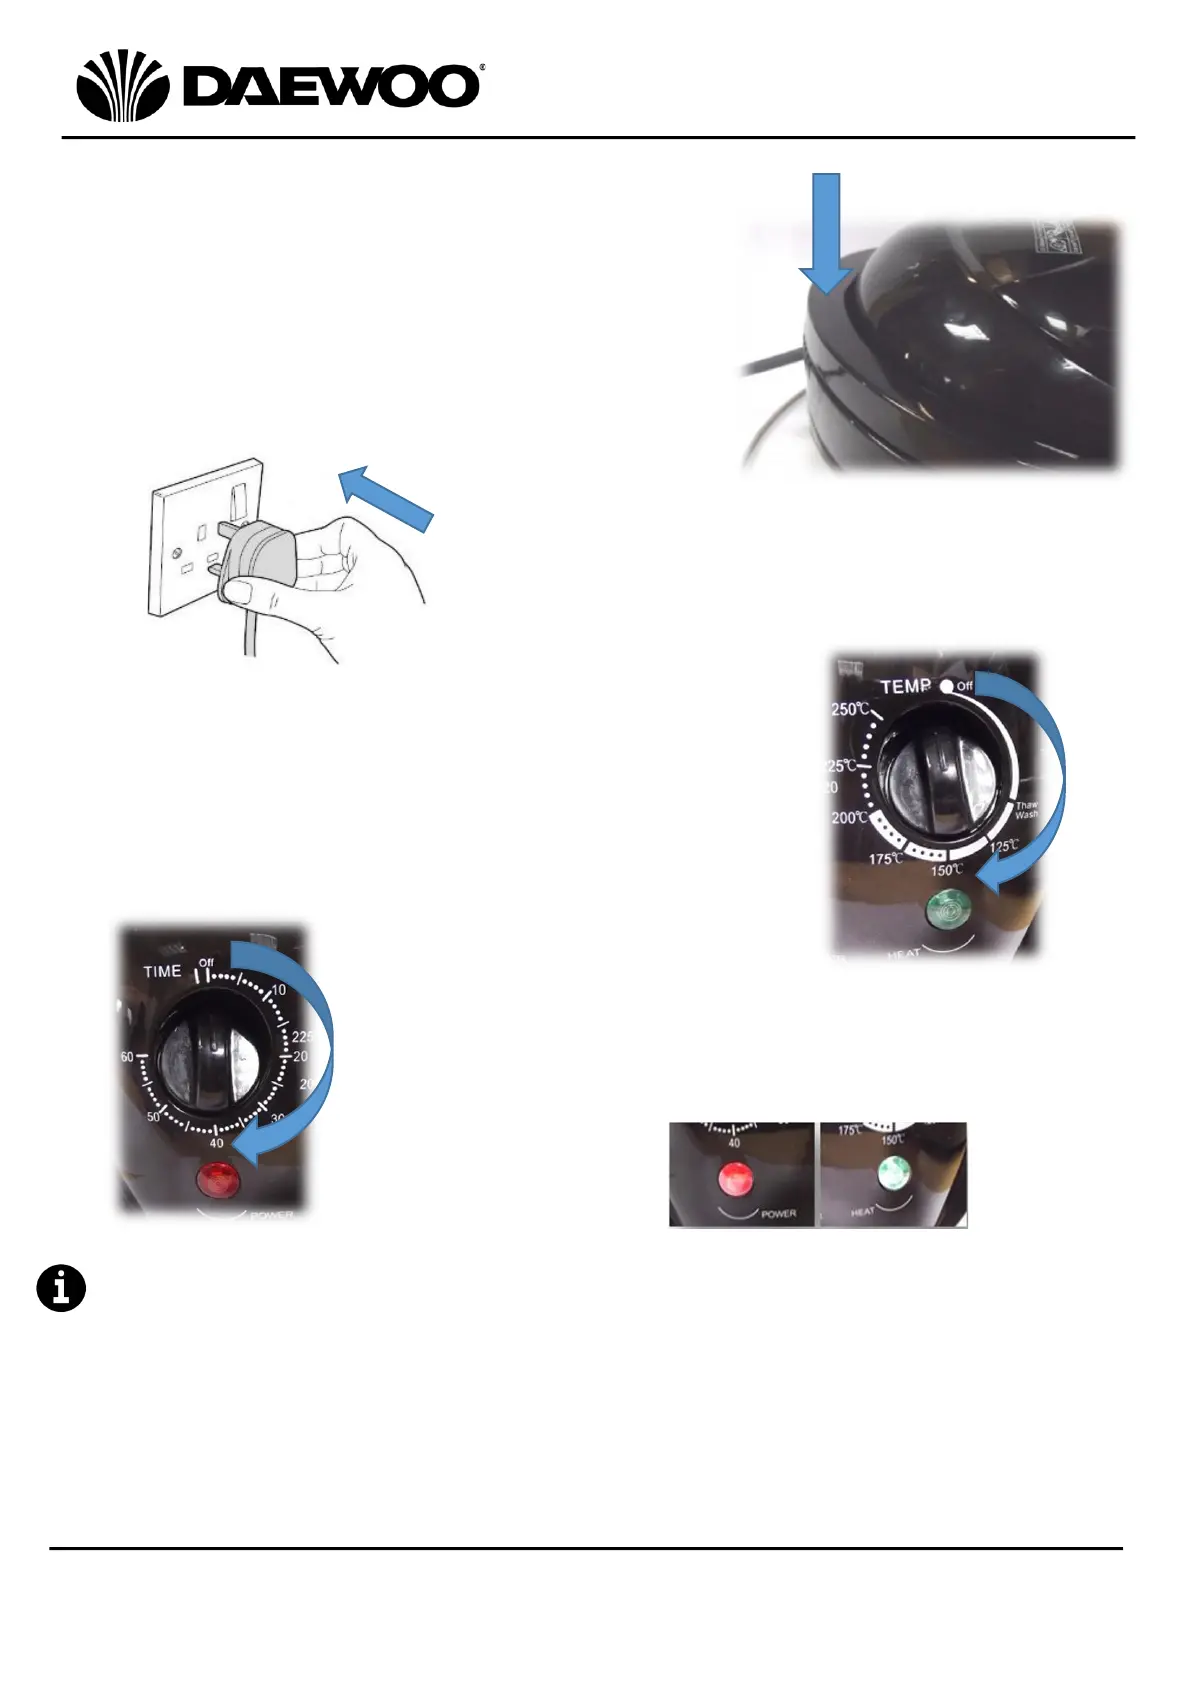
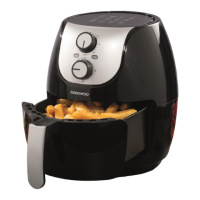
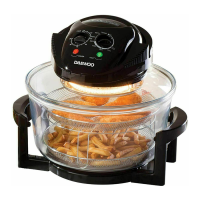
4. Place the Lid (4) onto the Glass Bowl (11).
5. Ensure the handle is fully pushed down until the
Safety Interlock Switch (1) clicks as shown left:
6. Insert the mains plug into the nearest socket
outlet.
7. Rotate the Thermostat (2) clockwise to the desired
temperature using the reference table below.
8. Set the Timer (15) using the reference table below as a
guide. The green Heat Indicator (3) and red Power
Indicator (14) lights will glow indicating that cooking has
started as shown:
The green Heat Indicator (3) and the internal Halogen lamp will go on and off
during cooking – this is quite normal.
9. Once the Timer (15) has returned to the ‘off’ position at the end of the cooking
time a bell will sound and unit will switch off.