This document serves as a Quick Start Guide for a Bullet Network Camera, providing essential information for its installation, configuration, and maintenance.
Function Description
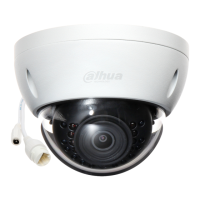
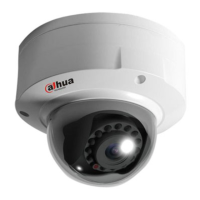
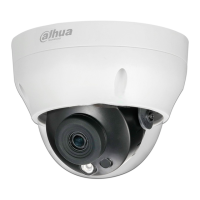
The Bullet Network Camera is designed for surveillance and monitoring purposes, capturing video footage and transmitting it over a network. It supports various network configurations, including initialization and IP address modification, to ensure seamless integration into existing network infrastructures. The camera can be accessed and managed through a web interface, allowing users to view live streams, configure settings, and perform other operational tasks.
Usage Features
The camera offers several usage features to facilitate its operation and integration:
- Network Connectivity: The camera connects to a network via an Ethernet cable, which also supports Power over Ethernet (PoE) on select models, simplifying installation by providing both data and power through a single cable. For models without PoE, a 12V DC power input is available.
- Device Initialization: For first-time use or after a device reset, the camera requires initialization. This process involves setting up a new password and configuring network parameters. The "ConfigTool" software assists in discovering uninitialized devices and guiding users through the initialization steps, including setting a strong password and providing an email address for password recovery.
- IP Address Configuration: Users can modify the device's IP address to fit their network segment. The "ConfigTool" allows for both static and DHCP IP address assignments. When using static IP, users can manually enter the start IP, subnet mask, and gateway. For DHCP, the camera automatically obtains an IP address from the DHCP server. The tool also supports modifying IP addresses for multiple devices simultaneously.
- Web Interface Access: The camera's functionalities are accessible through a web interface. Users can log in using a web browser (e.g., Internet Explorer) after entering the device's IP address. For the first login, a plugin might need to be downloaded and installed to ensure full functionality and display of the main interface, which typically shows live video streams.
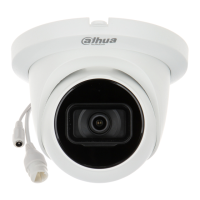
- SD Card Installation (Optional): The camera supports local storage via an SD card. The manual provides instructions for installing the SD card, emphasizing the need to disconnect power before installation or removal.
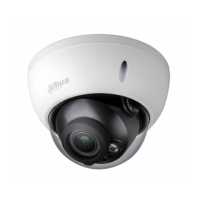
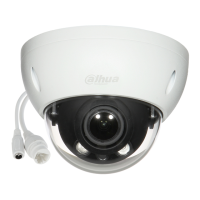
- Physical Installation: The camera can be installed in various orientations, including ceiling, wall, and pole mounts. The installation process involves attaching the device securely to a mounting surface, ensuring it is strong enough to support at least three times the device's weight. The cable can be routed through the mounting surface or a side cable tray.
- Waterproof Connector (Optional): For outdoor installations, a waterproof connector can be used to protect cable joints from short circuits and water damage, enhancing the device's durability in adverse weather conditions.
- Lens Angle Adjustment: The camera's lens angle can be adjusted without loosening screws, allowing for flexible positioning and optimization of the viewing area.
- Reset Functionality: A reset button is available on the camera. Pressing and holding it for 10 seconds will reset the camera, which can be useful for troubleshooting or reconfiguring the device.
Maintenance Features
To ensure optimal performance and longevity, the camera requires certain maintenance practices:
- Electrical Safety: All installation and operation must comply with local electrical safety codes. The power source should meet Safety Extra Low Voltage (SELV) standards and Limited Power Source (LPS) requirements. It is crucial to ensure the power supply is correct and to prevent the power cable from being trampled or pressed. A readily accessible disconnect device should be incorporated into the building wiring.
- Environmental Considerations: The camera should not be aimed at strong light sources, as this can cause over-brightness or light marks and affect the longevity of the CMOS sensor. It should be kept away from damp, dusty, extremely hot, or cold environments, and locations with strong electromagnetic radiation or unstable lighting. Indoor devices should be protected from rain or dampness. Adequate ventilation is necessary to prevent heat accumulation. The device should be transported, used, and stored within the specified humidity and temperature ranges, avoiding heavy stress, violent vibration, or water splash.
- Physical Cleaning: The device body can be cleaned with a soft dry cloth. For stubborn stains, the cloth can be moistened with a mild detergent. Volatile solvents (alcohol, benzene, diluent) and strong, abrasive detergents should not be used, as they can damage the device's coating and performance. The dome cover, an optical component, should not be touched or wiped with bare hands. Dust, grease, or fingerprints can be removed gently with moist oil-free cotton with diethyl or a moist soft cloth, or by using an air blower.
- Image Sensor Protection: The image sensor (CMOS) should not be touched directly. Dust and dirt can be removed with an air blower, or the lens can be gently wiped with a soft cloth moistened with alcohol. The surface of the image sensor should not be exposed to laser beam radiation.
- Lightning Protection: It is recommended to use the device with a lightning arrester and to ground the device to enhance reliability and protection against lightning strikes.
- Security Measures: Strengthening network security is critical. This includes using strong passwords, modifying them regularly, upgrading firmware to the latest version, and isolating the computer network. For devices with older firmware, the ONVIF password might need to be manually updated after changing the system password.
- Professional Installation and Maintenance: The device should be installed and maintained by professional engineers using standard components and accessories provided by the manufacturer.
- Power Supply: Do not provide two or more power supply sources for the device unless otherwise specified, as this could cause damage.
- Desiccant Replacement: If condensed fog is found on the lens after unpacking or if the desiccant turns green, contact after-sale service for desiccant replacement (applicable to models included with desiccant).
- Disassembly: Follow the manual's instructions carefully for any disassembly operations. Unprofessional disassembly can lead to water leakage or poor image quality.