Check SiUS122226E
236 Part 6 Service Diagnosis
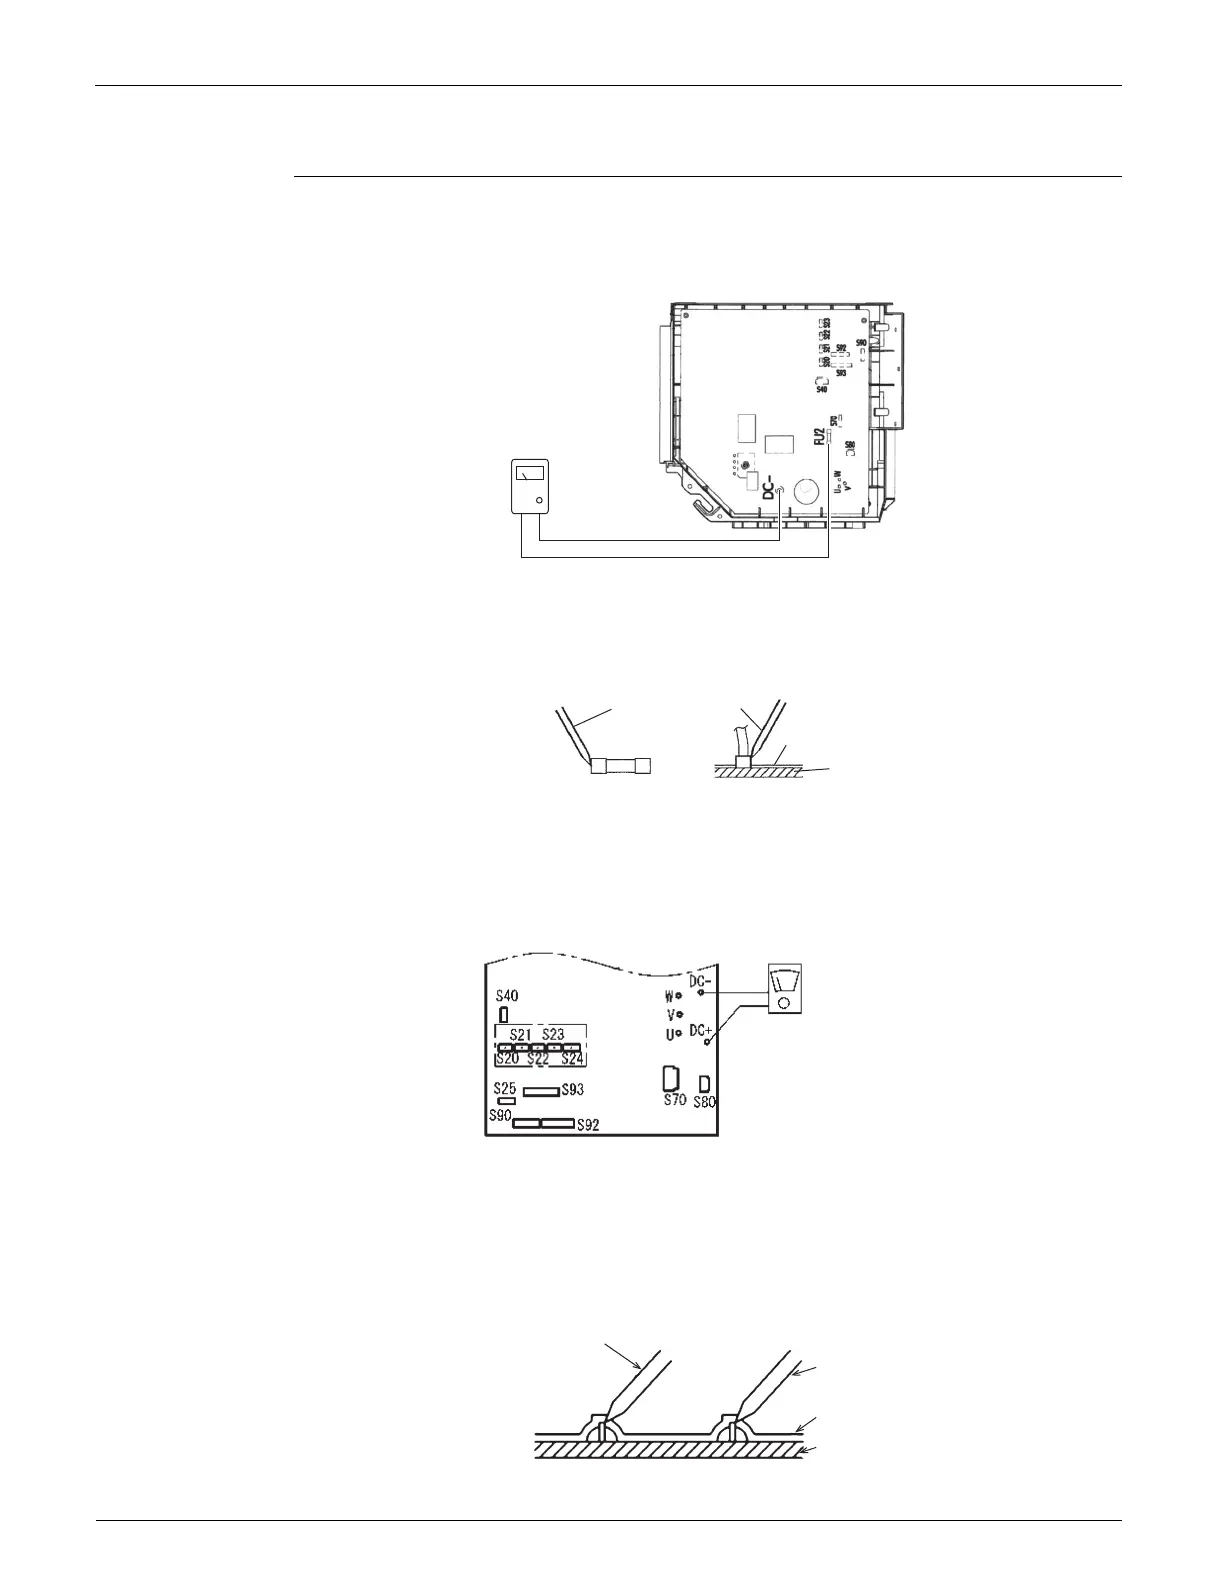
8.13 Capacitor Voltage Check
Check No.21 2/3/4MXS, 2/3MXL(H)
Before this check, be sure to check the main circuit for short circuit.
With the circuit breaker still on, measure the voltage according to the drawing of the model in
question. Be careful never to touch any live parts.
To prevent an electrical shock, use a multimeter to check that the voltage between FU2 and
DC– is 50 V or less.
The surface of the test points (DC–) may be covered with the coating. Be sure to make firm
contact between the multimeter probes and the test points.
5MXS, 4MXL(H)
Before this check, be sure to check the main circuit for short circuit.
With the circuit breaker still on, measure the voltage according to the drawing of the model in
question. Be careful never to touch any live parts.
R6000525
To prevent an electrical shock, use a multimeter to check that the voltage between DC + and
DC – is 50 V or less.
The surface of the test points (DC +, DC –) may be covered with the coating. Be sure to make
firm contact between the multimeter probes and the test points.
R6000551
(R21938)
Multimeter
(DC. voltage range)
FU2 DC–
Coating
PCB
Multimeter probe
(R21939)
Multimeter
(DC, voltage)
Multimeter probe
Multimeter
probe
Coating
PCB
DC (−) DC (+)
 Loading...