11
back temperature for the heating
mode.
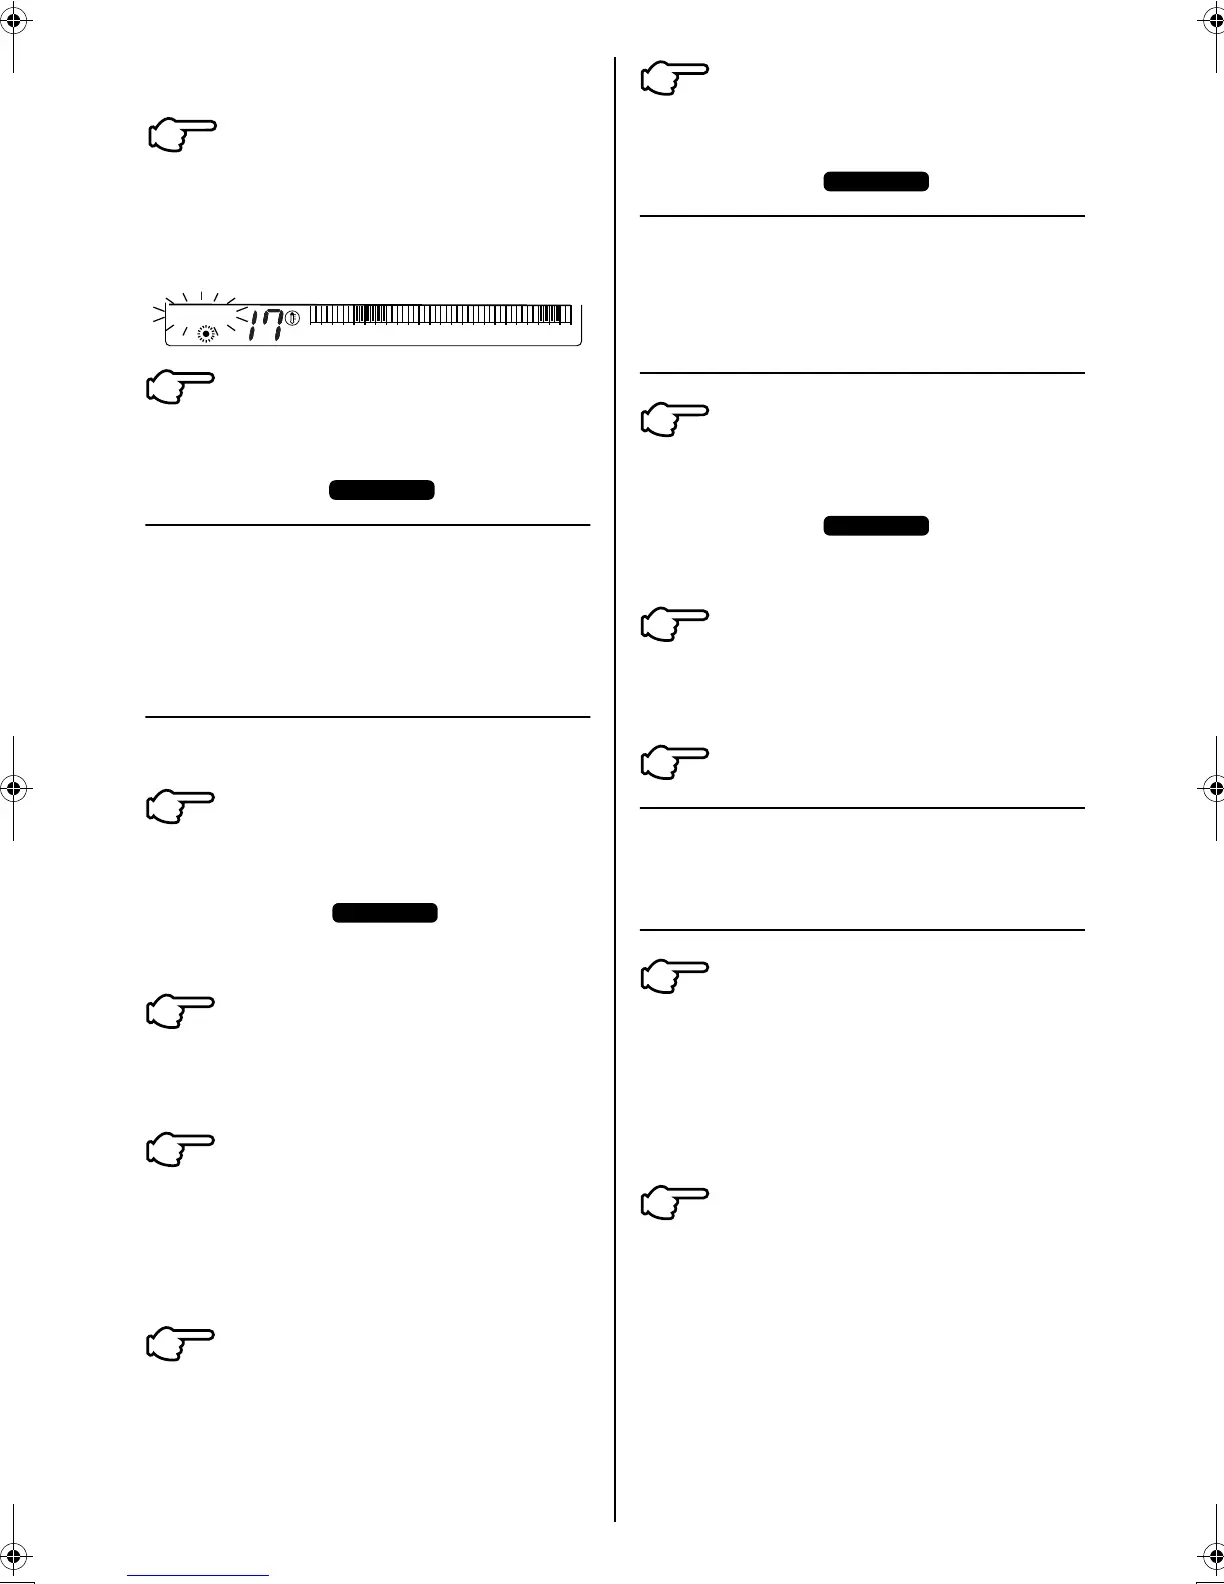
Press the TEMPERATURE SET
BUTTON (20)
Set the required set back
temperature for the heating mode.
(set it to 17°C)
Press the PROGRAMMING
BUTTON (14) to exit the
programming mode.
The display “ ” disappears.
CANCELLATION AND
CHANGE OF
PROGRAMMED ON/OFF
SCHEDULES
(fig 9 page 16)
Follow these instructions if any of the programmed
schedules need to be changed or cancelled.
Press the PROGRAMMING
BUTTON (14) to enter the
programming mode.
The display “ ” appears
and the current day of the week and
the display ON/OFF starts flashing.
Press the DAY OF THE WEEK
BUTTON (17) to select the day on
which the programmed schedule
needs to be cancelled or changed.
Press the PROGRAM CLEAR
BUTTON (23) to delete the
programmed schedule
The blacked out cells on the
OPERATION TIME SCHEDULE
display are cleared.
If an alternative time schedule
needs to be set, then follow the
steps 2 to 12 under “SETTING
OPERATING TIME SCHEDULES”
on page 7.
Press the PROGRAMMING
BUTTON (14) to exit the
programming mode.
The display “ ” disappears.
CANCELLATION AND
CHANGE OF SET BACK
TIME SCHEDULES
(fig 10)
Press the PROGRAMMING
BUTTON (14) to enter the
programming mode.
The display “ ”
appears
and the current day of the week and
the display ON/OFF starts flashing.
Press the ON/OFF OR SET
BACK MODE SELECT BUTTON (21)
to select the temperature SET BACK
mode settings.
Follow steps 2 to 5 as above.
ACTIVATING OR
DEACTIVATING THE TIME
CLOCK
To activate the set back time
clock press ON/OFF (BYPASS)
BUTTON (1)
The red indicator light turns on.
This indicates that the time
schedules and set back periods are
now active.
To deactivate the set back time
clock, press the ON/OFF BUTTON (1)
The red indicator light turns off. This
indicates that the time schedules
and set back periods are now
inactive.
6
˚C
SET BACK
02468
10 12 14 16 18
20 22 24
7
PROGRAM
1
PROGRAM
2
3
4
5
PROGRAM
1
PROGRAM
2
3
1
2
3P107422-26M_4.fm Page 11 Tuesday, October 16, 2007 3:30 PM
 Loading...