5
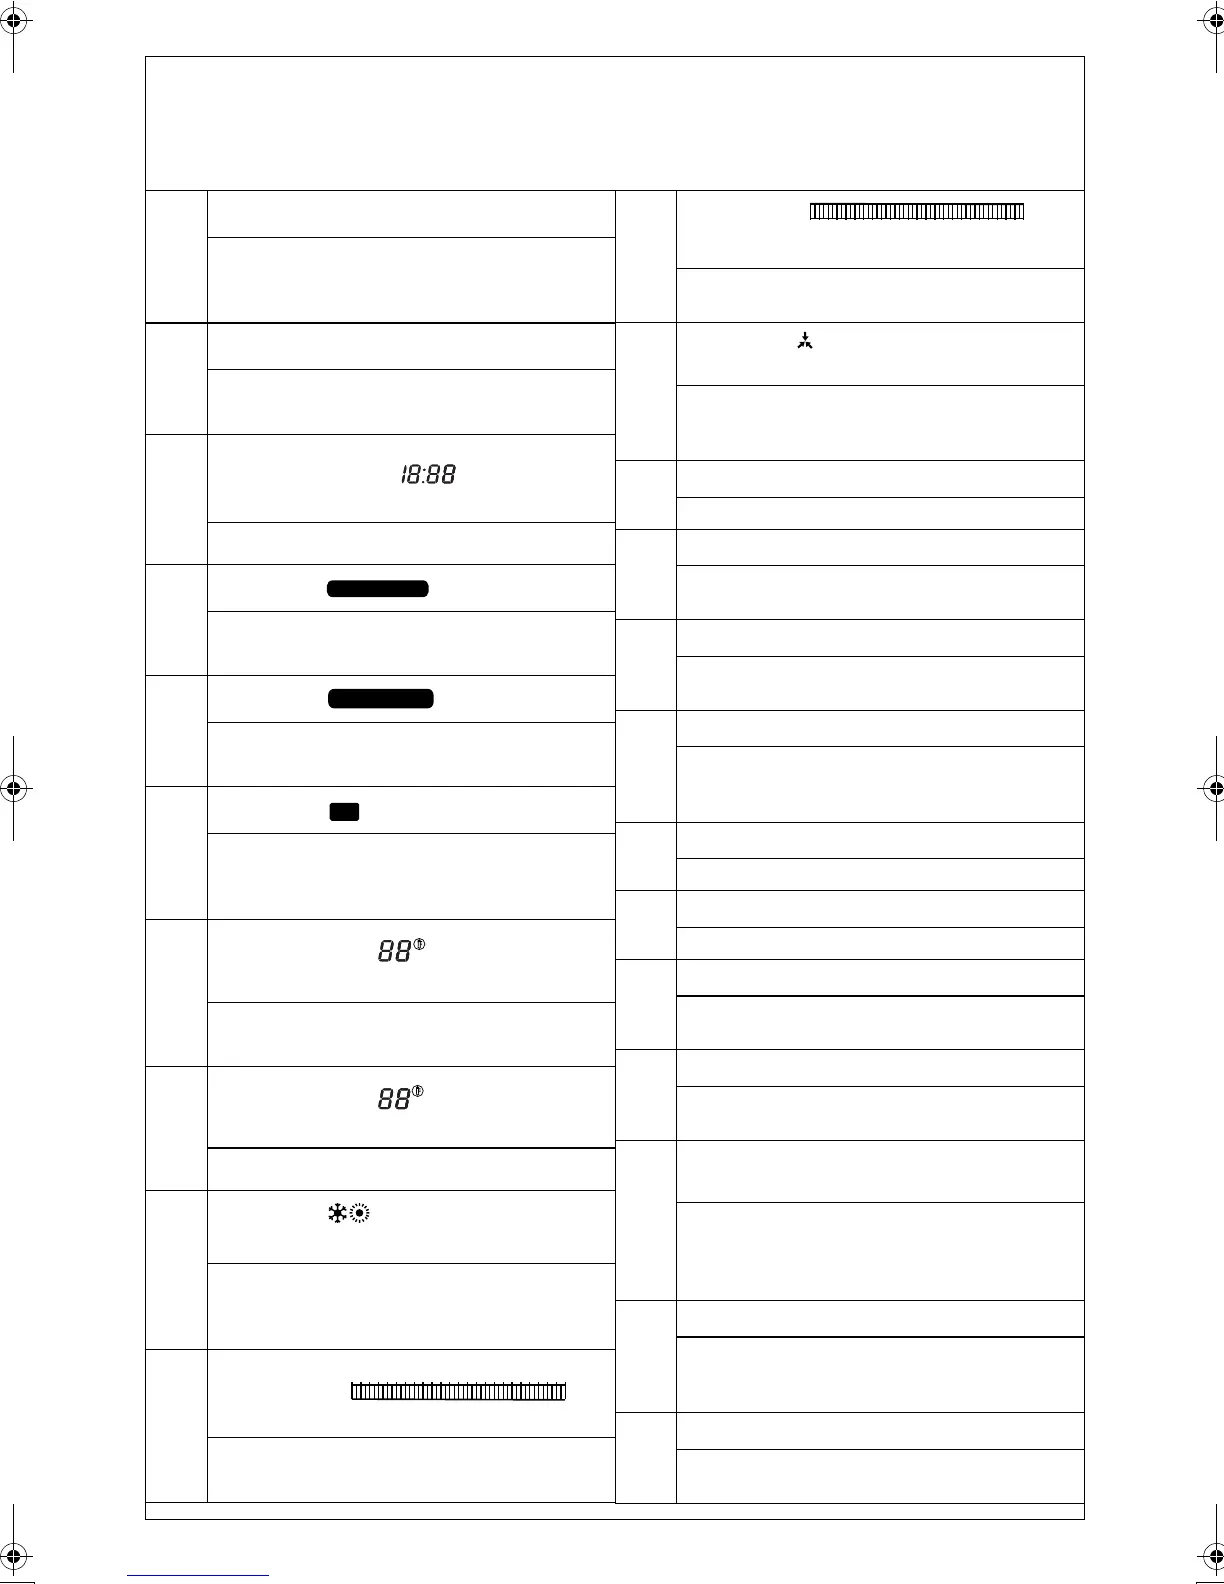
NAMES AND FUNCTIONS OF OPERATING
SECTION (Fig. 1, 2)
1
ON/OFF (BYPASS) BUTTON
Press this button to activate the time clock and the
programmed settings. Press this button again to
deactivate the programmed schedules.
2
OPERATION LIGHT (RED)
This light turns on when the set back time clock and
the programmed schedules are activated.
3
DISPLAY “ ” (PRESENT
TIME)
Displays the current time and day of the week.
4
DISPLAY “
”
This display indicates that the time clock has been
adjusted for summer time (daylight saving).
5
DISPLAY “
”
This display indicates that the time clock is in the
programming mode.
6
DISPLAY “
”
(DAY OFF SETTING)
This display is indicated above the day(s) of the
week that have been programmed as day(s) off
when schedules are to be inactive.
7
DISPLAY “
”
(NORMAL SET
TEMPERATURE)
This display indicates the set temperature during
periods of normal operation.
8
DISPLAY “
”
(SET BACK
TEMPERATURE)
This display indicates the set back temperature.
9
DISPLAY “ ” (COOLING/HEATING
MODE)
Displays the current operating mode. Individual set
back temperatures can be set for the cooling and
heating modes.
10
DISPLAY “
”
(OPERATION TIME SCHEDULE)
Indicates the time clock schedules for automatic
ON/OFF control.
CLOCK
AM
PM
MON TUE WED THU FRI SAT SUN
SUMMER TIME
PROGRAM
OFF
ON/OFF
˚C
SET BACK
˚C
02468
10 12 14 16 18
20 22 24
11
DISPLAY “ ”
(SET BACK TIME SCHEDULE)
Indicates the schedules for temperature set back
periods.
12
DISPLAY “ ” (UNDER
CENTRALISED CONTROL)
Indicates that the system is under centralised
control or external control. In this case, some SET
BACK TIME CLOCK functions may not work.
13
CLOCK ADJUST BUTTON
Press this button to set the present time
14
PROGRAMMING BUTTON
Press this button to enter and exit the programming
mode.
15
TIME ADJUST BUTTON
Press this button to adjust the present time and to
set the schedule times.
16
PROGRAM REGISTER BUTTON
Press this button in the programming mode to
register the set schedules and current time settings
in the memory of the time clock.
17
DAY OF THE WEEK
Press this button to select the day of the week.
18
DAY OFF BUTTON
Press this button to set days off
19
SUMMER TIME BUTTON
Press this button to adjust the time clock for
daylight savings (if applicable in your area).
20
TEMPERATURE SET BUTTONS
Press these button to adjust the normal set
temperature and the set back temperature
21
ON/OFF OR SET BACK MODE
SELECT BUTTON
When in the programming mode, press this button
to select either the ON/OFF or TEMPEATURE SET
BACK mode to set programmed times and
temperatures
22
COOL/HEAT SELECT BUTTON
Press this button to select the cooling or heating
mode in order to set the normal set temperature
and the set back temperatures for each
23
PROGRAM CLEAR BUTTON
Press this button to clear programmed times for
each day.
02468
10 12 14 16 18
20 22 24
3P107422-26M_4.fm Page 5 Tuesday, October 16, 2007 3:30 PM