7 English
[CAUTIONS]
• Replace all batteries at the same time, do
not use new and old batteries intermixed.
• In case the remote controller is not used
for a long time remove all batteries in order
to prevent liquid leak of the battery.
IN THE CASE OF CENTRALIZED CON-
TROL SYSTEM
• If the indoor unit is under centralized con-
trol, it is necessary to switch the remote
controller’s setting. In this case, contact
your DAIKIN dealer.
• Operating procedure varies with heat
pump type and straight cooling type. Con-
tact your Daikin dealer to confirm your sys-
tem types.
• To protect the unit, turn on the main power
switch 6 hours before operation.
• If the main power supply is turned off dur-
ing operation, operation will restart auto-
matically after the power turns back on
again.
• AUTOMATIC OPERATION can be
selected only by Heat recovery system.
• Cooling only system gives selection of
FAN or COOLING OPERATION only.
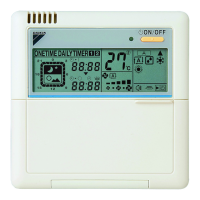
〈〈FOR SYSTEMS WITHOUT COOL/
HEAT CHANGEOVER REMOTE CON-
TROL SWITCH (Fig. 3)〉〉
Press OPERATION MODE
SELECTOR button several
times and select the OPERATION
MODE of your choice as follows.
COOLING OPERATION.................. “ ”
HEATING OPERATION................... “ ”
AUTOMATIC OPERATION .............. “ ”
FAN OPERATION............................ “ ”
4. OPERATION PROCEDURE
COOLING, HEATING, AUTOMATIC
AND FAN OPERATION (Fig. 3, 4)
1
On AUTOMATIC OPERATION
In this operation mode, COOL/HEAT
changeover is automatically conducted at a
present indoor temperature.
Press ON/OFF button.
OPERATION lamp lights up and the system
starts OPERATION.
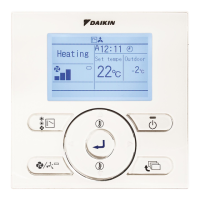
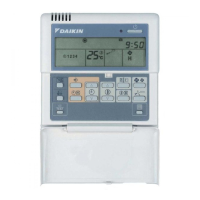
〈〈FOR SYSTEMS WITH COOL/HEAT
CHANGEOVER REMOTE CONTROL
SWITCH (Fig. 4)〉〉
Select OPERATION MODE with
the COOL/HEAT
CHANGEOVER REMOTE CONTROL
SWITCH as follows.
COOING OPERATION ....................
Refer to fig. 4-1 ( , )
HEATING OPERATION ...................
Refer to fig. 4-2 ( , )
FAN OPERATION............................
Refer to fig. 4-3 ( )
Press ON/OFF button.
OPERATION lamp lights up and the system
starts OPERATION.
ADJUSTMENT
For programming TEMPERATURE and FAN
SPEED and AIR FLOW DIRECTION, follow
the procedure shown below.
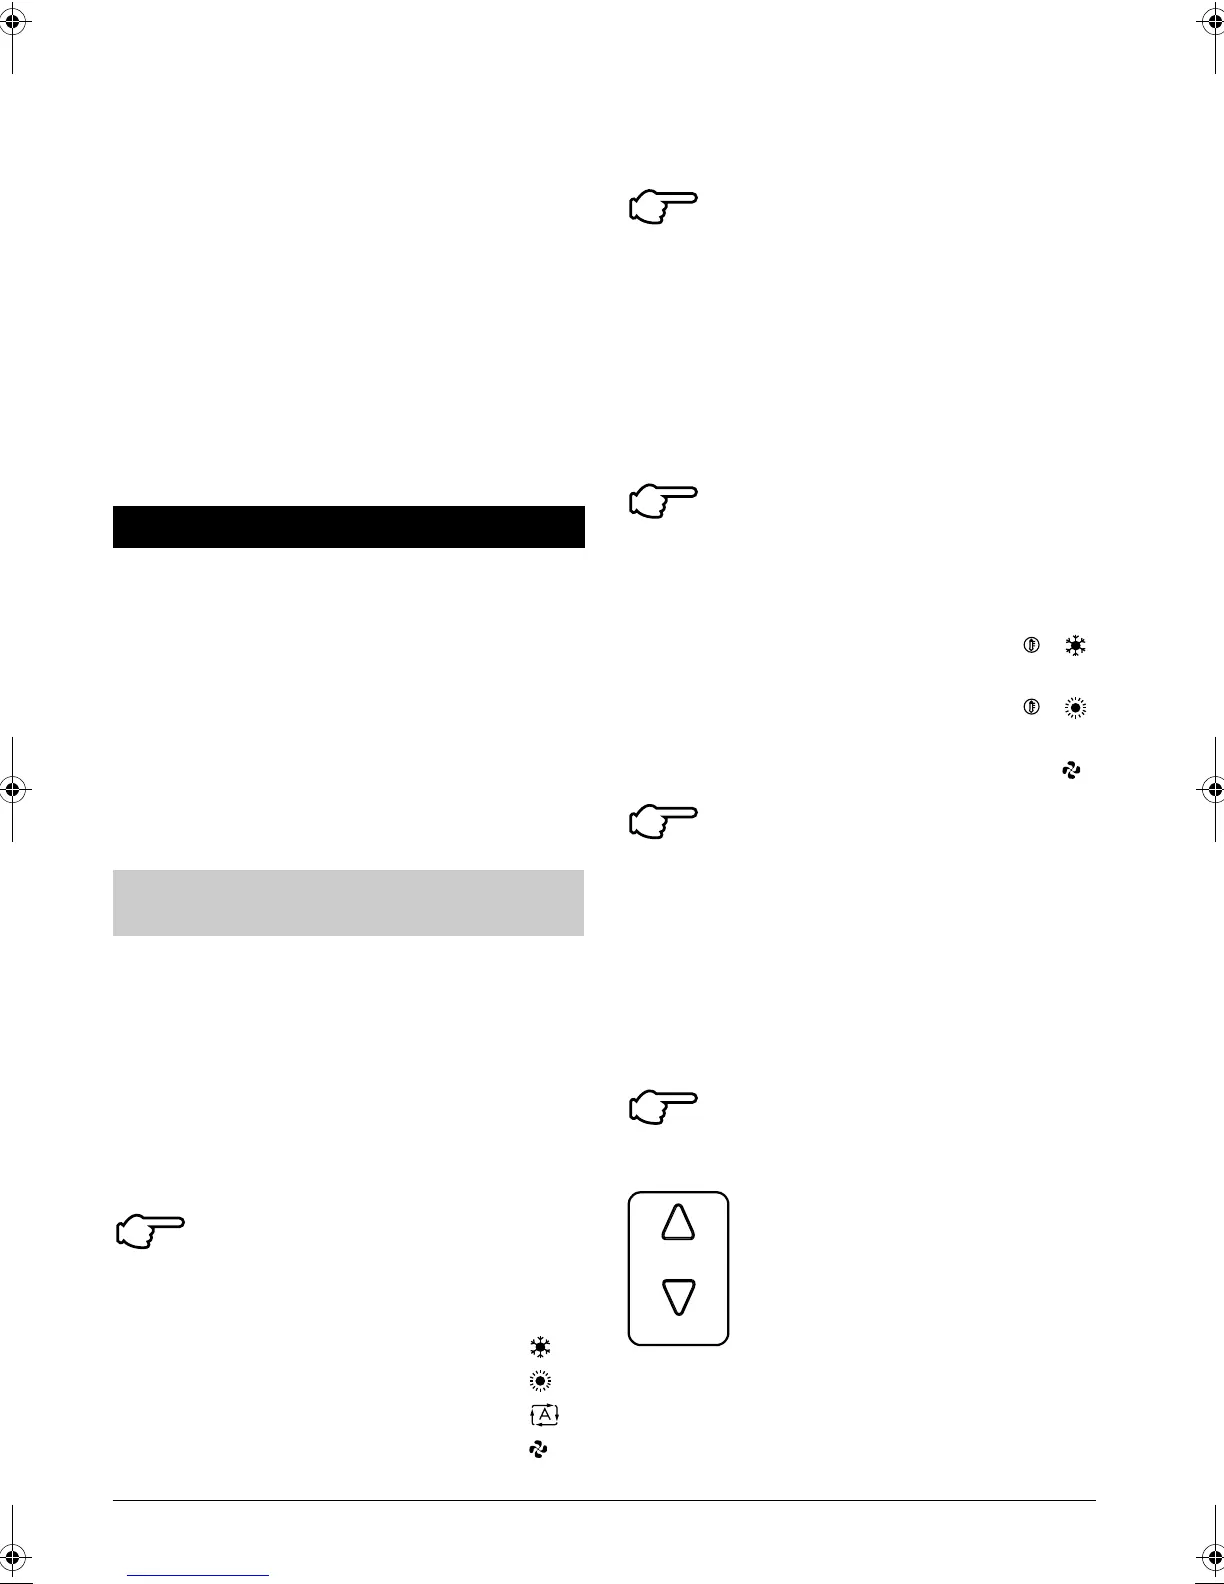
Press TEMPERATURE SET-
TING button and program the
setting temperature.
Each time this button is pressed,
setting temperature rises 1°C.
Each time this button is pressed,
setting temperature lowers 1°C.
2
1
2
3
UP
DOWN
01_EN_3P107422-29P.fm Page 7 Thursday, January 17, 2008 1:46 PM