5 Installation
Installation and operation manual
6
FFA25~60A2VEB
Split system air conditioners
4P456960-1 – 2017.03
▪ Decoration panel. Install the decoration panel always after
installing the unit.
▪ Ceiling strength. Check whether the ceiling is strong enough to
support the weight of the unit. If there is a risk, reinforce the ceiling
before installing the unit.
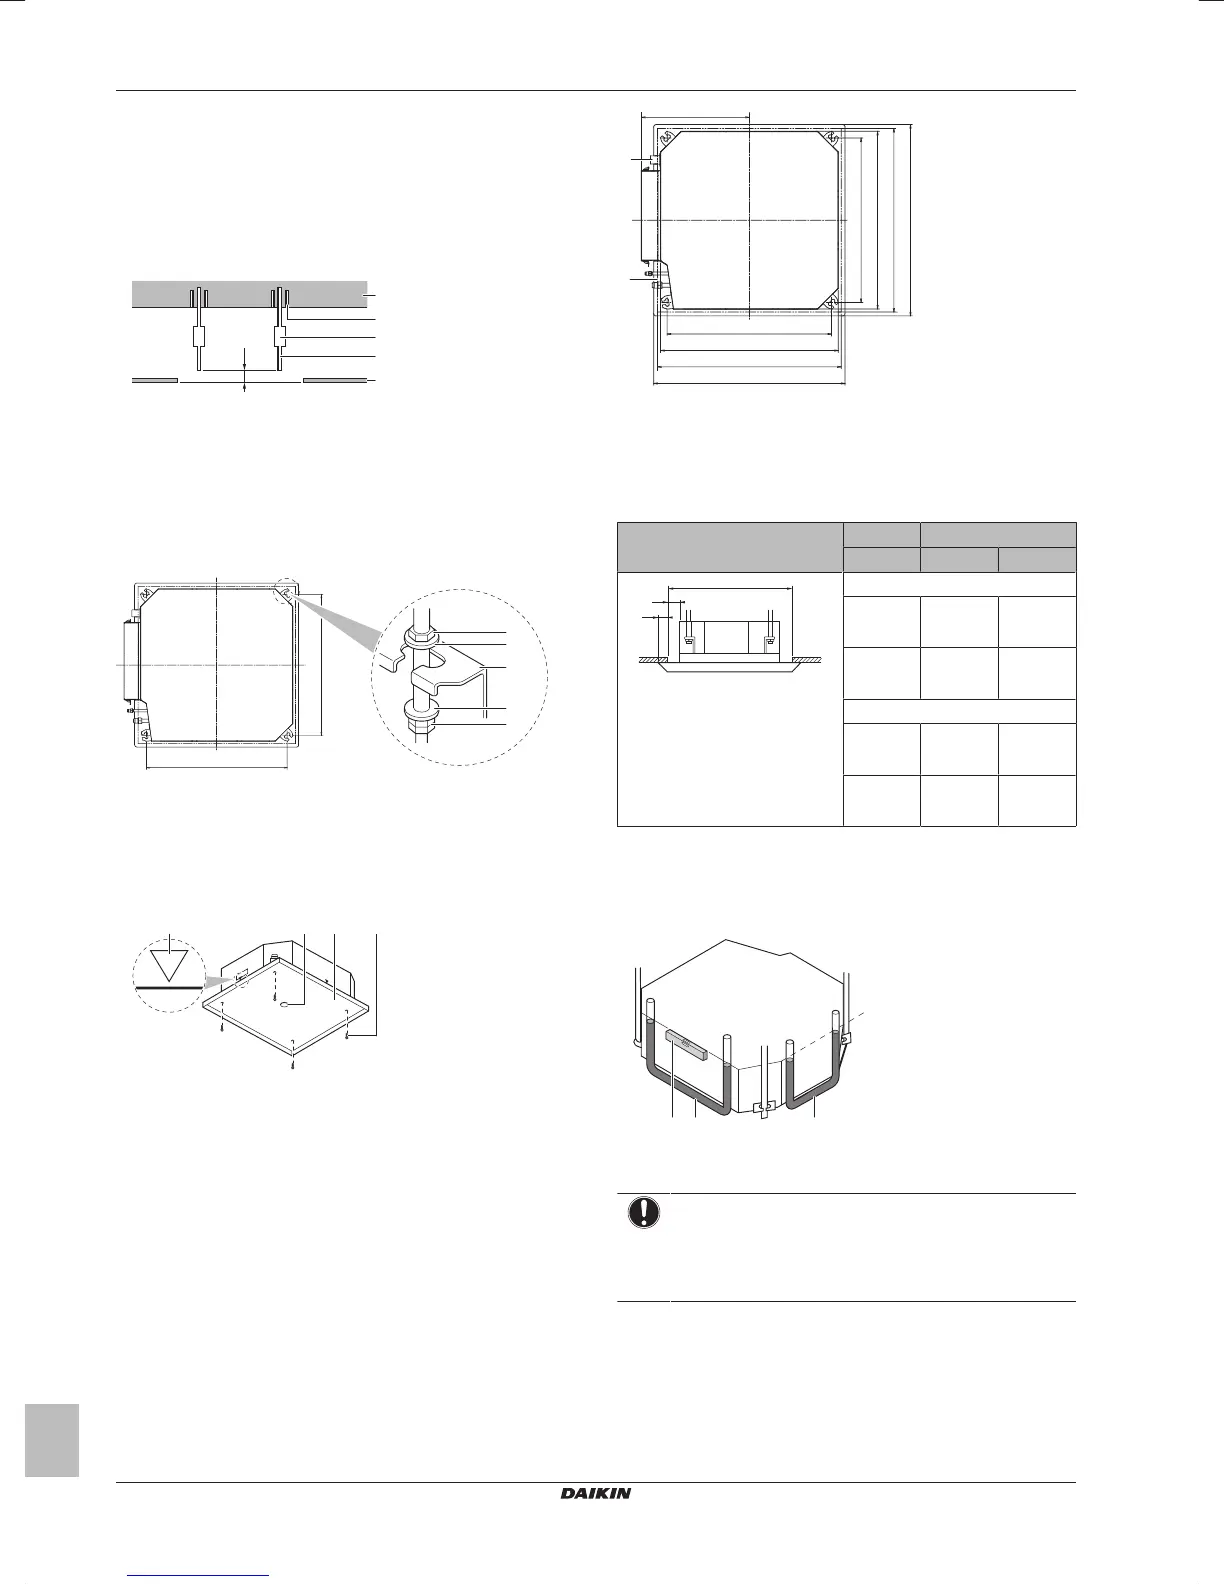
▪ For existing ceilings, use anchors.
▪ For new ceilings, use sunken inserts, sunken anchors or other
field supplied parts.
A 50~100mm
a Ceiling slab
b Anchor
c Long nut or turnbuckle
d Suspension bolt
e Suspended ceiling
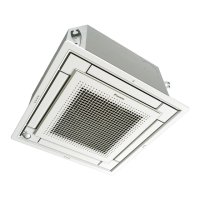
▪ Suspension bolts. Use M8~M10 suspension bolts for installation.
Attach the hanger bracket to the suspension bolt. Fix it securely
using a nut and washer from the upper and lower sides of the
hanger bracket.
a1 Nut (field supply)
a2 Double nut (field supply)
b Washer (accessories)
c Hanger bracket (attached to the unit)
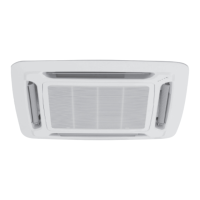
▪ Paper pattern for installation (upper part of the packing). Use
the paper pattern to determine the correct horizontal positioning. It
contains the necessary dimensions and centers. You can attach
the paper pattern to the unit.
a Centre of the unit
b Centre of the ceiling opening
c Paper pattern for installation (upper part of the packing)
d Screws (accessories)
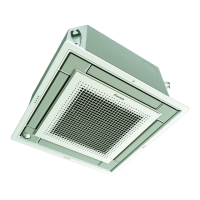
▪ Ceiling opening and unit:
▪ Make sure the ceiling opening is within the following limits:
Minimum: 585mm to be able to fit the unit.
Maximum: 660 mm in case of installation with BYFQ60B and
595 mm in case of installation with BYFQ60C ensure enough
overlapping between the decoration panel and the suspended
ceiling. If the ceiling opening is larger, add extra ceiling
material.
▪ Make sure the unit and its hanger brackets (suspension) are
centered within the ceiling opening.
(mm)
c
d
A
B
A
B
533
350
575
c
d
533
575
b
a
A 585~660mm: In case of installation with BYFQ60B
585~595 mm: In case of installation with BYFQ60C
B 700mm: In case of installation with BYFQ60B
620 mm: In case of installation with BYFQ60C
a Drain piping
b Refrigerant piping
c Hanger bracket pitch (suspension)
d Unit
Then
If A B C
BYFQ60B
585mm
(= min.)
5mm 57.5mm
660mm
(= max.)
42.5mm 20mm
BYFQ60C
585mm
(= min.)
5mm 17.5mm
595mm
(= max.)
10mm 12.5mm
A Ceiling opening
B Distance between the unit and the ceiling opening
C Overlap between the decoration panel and the suspended
ceiling
▪ Level. Make sure the unit is level at all 4 corners using a level or a
water-filled vinyl tube.
a Level
b Vinyl tube
c Water level
NOTICE
Do NOT install the unit tilted. Possible consequence: If
the unit is tilted against the direction of the condensate flow
(the drain piping side is raised), the float switch might
malfunction and cause water to drip.
5.1.3 Guidelines when installing the drain
piping
Make sure condensation water can be evacuated properly. This
involves:
▪ General guidelines
▪ Connecting the drain piping to the indoor unit