English 7
(3-3) Remove the hanger brackets.
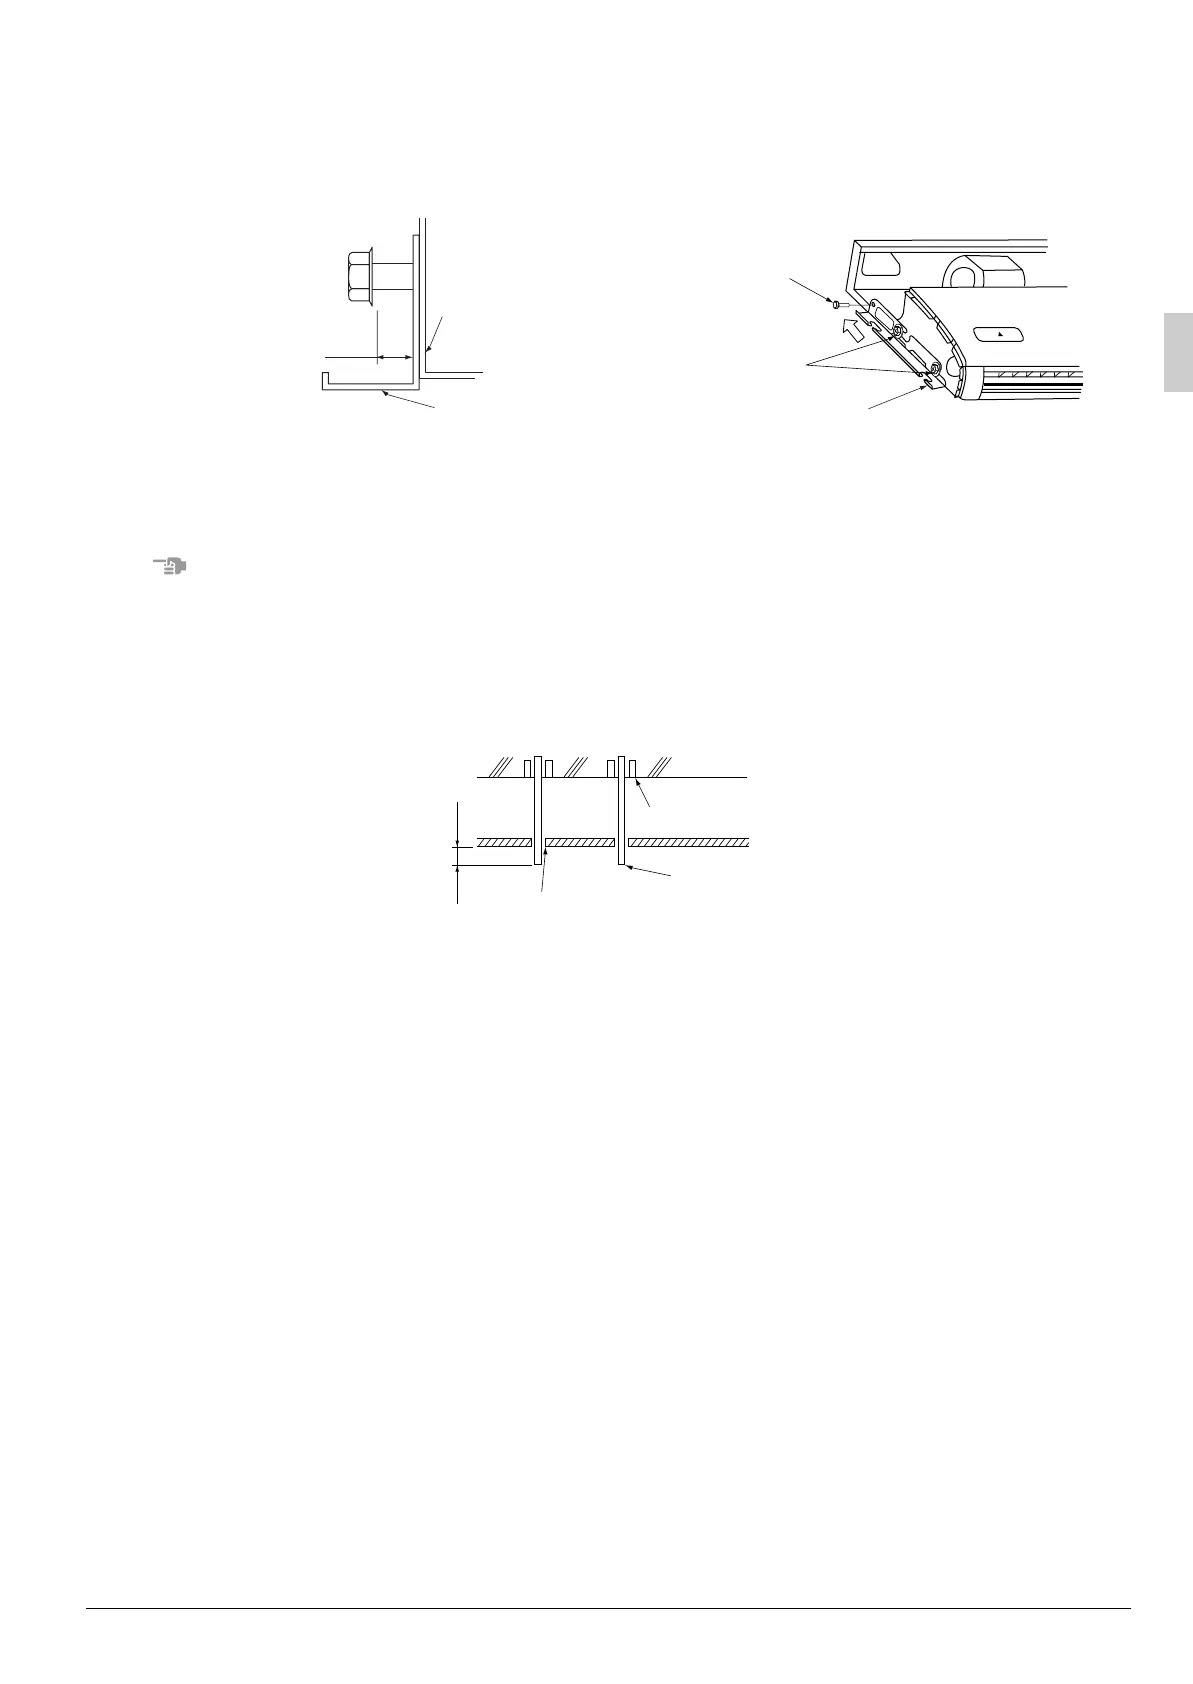
• Loosen the 2 bolts (M8) used to attach the hanger brackets which are on each side (4 places left and
right) to within 10 mm. (Refer to Fig. 4. 5)
• After removing the securing screws (M5) for the hanger brackets which are on the rear side, pull the
hanger brackets back (in the direction of the arrow), and remove them. (Refer to Fig. 5)
(4) Attach the suspension bolts. (Use suspension bolts which are W3/8 or M8-M10 in size.)
• Adjust the distance of the suspension bolts from the ceiling in advance. (Refer to Fig. 6)
NOTE
• Use a hole-in anchor for existing ceilings, and a sunken insert, sunken anchor or other field supplied parts
for new ceilings to reinforce the ceiling to bear the weight of the unit. Adjust clearance from the ceiling
before proceeding further.
Hanger bracket
fixing screw (M5)
Hanger bracket
Hanger bracket
setting bolt (M8)
Indoor unit
Hanger bracket
≤10
Length of loosening
should be less than
10 mm
Fig. 4 Fig. 5
Fig. 6
Ceiling slab
Anchor
Suspension bolt
False ceiling
25-55
(Length : mm)
All the above parts are field supplied.
01_EN_3PN06588-3E.fm Page 7 Tuesday, June 27, 2006 4:45 PM
 Loading...