1
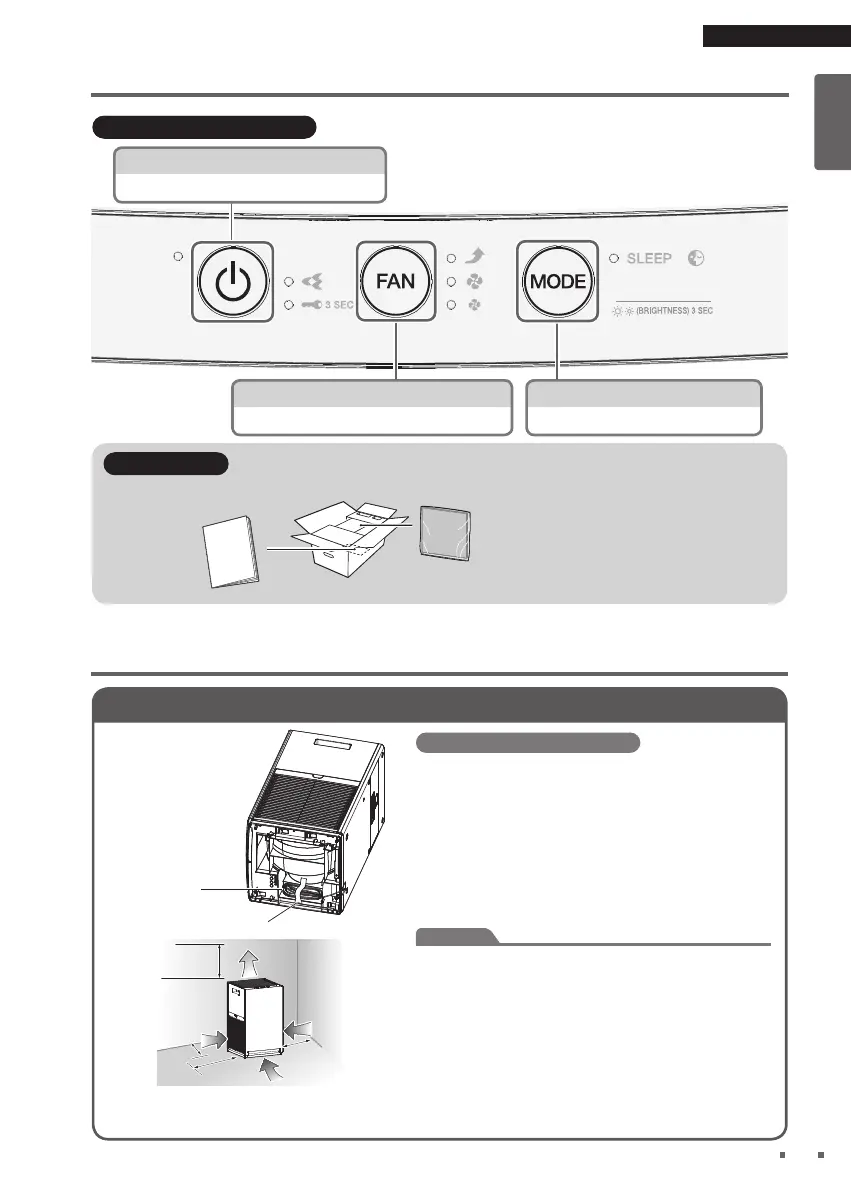
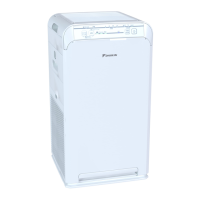
Positioning the unit
Before installation, peel off
the tape fi xing the power
supply cord to the bottom
of the unit and draw out the
power supply cord.
Power supply cord
Tape (blue)
Pointers for good positioning
•
Choose a position from where airfl ow can reach all areas
of the room.
•
Place on a stable surface. If the unit is placed on an
unstable surface, vibrations from the unit may be amplifi ed.
•
If you fi nd that interference from the power circuit inside
the unit or cables caused interference on your TV screen
or static noise to be emitted from nearby radios or stereos,
move the unit to at least 2m away from the device.
Keep cordless phones and radio-controlled clocks away
from the unit also.
Attention
•
To avoid staining of walls, position the unit in accordance
with the positioning measurements in the illustration.
However, note that since this unit draws in dirty air, certain
types of wall may become stained even if the
measurements are adhered to.
In such cases, be sure to maintain suffi cient distance
between the unit and the wall.
•
When used for a long period of time in the same location,
the fl oor and surrounding walls may get stained as air is
drawn into air inlets near the base of the unit. It is
recommended to clean the unit periodically.
At least 100cm
away from ceiling
At least 30cm
away from wall
Air fl ow
At least 10cm
away from wall
At least 30cm
away from wall