EasyManuals Logo

Daikin MicroTech III Troubleshooting Guide

Daikin MicroTech III
40 pages
To Next Page IconTo Next Page
To Previous Page IconTo Previous Page
Page #9 background imageLoading...
Page #9 background image

www.DaikinApplied.com 9 OM 1085-6 • MICROTECH III CONTROLLER
12. Click Start to begin programming the board. A pop-up
message appears and indicates progress during the
programming process.
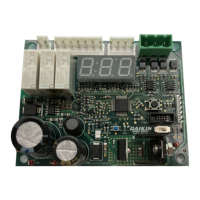
13. Programming is successful when the green OK message
appears.
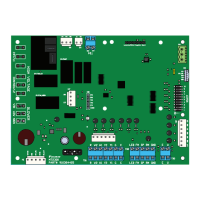
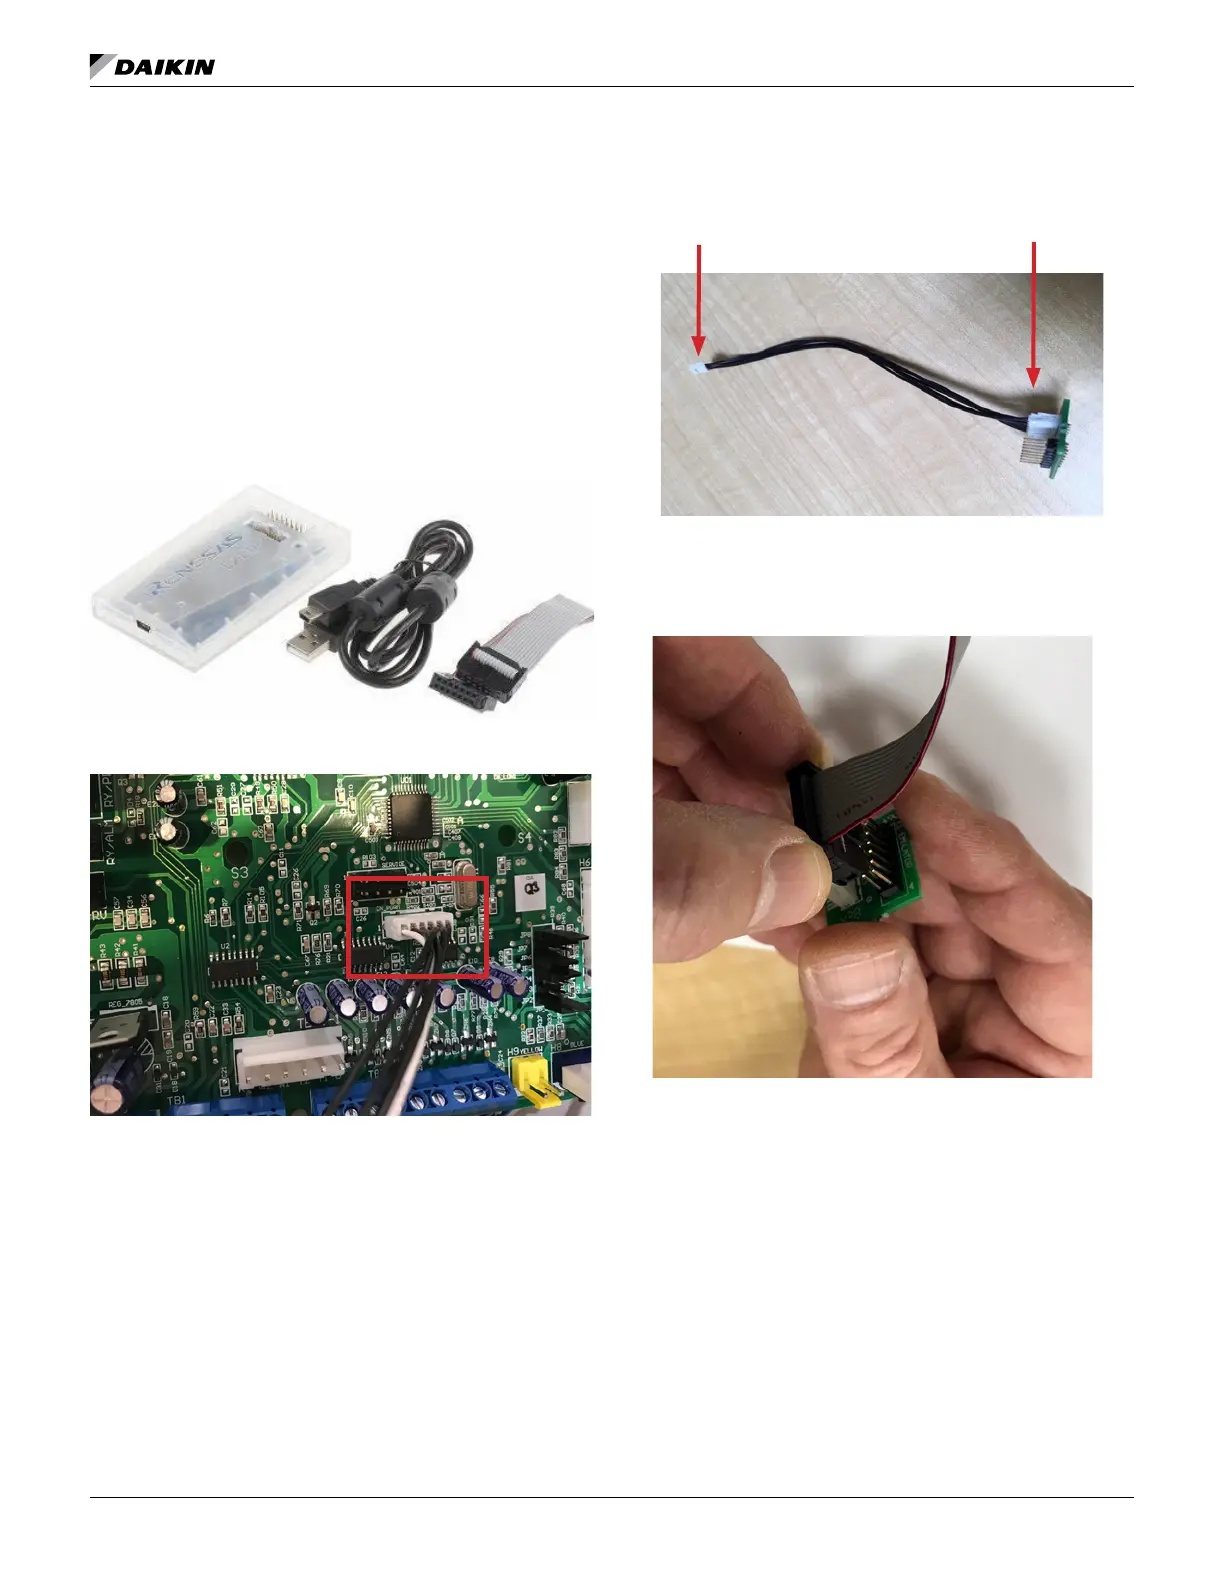
14. Power down the board and disconnect the 6-pin E2
Lite interface cable from the CN_PGRM port of the
baseboard or IO expansion board.
15. Close the RFP software.
Programming is now complete and the board is ready for use.

and Interface Cable




14-Pin Header to
Renesas E2-Lite or
E1 Programmer
6-pin Connection to
Baseboard or I/O
Expansion Board

Other manuals for Daikin MicroTech III

Questions and Answers:

Question and Answer IconNeed help?

Do you have a question about the Daikin MicroTech III and is the answer not in the manual?

Daikin MicroTech III Specifications

General IconGeneral
BrandDaikin
ModelMicroTech III
CategoryController
LanguageEnglish

Related product manuals