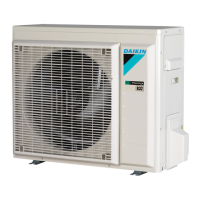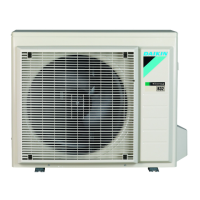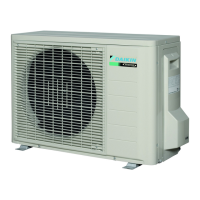
Do you have a question about the Daikin RXF50A2V1B and is the answer not in the manual?
| Category | Air Conditioner |
|---|---|
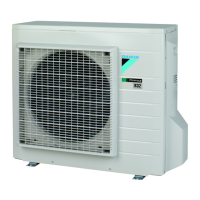
| Model | RXF50A2V1B |
| Cooling Capacity | 5.0 kW |
| Refrigerant | R32 |
| Power Supply | 220-240V, 50Hz |
| Outdoor Unit Noise Level | 49 dB(A) |
Guidelines for selecting and preparing the installation location for the outdoor unit.
Specifies minimum spacing guidelines for air outlet and inlet for the outdoor unit.
Instructions on how to open the outdoor unit for installation and maintenance.
Detailed steps to access the interior of the outdoor unit.
Instructions for mounting the outdoor unit, including considerations for snowfall.
Details on preparing the structure and anchor bolts for mounting the outdoor unit.
Steps for physically installing the outdoor unit onto its structure.
Instructions for setting up drainage for condensate, especially in cold climates.
Measures to secure the outdoor unit against strong winds.
Steps and precautions for connecting the refrigerant piping.
Overview of the workflow for connecting refrigerant piping.
Safety warnings and important considerations for connecting refrigerant piping.
Specific instructions for connecting refrigerant piping to the outdoor unit.
Procedures for checking the refrigerant piping for leaks and moisture.
Steps to perform a leak test on the refrigerant piping.
Procedure for vacuum drying the refrigerant system to remove moisture.
Guidelines for charging refrigerant into the system.
Overview of when and how to charge refrigerant.
Information about the refrigerant type (R32) and its properties.
How to calculate the amount of additional refrigerant needed based on piping length.
How to determine the total refrigerant charge required.
Steps for charging additional refrigerant into the system.
Instructions for filling and affixing the greenhouse gas label.
Safety precautions and steps for connecting electrical wiring.
General guidelines for connecting electrical wiring safely.
Lists specifications for power supply cables and interconnection cables.
Step-by-step instructions for connecting electrical wiring to the outdoor unit.
Final steps to complete the outdoor unit installation.
Detailed steps for completing the outdoor unit installation, including piping and cable fixing.
Instructions on how to close the outdoor unit covers after installation.
Specifies requirements for refrigerant piping material and diameter.
Details maximum allowable pipe length and height difference for refrigerant piping.
Provides guidelines for refrigerant piping insulation thickness based on temperature and humidity.
A checklist of items to verify before starting the commissioning process.
A checklist of items to verify during the commissioning process.
Procedures for performing a test run to ensure proper operation.
Guidance on starting up the outdoor unit, referring to the indoor unit manual.
An overview of the process for disposing of the system.
Instructions on how to pump down the refrigerant before disposal.
Methods for starting and stopping forced cooling operations for pump down.
A legend explaining the symbols used in the wiring diagram.
A diagram illustrating the refrigerant piping for the outdoor unit.
The specific piping diagram for the RXF60A2V1B outdoor unit.