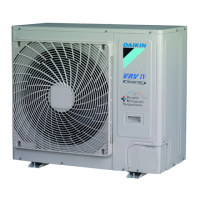
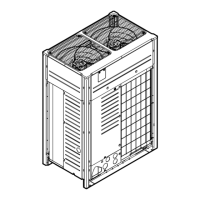
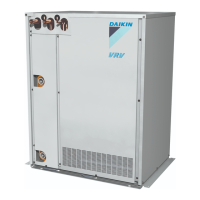
RXYQ72T
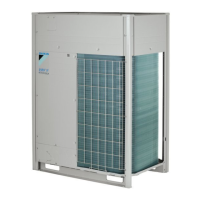
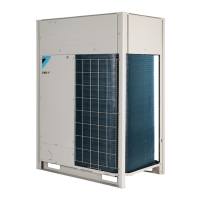
RXYQ96-168T
5
6
8
7
4
3
1
6
8
7
3
2
1
2
5
1 Power/ground wires.
2 Clear over 2 in. (50 mm)
3 Transmission wiring
4 Clamp (1) (accessory)
5 Clamp (2)(accessory)
6 Power wiring
7 Transmission wiring
8 Ground wire
Precautions when knocking out knockout holes
r To punch out a knockout hole, hit it with a hammer.
r Open an appropriate hole as needed.
r After knocking out the holes, trim off the burr, then we recommend
you to paint the edges and areas around the edges using the repair
paint to prevent rusting.
r Power line: Open a knockout hole as shown at right and connect it
using a conduit.
Choose an appropriate knockout hole for conduit size suitable for
the power and ground line to be used.
r Transmission line: Connect it using a conduit in the knockout hole
on the left.
Knockout hole (Transmission line) I7/8 in. (22.2 mm)
Knockout hole (Power line)
Burr
I7/8 in. (22.2 mm)
I1-1/8 in. (27.8 mm)
I1-3/8 in. (34.5 mm)
NOTE
r After wiring work is completed, check to make sure there are no
NQQUGEQPPGEVKQPUCOQPIVJGGNGEVTKECNRCTVUKPVJGEQPVTQNDQZ
10. Air tight test and vacuum drying
r #HVGTƂPKUJGFRKRKPIYQTMECTT[QWVCKTVKIJVVGUVCPFXCEWWOFT[KPI
NOTE
r Always use nitrogen gas for the air tightness test.
r Absolutely do not open the stop valve until the main power circuit
insulation measurement has been completed. (Measuring after the
stop valve is opened will cause the insulation value to drop.)
<Needed tools>
Gauge manifold
Charge hose
valve
r To prevent entry of any impurities and insure
UWHƂEKGPVRTGUUWTGTGUKUVCPEGCNYC[UWUGVJG
special tools dedicated for R410A.
r Use charge hose that have pushing stick for con-
necting to service port of stop valves or refriger-
ant charge port.
Vacuum pump
r The vacuum pump for vacuum drying should be
able to lower the pressure to 500 microns.
r 6CMGECTGVJGRWORQKNPGXGTƃQYDCEMYCTFKPVQ
the refrigerant pipe during the pump stops.
<The system for airtight test and vacuum drying>
r 4GHGTTKPIVQVJGƂIWTGDGNQYEQPPGEVCPKVTQIGPVCPMTGHTKIGTCPV
tank, and a vacuum pump to the outdoor unit.
The refrigerant tank and the charge hose connection to refrigerant
EJCTIGRQTVQTVJGXCNXG#KPVJGƂIWTGDGNQYCTGPGGFGFKP
%JCTIKPITGHTKIGTCPVQPRCIG|
1
23
4
5
11
13
12
14
15
A
7
1 Pressure reducing valve
2 Nitrogen
3 Measuring instrument
4 Refrigerant R410A tank (siphon system)
5 Vacuum pump
6 Charge hose
7 Refrigerant charge port
8 Gas line stop valve
9 Liquid line stop valve
10 Outdoor unit
11 To indoor unit
12 Stop valve
13 Field piping
14 )CUƃQY
15 Stop valve service port
A Valve A
B Valve B
C Valve C
NOTE
r The air-tightness test and vacuum drying should be done using the
service ports of equalizer pipe, gas pipe and liquid pipe stop valve.
See the [R410A] Label attached to the front panel of the outdoor
WPKVHQTFGVCKNUQPVJGNQECVKQPQHVJGUGTXKEGRQTV5GGVJGƂIWTG
below).
 Loading...
