16 | Unit installation
Installer and user reference guide
45
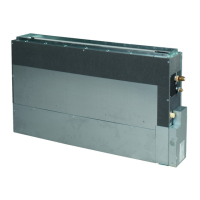
FXMQ-A
VRV system air conditioner
4P701548-1 – 2022.07
a Air inlet
b Air outlet
c Screws for duct flanges
d Air outlet flange
e Air inlet flange
f Transportation case cover
1 Remove the air outlet flange from the transportation case cover.
2 Move and attach the air outlet flange to the air outlet side.
3 Fix the air outlet flange with the 34 screws for duct flanges (accessory).
4 Fix the air inlet flange using the remaining 15 screws for duct flanges
(accessory).
5 Connect the canvas duct to the inside of the flange on both sides.
6 Connect the duct to the canvas duct on both sides.
7 Wind aluminium tape around the flanges and duct connections. Make sure
there are no air leaks at any other connection.
8 Insulate the ducts to prevent condensation from forming. Use glass wool or
polyethylene foam 25mm thick.
a Screws for duct flanges (accessory)
b Flange (located on the unit)
c Main unit
d Insulation (field supply)
e Canvas duct (field supply)
f Aluminium tape (field supply)
▪ Filter. Be sure to attach an air filter inside the air passage on the air inlet side.
Use an air filter with dust collecting efficiency ≥50% (gravimetric method).
16.2.3 Guidelines when installing the drain piping
Make sure condensation water can be evacuated properly. This involves:
▪ General guidelines
▪ Connecting the drain piping to the indoor unit
▪ Checking for water leaks
General guidelines
▪ Pipe length. Keep drain piping as short as possible.
 Loading...